Page History
...
You should select the desired folder: "TE-EDK-IP" or "TE-EDK-IP\MyProcessorIPlib" should be both correct
| Warningnote |
|---|
| It is better if you do not alter folder nesting because double nesting of folders is a Xilinx XPS requirements (even if it is not an SDK requirement). |
...
Click "OK" and the pop-up will dissapear.
Same procedure?
Change rs232 to Now, you should select if you desire to debug on a real UART (rs232) or a simulated UART on JTAG (debug_module).
You should generate a new link script.
STDIO connection of RUN and DEBUG: JTAG UART
...
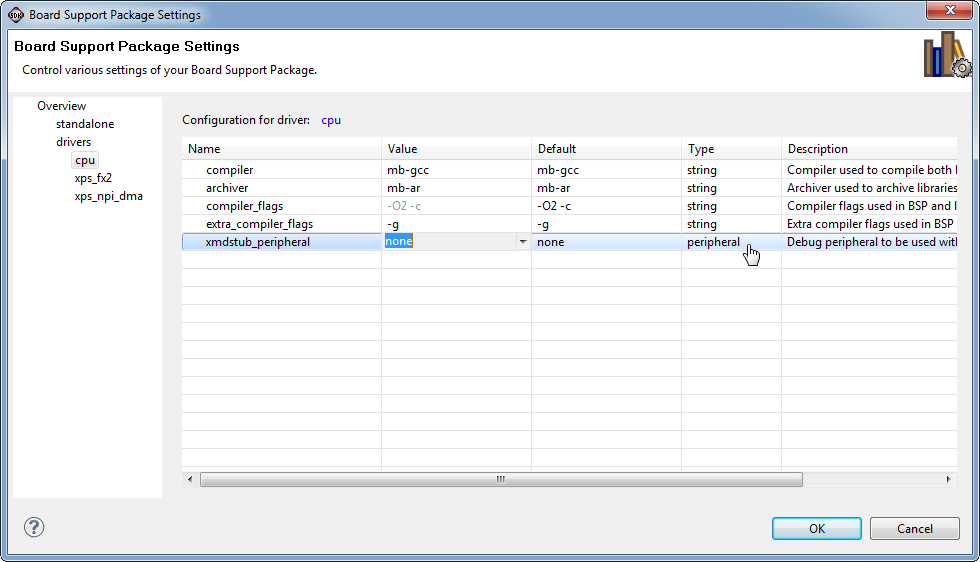
should click/select "standalone_bsp_0" in "project Explorer", then you should click "Xilinx Tools" > "Board Support Package Settings".
| Scroll Title | ||
|---|---|---|
| ||
 |
A new pop-up will appear "Board Support Package Settings".
| Scroll Title | ||
|---|---|---|
| ||
 |
After this, you should click "standalone" and set "stdin" and "stdout" to "rs232" or "debug_module":
- you should select "rs232" if you desire to use a real UART ( and not a simulated UART though JTAG connection);
- you should select "debug_module" if you desire that the XMD_UART works as local UART through the JTAG connection.


Overview
Content Tools