Page History
...
- Apply Gap Filler in at least approx. 2 mm thickness to the following components:
draw.io Diagram border true diagramName TE0808-05-Gap-Filler simpleViewer true width 400 links auto tbstyle top diagramDisplayName lbox true diagramWidth 1501 revision 3 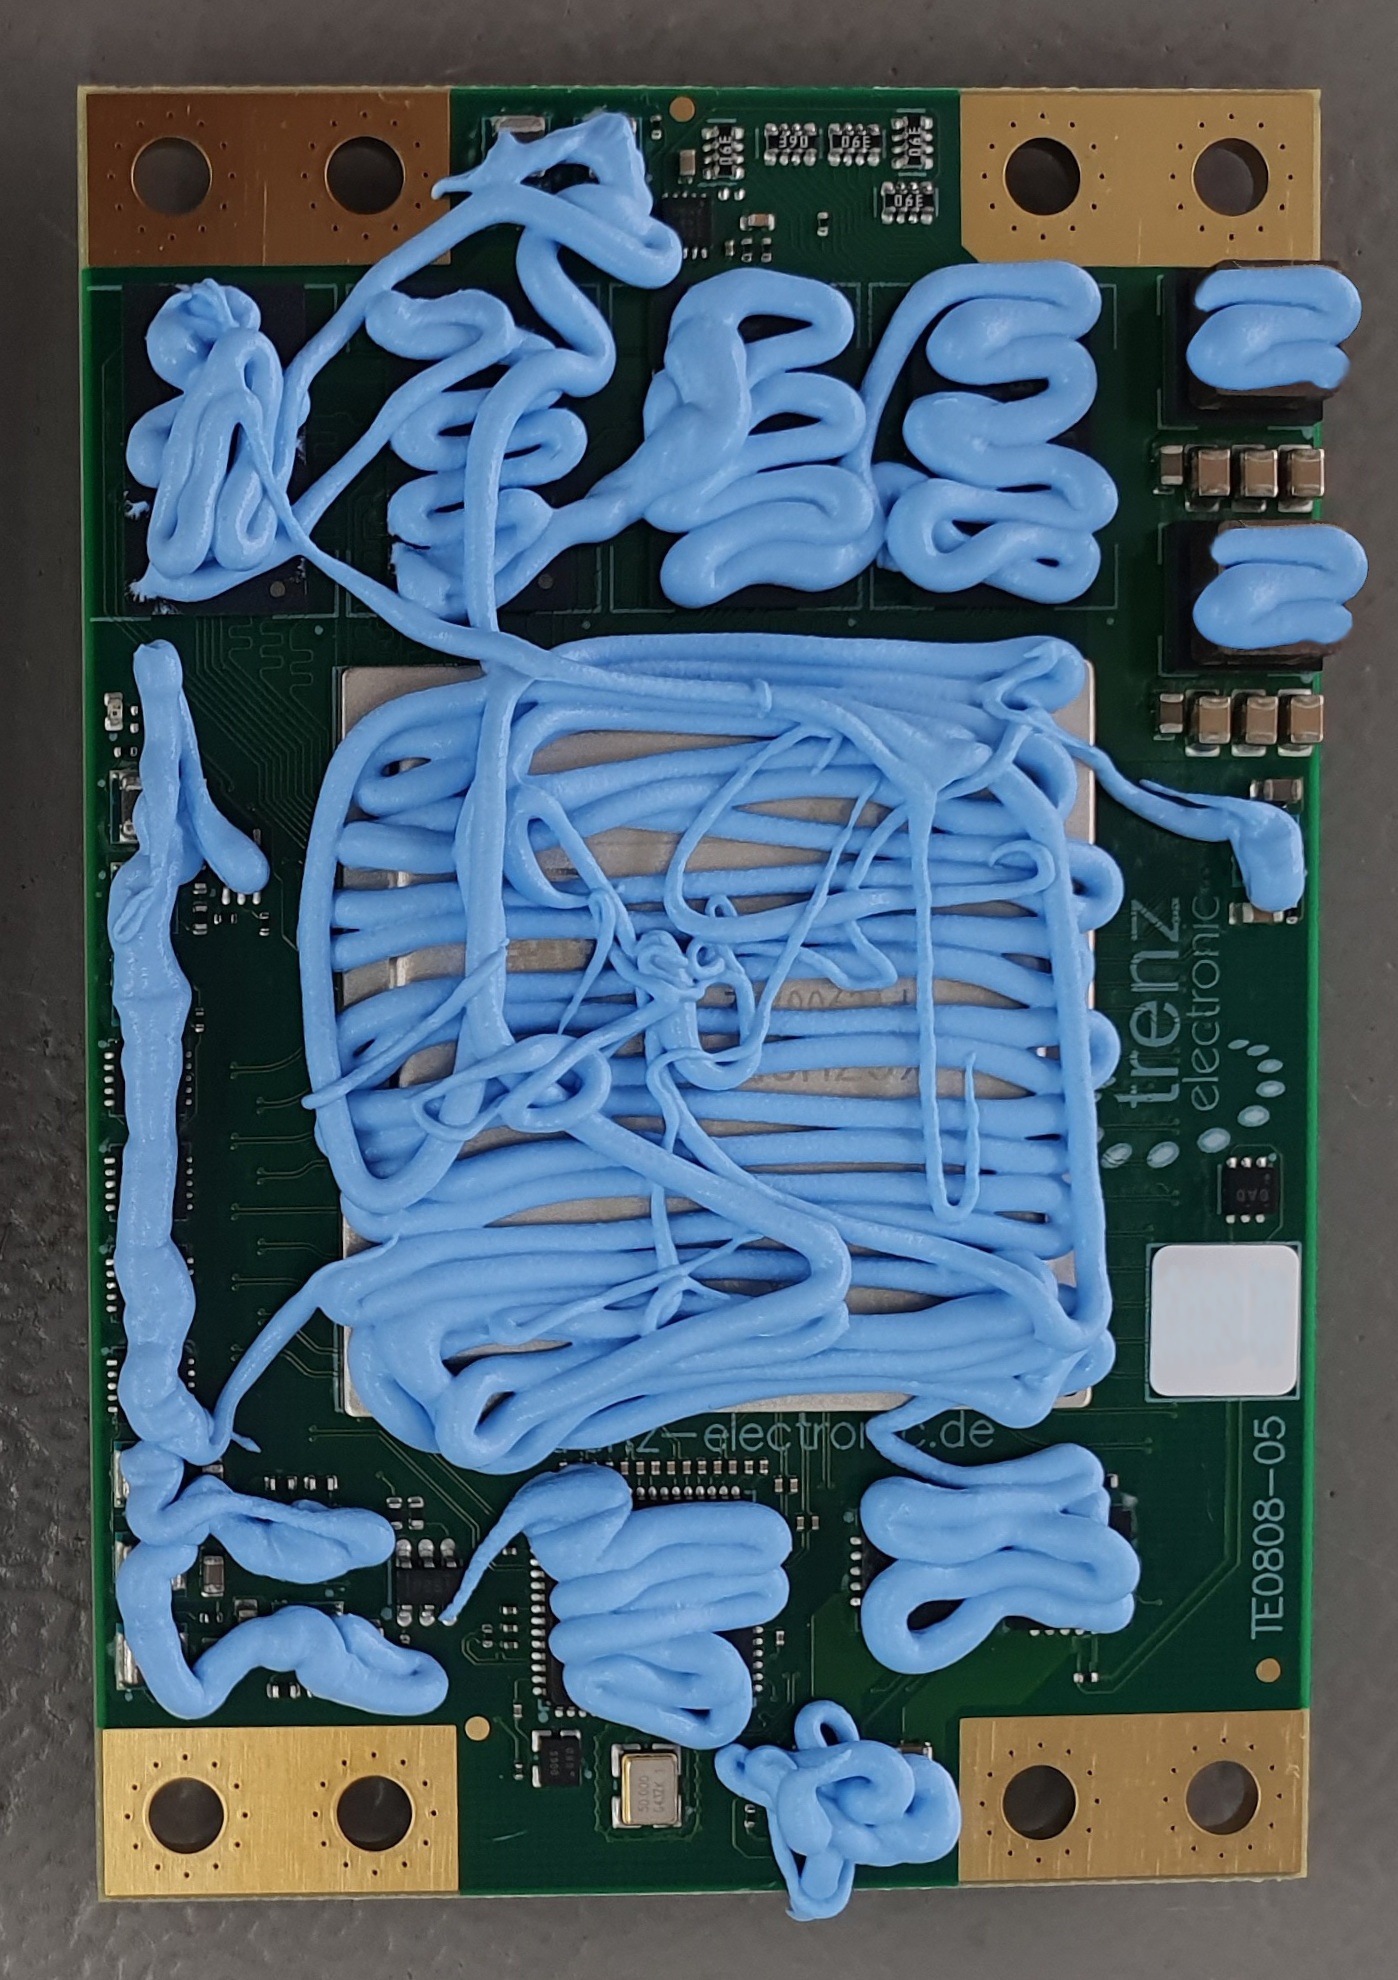
Scroll Pagebreak - Align KK0808-05 carefully and press on lightly:

Set the torque screwdriver to 0.5Nm / 4,5 inlb.
Insert the PH1 Philips crosshead bit.
Fix the heatspreader crosswise from below with the four M3 × 6 mm pan-head screws.
draw.io Diagram border true diagramName TE0808-05-KK-Schrrauben simpleViewer true width 400 links auto tbstyle top diagramDisplayName lbox true diagramWidth 916 revision 12 - Remove any gap filler squeezed out over the edge of the heat sink with an ESD antistatic cloth.
Note Make sure that no gap filler gets on the contacts of the connectors.
...
Overview
Content Tools