Page History
...
| Info |
|---|
This examples shows only the basic steps without TE-Module specific settings |
Xilinx "Hello World" on ZynqMP
Same procedure as on Zynq device.
Xilinx "Hello World" on Zynq
- Create SDK Project:
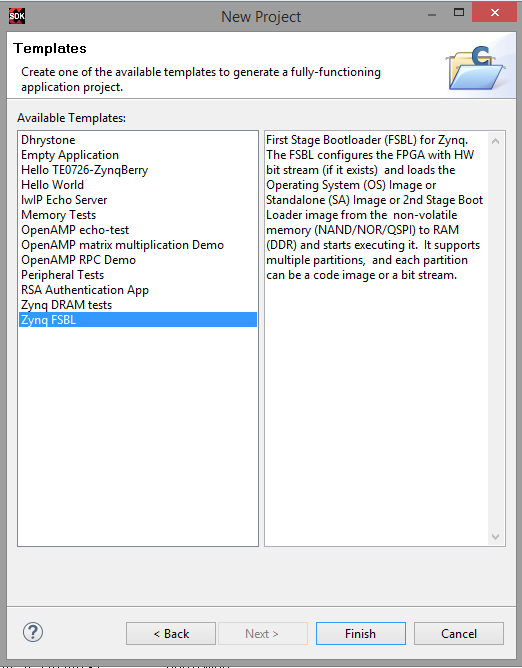
- Create FSBL:
- See Create Software Application with SDK Template
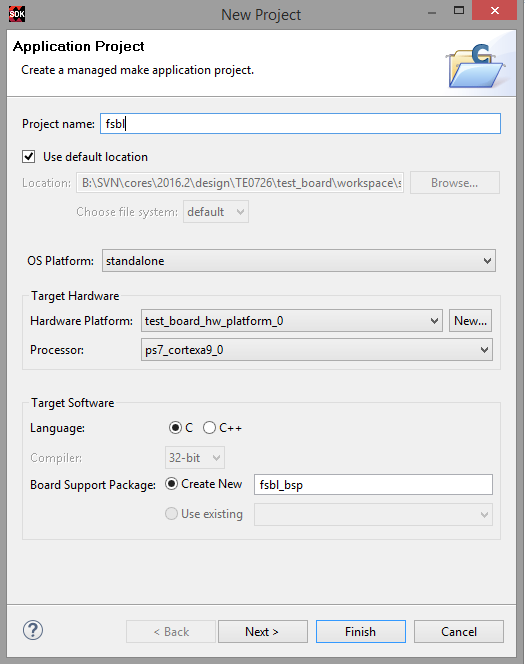
- (optional) If necessary, modify FSBL-BSP stdin/sdtout peripheral, drivers or libraries settings for the FSBL Application
- Create Hello_World:
- See Create Software Application with SDK Template
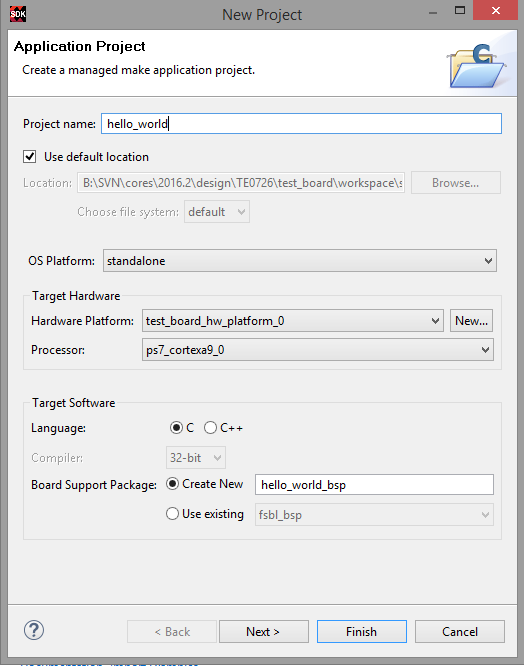

- (optional) If necessary, modify FSBL-BSP stdin/sdtout peripheral, drivers or libraries settings for the Hello World Application
- Create Boot.bin
- Right Click on the hello_world Project in the Project Explorer.
- Click:Create Boot Image
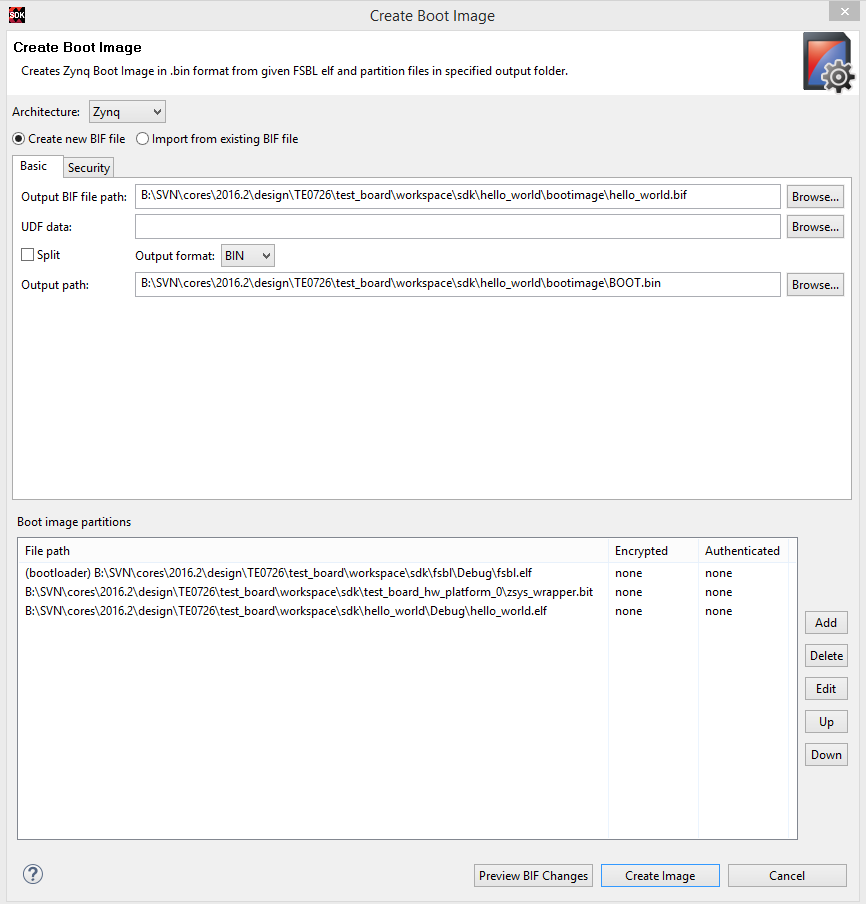
All partition settings will be set automatically,if Build Process of FSBL and Hello World was successful. - Create Image
- Program Flash
- Click:Xilinx Tools→Program Flash
- Select generated Boot.bin (optional select "Verify after flash")
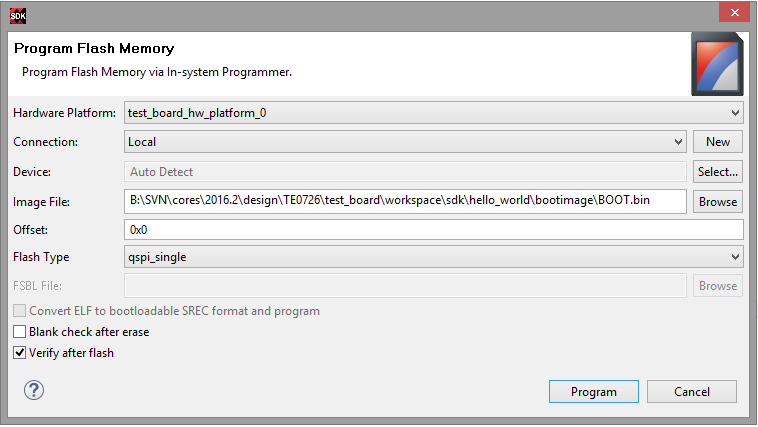
Note: Flash Type depends on HW: Select "qspi_single" or "qspi_dual_parallel", see <Reference Design>/board_files/*_board_files.csv - Program Flash
- Connect Serial Console
- COM Port: See OS Device Manager
- Speed: depends on your Vivado Project. On Zynq Devices Default 115200
Reboot Zynq
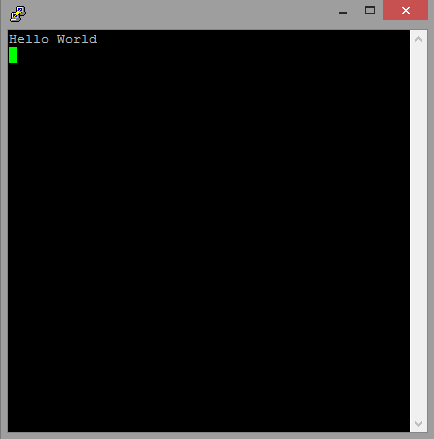
Note Xilinx Hello World appears only one time on startup, so use HW-Reset Button on Module or Vivado Hardware Manager "Boot from Configuration Memory Device" Command to reboot PS. Alternatively modify helloworld.c to run print "Hello World" in endless loop.
...
Overview
Content Tools