...
| Scroll Title |
|---|
| anchor | Figure_OV_BD |
|---|
| title | TExxxx block diagram |
|---|
|
| Scroll Ignore |
|---|
| draw.io Diagram |
|---|
| border | true |
|---|
| viewerToolbar | true |
|---|
| |
|---|
| fitWindow | false |
|---|
| diagramDisplayName | |
|---|
| lbox | true |
|---|
| revision | 1 |
|---|
| diagramName | TEI0015 Jupiter Quartus prime lite V18.1 |
|---|
| simpleViewer | falsetrue |
|---|
| width | 600 |
|---|
| links | auto |
|---|
| tbstyle | top |
|---|
| diagramWidth | 676 | revision | 1 |
|---|
|
|
| Scroll Only |
|---|
|
|
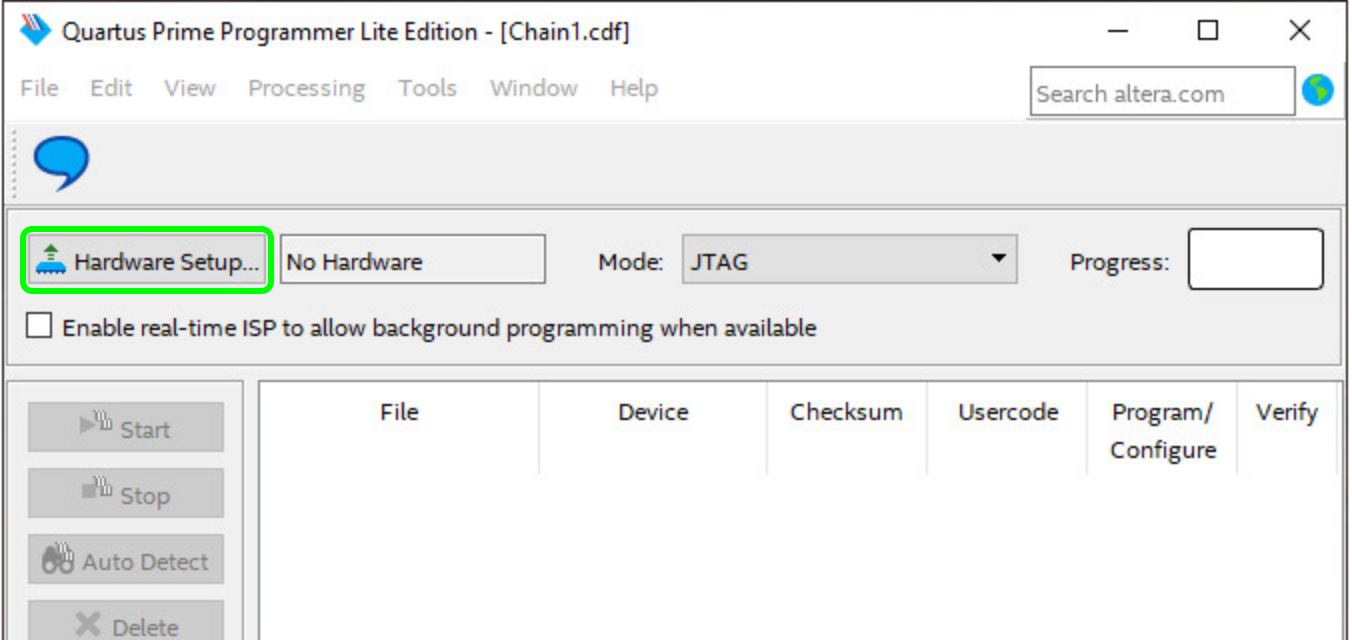
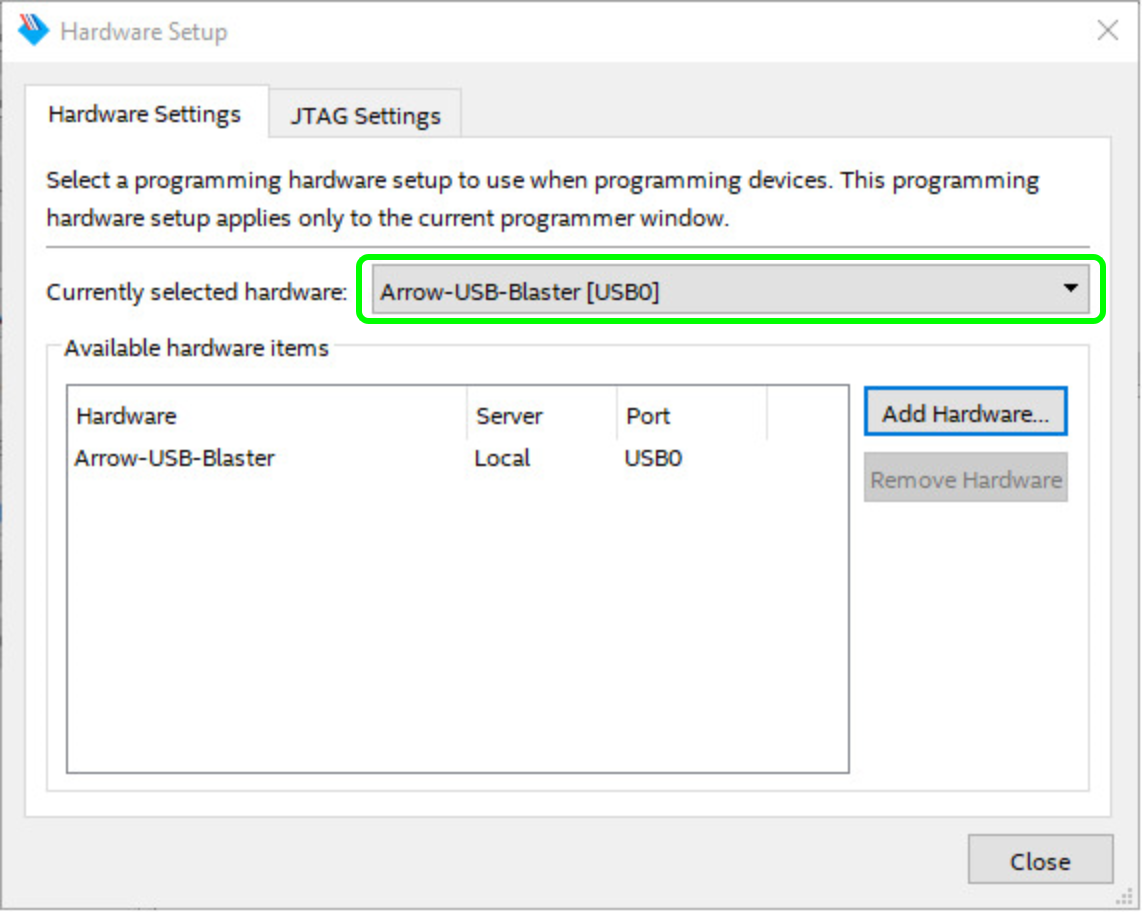
In it press right next to "Currently selected hardware" and select "Arrow-USB-Blaster [USBX]",
whereby the "X" in [USBX] is a placeholder.
| Scroll Title |
|---|
| anchor | Figure_OV_BD |
|---|
| title | TExxxx block diagram |
|---|
|
| Scroll Ignore |
|---|
| draw.io Diagram |
|---|
| border | true |
|---|
| viewerToolbar | true |
|---|
| |
|---|
| fitWindow | false |
|---|
| diagramDisplayName | |
|---|
| lbox | true |
|---|
| revision | 1 |
|---|
| diagramName | TEI0015 Quartus prime lite V18.1 hardware setup |
|---|
| simpleViewer | falsetrue |
|---|
| width | |
|---|
| links | auto |
|---|
| tbstyle | top |
|---|
| diagramWidth | 572 | revision | 1 |
|---|
|
|
| Scroll Only |
|---|
|
|
Then, press "Close" and return to the previous window.
| Scroll Title |
|---|
| anchor | Figure_OV_BD |
|---|
| title | TExxxx block diagram |
|---|
|
| Scroll Ignore |
|---|
| draw.io Diagram |
|---|
| border | true |
|---|
| viewerToolbar | true |
|---|
| |
|---|
| fitWindow | false |
|---|
| diagramDisplayName | |
|---|
| lbox | true |
|---|
| revision | 1 |
|---|
| diagramName | TEI0015 Quartus prime lite V18.1 Hardware selected |
|---|
| simpleViewer | falsetrue |
|---|
| width | |
|---|
| links | auto |
|---|
| tbstyle | top |
|---|
| diagramWidth | 750 | revision | 1 |
|---|
|
|
| Scroll Only |
|---|

|
|
Now the hardware is selected and through pressing "Add File" the downloaded *.pof firmware file can be selected.
...
| Scroll Title |
|---|
| anchor | Figure_OV_BD |
|---|
| title | TExxxx block diagram |
|---|
|
| Scroll Ignore |
|---|
| draw.io Diagram |
|---|
| border | true |
|---|
| viewerToolbar | true |
|---|
| |
|---|
| fitWindow | false |
|---|
| diagramDisplayName | |
|---|
| lbox | true |
|---|
| revision | 1 |
|---|
| diagramName | TEI0015 Quartus prime lite V18.1 marker and start programmingUnbenanntes Diagramm |
|---|
| simpleViewer | falsetrue |
|---|
| width | |
|---|
| links | auto |
|---|
| tbstyle | top |
|---|
| diagramWidth | 884 | revision | 1 |
|---|
|
|
| Scroll Only |
|---|
|
|
Mark the "Program/Configure" box for the selected file. The programming of the FPGA is executed, when you press the button "Start".
When the programming finishes, the Quartus Prime Programmer can be closed.
...