Why should anyone want to run Arduino code on Virtex-7 ever you may ask? Let's look the prices first: as of current listing XC7VX330T-2FFG1157C costs 3204 USD or 2366 EUR.
On my desk there is a PCB board that did come from our Vapor Phase oven yesterday. On the board there is a LED. This LED blinks, it says hello, I am alive.
There is a chip on the board, and on that it reads: XC7VX330T-2FFG1157C

And this is HOW the LED was made to blink. Lets look closer how it was done.
Step 1: Hardware Design
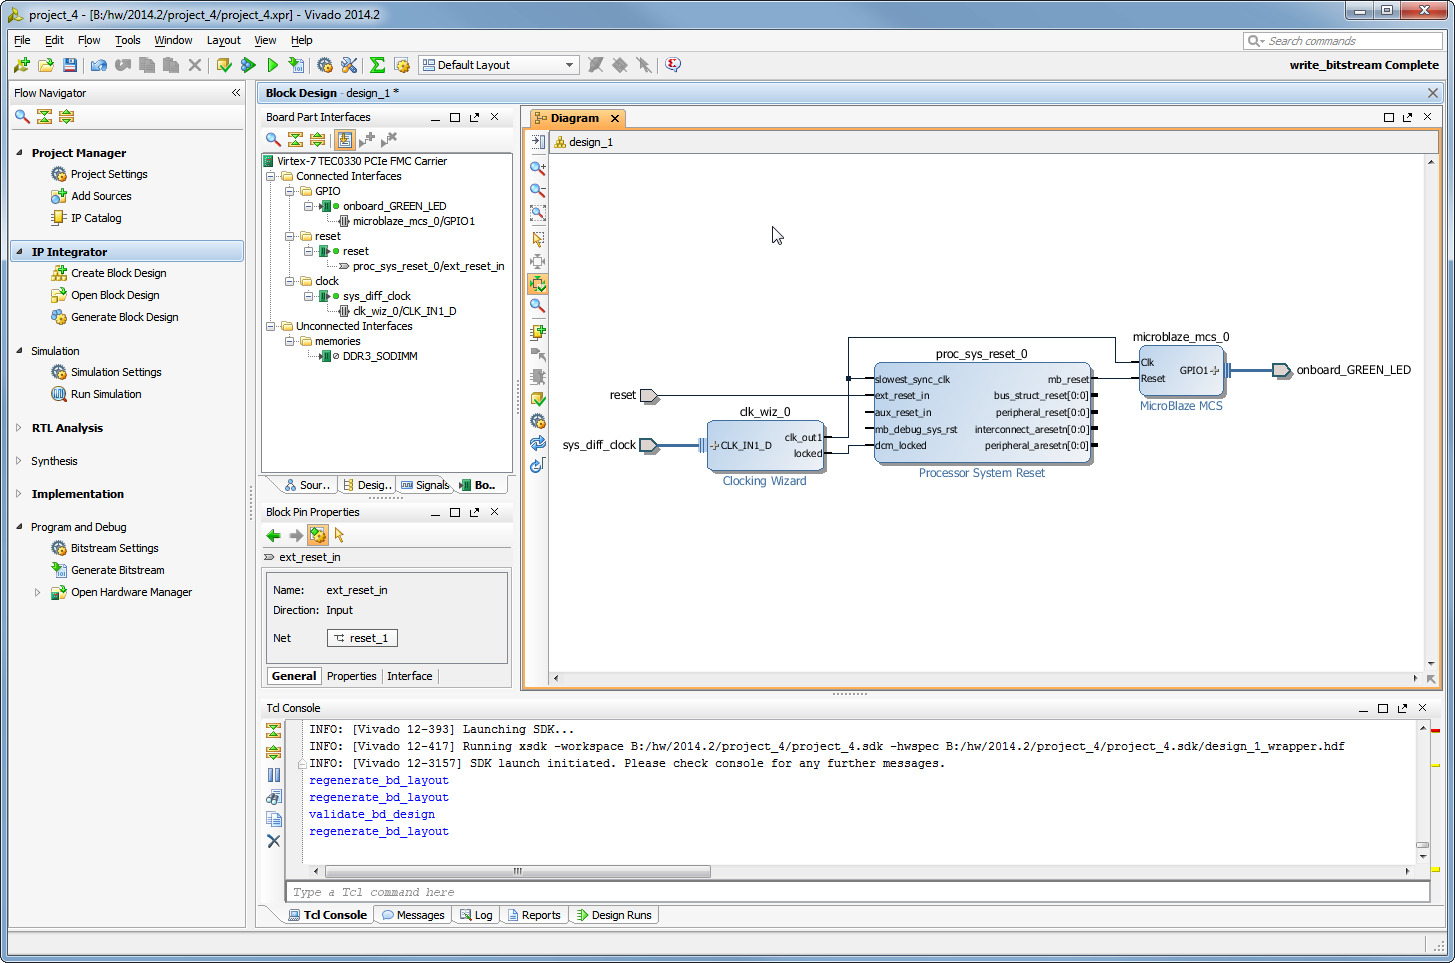
I have dropped Xilinx Microblaze MCS onto the Block design. all the Interface ports to the real hardware (clock, reset and LED) are connected automatically using Vivado Board Part Interface flow. So for making this hardware design, there is nothing to look in any documents, just select the Board to work with, and go. All constraints are managed by Vivado. We can now just run generate bitstream.
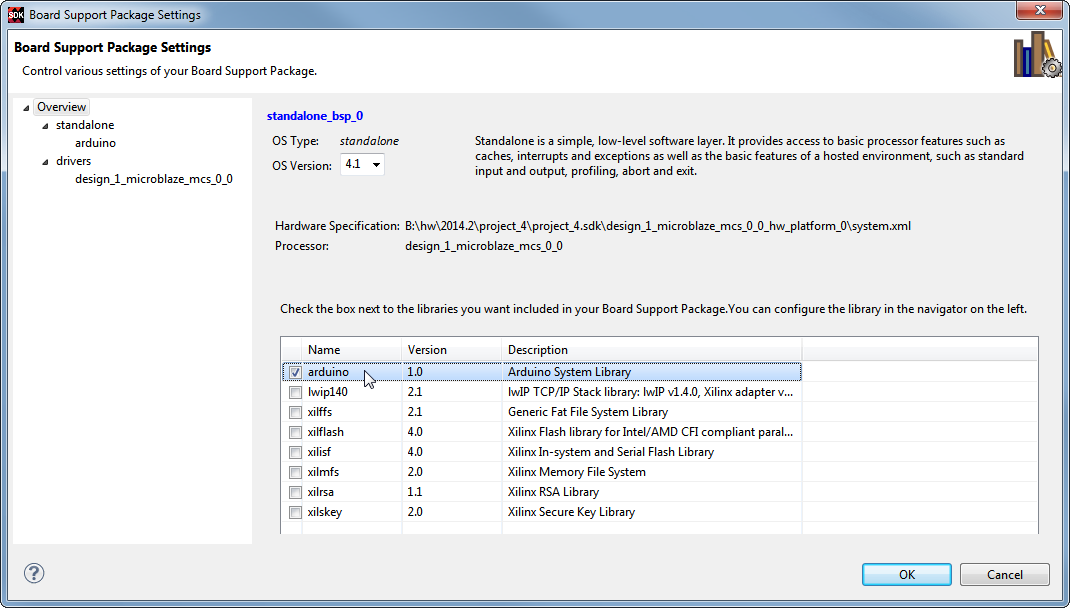
Step 2: From Hardware to Software
As soon as Vivado has generate the output products and bitstream we can move from Hardware design to Software. In Vivado Export and Launch SDK. We create new BSP and select Arduino System Library to be included.
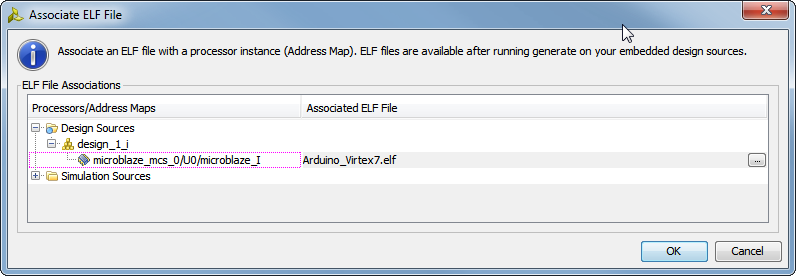
Now we are ready to write some Arduino Code!
Overview
Content Tools