How to test PCIe root complex on Xilinx FPGA? I would not have imaged that it is so simple as it was. So here it goes how I did it.
Step 1, get some board with GT(x) Transceivers.
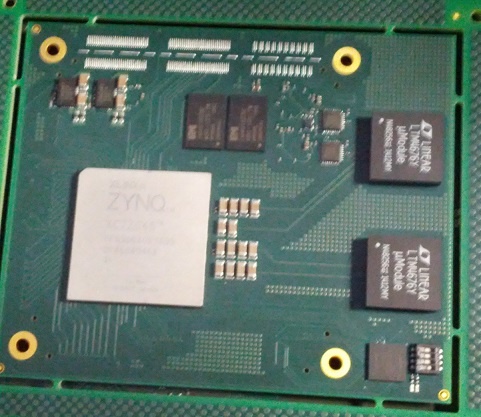
I had this one with Zynq 7045 from our vapor-phase oven.
It is actually a micro-module, and it pictured in working condition, junction temperature about 51C, the PCB has still the assembly tabs intact, I did not break them away as it there was enough clearance on the baseboard.
Step 2: Make Board Part support files for Vivado, beta version in 2 hours?
Step 3: Vivado new project select TE0782 as Board Part, run all wizards no manual stuff needed, run to bitstream, export
Step 4: SDK run wizards, let it create FSBL
Step 5: Create new project in petalinux
Step 6: drag the hdf from Vivado to VM box where petalinux lives
Step 7: petalinux-configure --get-hw-decription, then petalinx-build
Step 8: Create boot file in SDK using the u-boot and linux image petalinux did create
Step 9: Flash the SPI and hit reset, and Linux does run
Step 10: Add AXI PCIe, run wizards, fix one address in Address editor, generate bitstream and export
Step 11: Repeat steps 7 to 9
Step 12: get some more FPGA boards with GT(x), I did take TE0712 Artix module plugged to TE0701 baseboard
Step 13: Figure out how to connect the board described in step 1 to the board selected in step 12
Artix module TE0712 with A200T, from Cameralink connector on TE0701 goes cut SATA cable to SFP2SATA adapter - the baseboard where the 7045 micro-module sits has 2 SFP slots.
Step 14: Another project in Vivado, select TE0712 as board, then PCIe IP Core in IP Catalog, selecting 1 Lane.
Step 15: Open Example Project
Step 16: Fix RXP/RXN location for GTP and select the MGTCLK tile in XDC, then build bitstream, configure FPGA
Step 17: Connect the cables!
Step 18: It should work now. If only the capacitors would be correct on the SFP2SATA adapter.
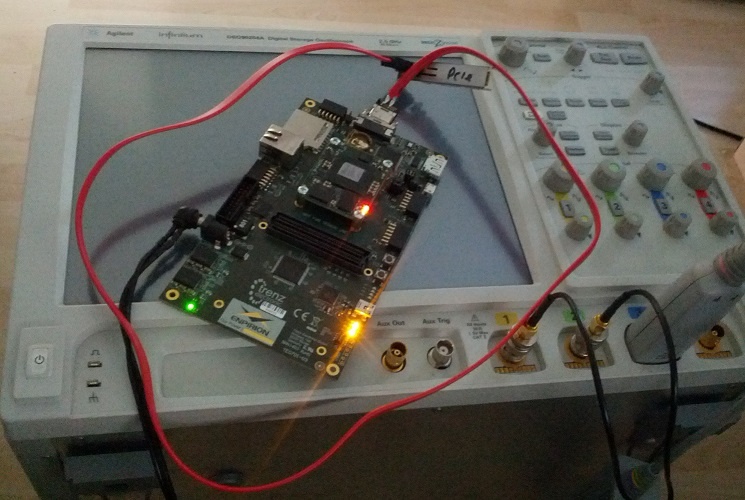
Step 19: Add VIO and ILA cores on both FPGA's google a lot, use a DSO to look at the signals.
Step 20: measure the capacitor with SMD tweazers, see numbers 96 and nF, make decision that 96nF is good enough, it must be between 75nF and 200nF
Step 21: repeat step 19
Step 22: repeat step 20, see numbers 9.6 and nF? 10nF no good! That would fail PCIe Receiver detection and explain why the links is not up
Step 23: take 4 new capacitors 0402 from SMD kit, measure them with SMD tweazers, this time reading 100 and not 10, replace the caps.
Step 24: repeat step 19
Step 25: repeat step 20, see numbers 100 and pF? not good at all!
Step 26: repeat step 23
Step 27: type "peek 0x60000144" in on the 7045 linux prompt, get 00000020 as result
Step 28: decode it to LTSSM state: not good its Polling.Configuration, sometimes for short while also Polling Compliance Post Timeout - Timeout is never good.
Step 29: Clocking maybe? As Sata cable has only 2 pairs I do not forward slot clock from root to device, actually for initial dirty testing I routed PS FCLK0 to PCIe IP core and GTX Tranceivers. Let me check the Zynq Clock config, olllaaaa, 50MHz! Changing FCLK0 to 100Mhz, rebuild bitstream.
Step 30: type "peek 0x60000144" in on the 7045 linux prompt, get 000008B0 as result PCIe link status L0 all ready to go!
Step 31: I plug in PCIe SSD M2 card into slot on the Zynq motherboard, changing GTX location, starting external PCIe PLL and we have again L0 link up!
Step 31: But why isn't the Xilinx PCIe driver loading? Yes, petalinux device tree generator has messed up again, applying post fixes in top.dts
Step 32: lspci
00:00.0 Non-VGA unclassified device: Xilinx Corporation Device 0782
01:00.0 SATA controller: Device 1c28:0122 (rev 14)
Easy uh?
Overview
Content Tools