The Vitis IDE (Vitis Unified IDE) replaces Vitis Classic. This page describes how to create, build and boot bare-metal software for Trenz Electronic reference designs with the Vitis IDE, starting with release 2025.2. The examples use the TE0820 (Zynq UltraScale+ MPSoC).
- Reference designs with Vitis Classic (older releases): see Vitis
- Linux applications are built with Yocto: see Embedded Linux Development with Yocto and AMD EDF
Overview
The software part of a reference design is located in the following folders. All paths are relative to the reference design folder (e.g. te0820-rd).
Folder / File | Description |
|---|---|
| Configuration of the Vitis platform and list of the applications to build |
| Trenz modifications of the FSBL:
|
| Source files of the application |
| Application description (dependencies, supported processors and operating systems), not used by |
| Python script that creates the workspace with the Vitis Python API (called by |
| Vitis IDE workspace (generated; deleted and created again on each run of |
| Bitstream and XSA |
| Exported Vitis platform |
| ELF files:
|
|
Additionally |
<short name> is the module variant of the reference design, e.g. 2eg_1e_2gb. All short names are listed in board_files/<series>_board_files.csv.
Create the Vitis IDE Workspace from Vivado
Requirements
- Vitis IDE is installed in the same version as Vivado (e.g. 2025.2). The installation path is set in
design_basic_settings.cmd(Windows) orconsole/base_sh/design_basic_settings.sh(Linux).
- The Vivado project of the reference design is open and the hardware design has been built (implementation with bitstream), e.g. with
TE::hw_build_design.
Run the TE Script
Vivado Tcl console
TE::sw_run_vitis -all
Option | Description |
|---|---|
| Create the platform and all applications listed in |
| Do not open the Vitis IDE (generation in the background) |
| Maintenance option: resets the Vitis IDE state in the user profile. Use it only if the Vitis IDE hangs in "Initializing IDE". Nothing is built. The window layout of all Vitis IDE workspaces of this user is reset. Close the Vitis IDE before use. |
| Print the help |
What the Script Does
- Deletes the workspace folder
workspace/ide. - Copies the bitstream and the XSA from the Vivado project to
prebuilt/hardware/<short name>. - Calls Vitis with
sw_lib/script_vitis_unified.py. The script readsplatform.yamland- creates the platform component from the XSA, including the FSBL with the Trenz modifications from
sw_lib/platform/zynqmp_fsbland the PMU firmware, - creates an application component for each enabled application and imports the source files from
sw_lib/sw_apps/<app>/src, - builds the platform and the applications,
- generates
boot.bifandBOOT.binfor each application.
- creates the platform component from the XSA, including the FSBL with the Trenz modifications from
- Copies the results to the
prebuiltfolders (see Overview). - Opens the Vitis IDE with the workspace
workspace/ide.
workspace/ide is deleted and created again each time TE::sw_run_vitis is run. Changes that exist only in the Vitis IDE workspace are lost.
Keep your source files in sw_lib/sw_apps/<app>/src. The script copies them into the workspace, but changes in the workspace are not copied back.
Run the Python Script Directly
TE::sw_run_vitis calls the Python script sw_lib/script_vitis_unified.py with vitis -s. The script uses the Vitis Python API and builds the platform, the applications and the boot files. It can also be run without Vivado, e.g. to build the software again or in a CI pipeline.
Requirements:
- The Vitis settings are loaded (
settings64.batorsettings64.shof the Vitis installation). - The XSA is located in
prebuilt/hardware/<short name>/. The file name must be<reference design folder name>_<short name>.xsa, e.g.te0820-rd_2eg_1e_2gb.xsa. The script uses the name of the reference design folder.
reference design folder
vitis -s sw_lib/script_vitis_unified.py \
    --yaml_file sw_lib/platform/platform.yaml \
    --workspace_name workspace/ide \
    --Vitis_version <version> \
    --Variant <short name> \
    --DDR_size <DDR size>
Example for TE0820 (on Windows, write the command in one line):
reference design folder
vitis -s sw_lib/script_vitis_unified.py --yaml_file sw_lib/platform/platform.yaml --workspace_name workspace/ide --Vitis_version 2025.2 --Variant 2eg_1e_2gb --DDR_size 2GB
Option | Description |
|---|---|
| Path to |
| Vitis workspace folder |
| Vitis version, e.g. |
| Short name of the module variant |
| DDR size, e.g. |
All options except --yaml_file are optional. Without an option, the value from platform.yaml is used.
Compared with TE::sw_run_vitis, the script alone does not delete workspace/ide, does not copy the bitstream and the XSA from the Vivado project and does not open the Vitis IDE. To open the workspace afterwards: vitis -w workspace/ide
Configuration with YAML Files
platform.yaml
sw_lib/platform/platform.yaml defines the platform and the applications. The comments in the file list all allowed values.
Key | Description | Example (TE0820) |
|---|---|---|
|
|
|
| Short name of the module variant (set by |
|
| Name of the platform component (any name) |
|
| Operating system of the domain |
|
| Processor of the domain:
|
|
| Name of the domain:
|
|
| Generate a device tree: |
|
| Create the PMU firmware:
|
|
| Compiler |
|
| DDR size of the module |
|
| Applications to build, see below |
variant, workspace_name and vitis_version are set by TE::sw_run_vitis (module variant of the Vivado project, workspace/ide, Vivado version) and override the values in the file.
If the Python script is run directly, the values come from the command line options or, without an option, from the file (see Run the Python Script Directly).
Applications
Each entry under the key apps builds one application. Example:
sw_lib/platform/platform.yaml
apps:
  - name: hello_trenz
    enabled: true

  - name: my_app
    enabled: false
    domain: standalone_psu_cortexa53_1
name(required): folder name of the application insw_lib/sw_appsenabled:trueorfalse(default:true)domain (optional): domain of the application (default:domainof the platform)type(optional):baremetal(default)
Application YAML
sw_lib/sw_apps/<app>/data/<app>.yaml describes the application in the same way as the AMD example applications: required libraries (depends_libs, e.g. xiltimer), required drivers (depends), supported processors and operating systems.
Add Your Own Application
- Copy
sw_lib/sw_apps/hello_trenztosw_lib/sw_apps/<my_app>. - Optional: rename
data/hello_trenz.yamltodata/<my_app>.yamland adapttitleanddescription. The file documents the application in the AMD format;TE::sw_run_vitisdoes not use it. - Replace the source files in
src. - Add the application to
sw_lib/platform/platform.yamlunder the keyapps:- name: <my_app> - Run
TE::sw_run_vitis -allin the Vivado Tcl console.
Result: prebuilt/software/<short name>/<my_app>_app.elf and prebuilt/boot_images/<short name>/<my_app>/BOOT.bin.
Work in the Vitis IDE
After TE::sw_run_vitis, the Vitis IDE opens with the workspace workspace/ide. It contains the platform component (e.g. TE0820-05) and one application component for each application (<app>_app).
To open the workspace later, load the Vitis settings (settings64.bat or settings64.sh of the Vitis installation) and run:
reference design folder
vitis -w workspace/ide
The message ERROR : Error in generating Application Template List. in the Vitis IDE output can be ignored.
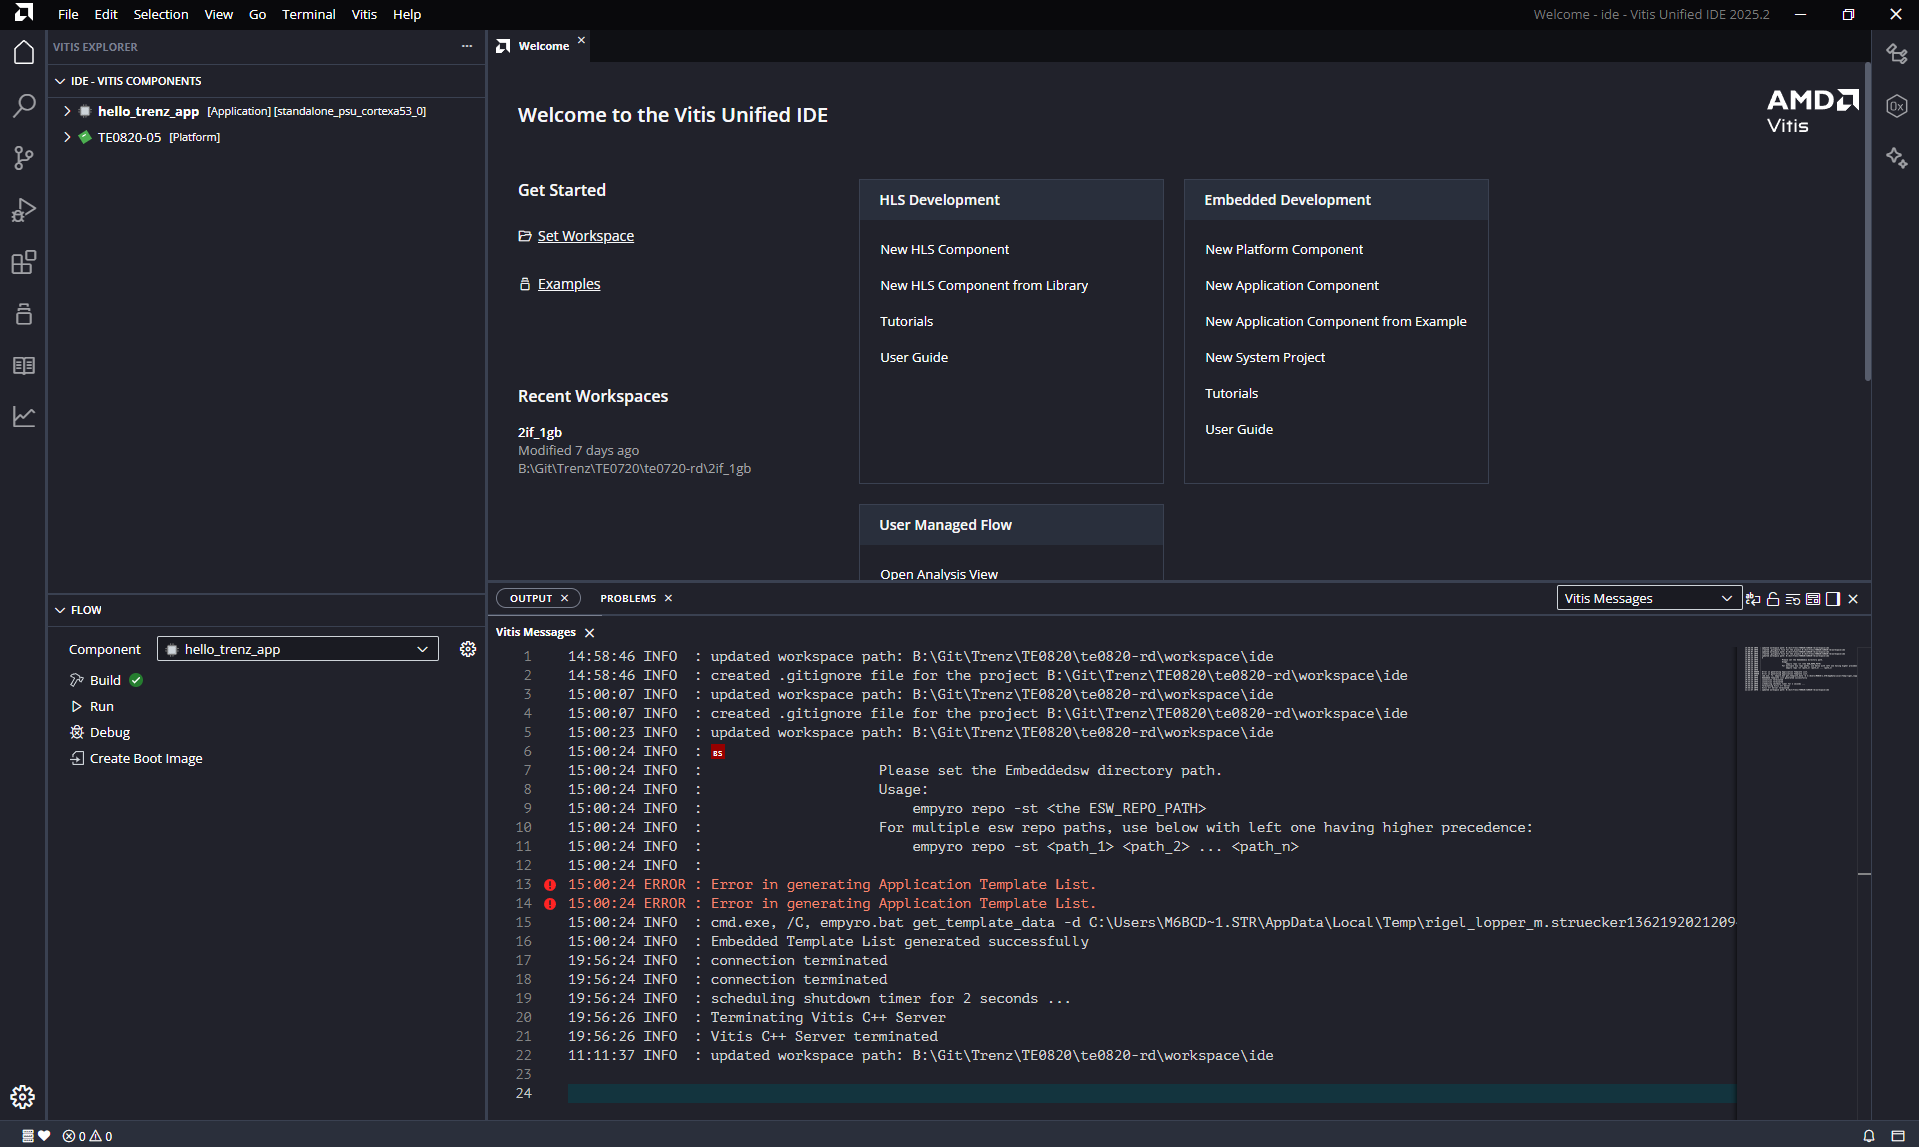
Vitis IDE after TE::sw_run_vitis: platform component TE0820-05 and application component hello_trenz_app. The ERROR messages in the output can be ignored.
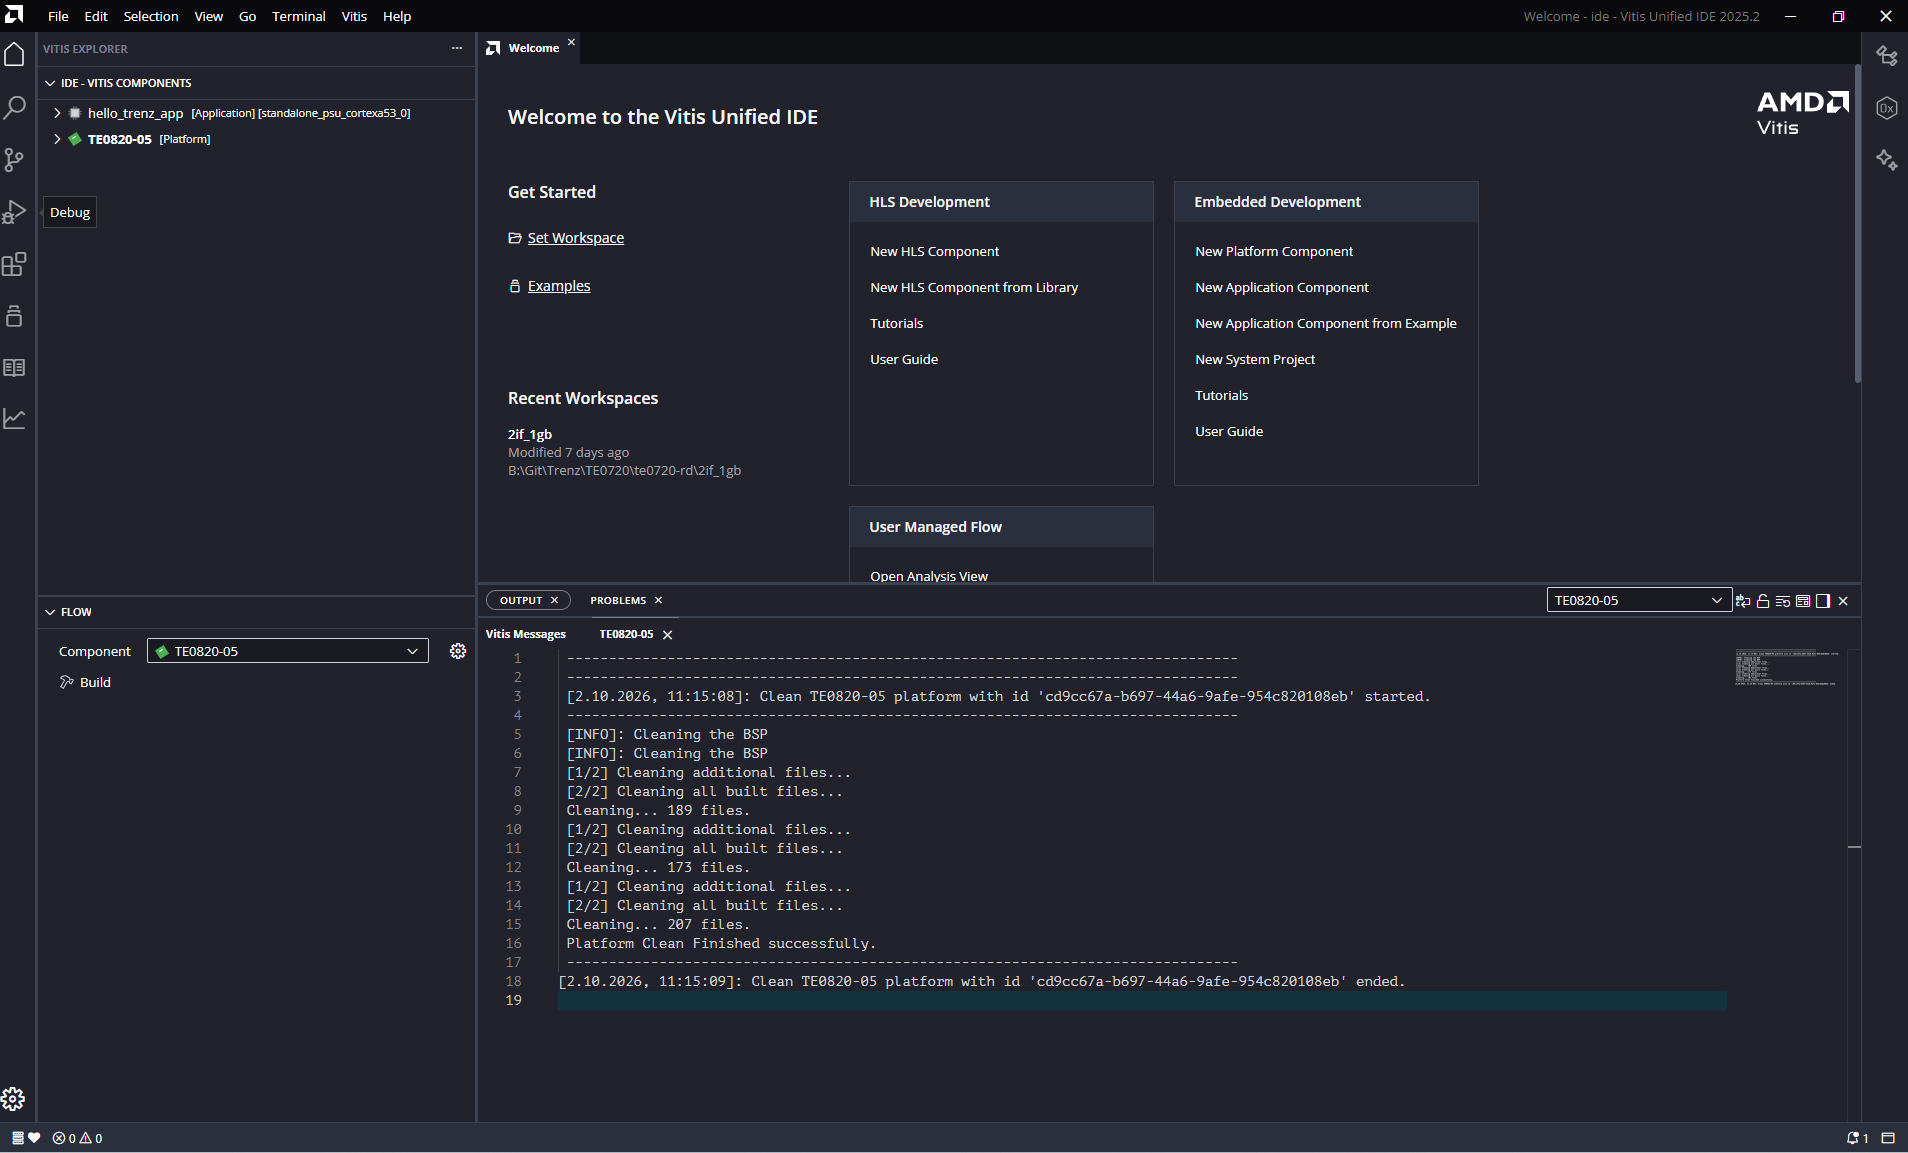
Platform component TE0820-05 selected in the Flow view
Build
Select the component in the Flow view and click Build. Build the platform component first, then the application.
Build the platform: select TE0820-05 as component and click Build
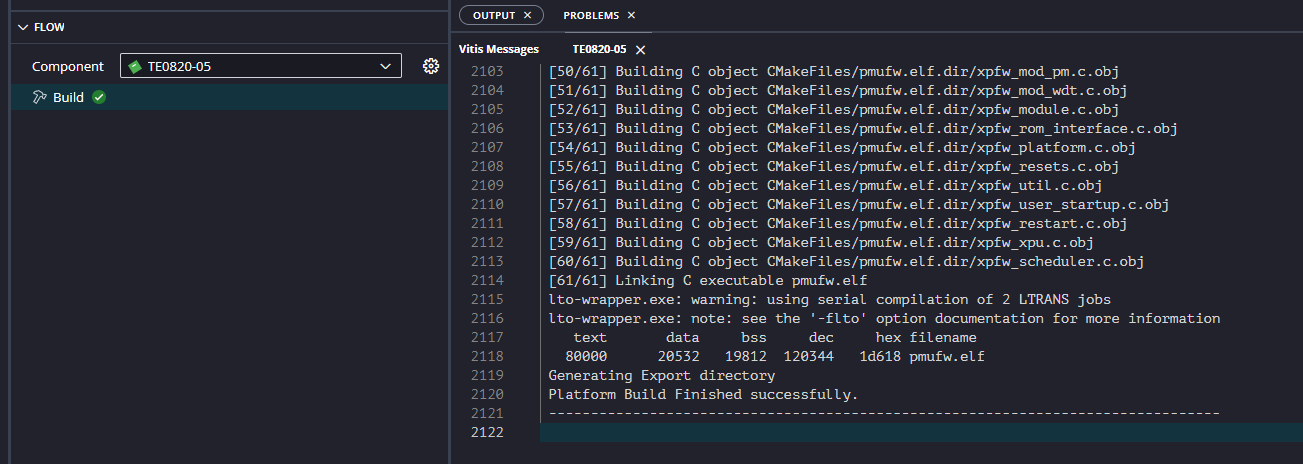
Platform build finished successfully
When the application is built for the first time, Vitis asks whether the platform is built together with the application. Always build platform with application makes sure that changes in the platform BSP are included.
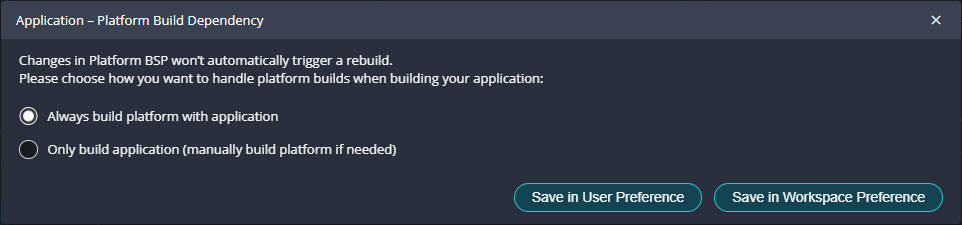
Dialog at the first application build
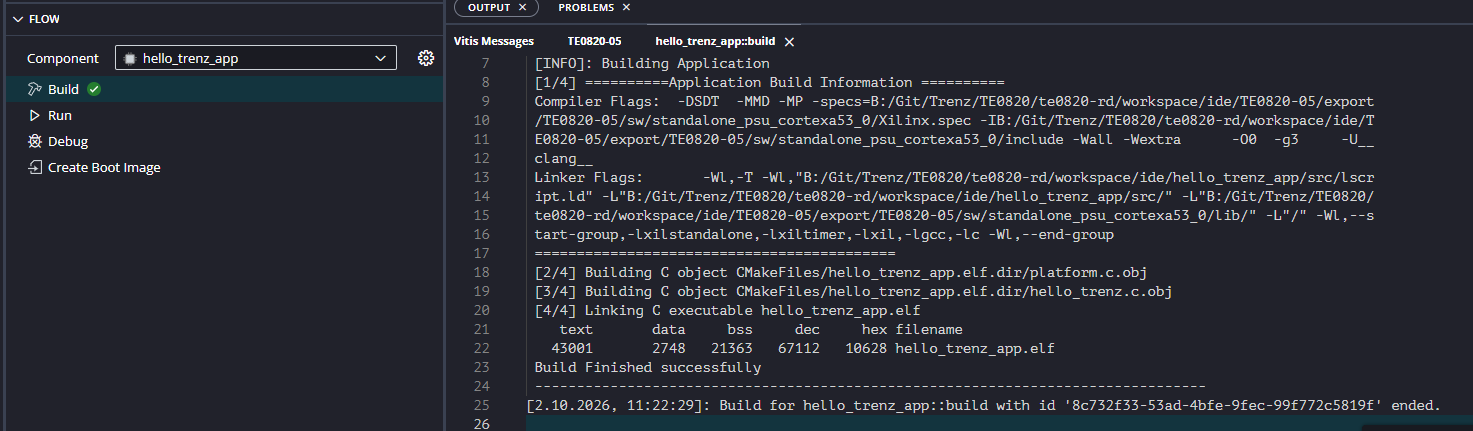
Application build finished successfully. Run, Debug and Create Boot Image are now available.
Run and Debug
Connect the board via JTAG and open a serial terminal for the UART output. Select the application component in the Flow view and click Run or Debug.
Serial output of hello_trenz (TE0820):
Output (serial console)
--------------------------------------------------------------------------------
TE0820 TE_XFsbl_HookPsuInit_Custom
Configure PLL: SI5338-B
Si5338 Init Registers Write.
Si5338 Init Complete
PLL Status Register 218:0x8
USB Reset Complete
ETH Reset Complete

--------------------------------------------------------------------------------

--------------------------------------------------------------------------------
Zynq MP First Stage Boot Loader (TE modified)
Release 2025.2   Oct  2 2026  -  11:22:23

--------------------------------------------------------------------------------
TE0820 TE_XFsbl_BoardInit_Custom

--------------------------------------------------------------------------------

--------------------------------------------------------------------------------
TE0820 TE_XFsbl_HookAfterBSDownload_Custom

--------------------------------------------------------------------------------
Hello Trenz Module (Loop: 1)
Hello Trenz Module (Loop: 2)
Hello Trenz Module (Loop: 3)
Hello Trenz Module (Loop: 4)
Hello Trenz Module (Loop: 5)
...
Changes to the Hardware Design
After changes in Vivado, build the hardware design again and run TE::sw_run_vitis -all. The platform and the applications are then created with the new XSA.
Create Boot Files (BOOT.bin)
TE::sw_run_vitis -all generates boot.bif and BOOT.bin for each application in prebuilt/boot_images/<short name>/<app>/.
Content of the BIF file depending on the architecture:
Architecture | Bare-metal ( | U-Boot ( |
|---|---|---|
Zynq-7000 | FSBL, bitstream, application | FSBL, bitstream, U-Boot, device tree |
Zynq UltraScale+ MPSoC | FSBL, bitstream, application | FSBL, PMUFW, bitstream, TF-A ( |
Versal | PDI, application | PDI, device tree, TF-A ( |
The boot files are mainly for bare-metal applications. If the files bl31.elf, u-boot.elf and system.dtb exist in prebuilt/os/petalinux/<DDR size>/, the script additionally generates boot.bif and BOOT.bin with U-Boot (PetaLinux) in prebuilt/boot_images/<short name>/u-boot/. Linux with Yocto: see Embedded Linux Development with Yocto and AMD EDF.
Example boot.bif for TE0820:
prebuilt/boot_images/2eg_1e_2gb/hello_trenz/boot.bif
the_ROM_image:
{
    [bootloader, destination_cpu= a53-0] ../../../platform/2eg_1e_2gb/sw/boot/fsbl.elf
    [destination_device = pl] ../../../platform/2eg_1e_2gb/hw/sdt/te0820-rd_2eg_1e_2gb.bit
    [destination_cpu = a53-0] ../../../software/2eg_1e_2gb/hello_trenz_app.elf
}
The paths are relative to the folder of the BIF file. To create BOOT.bin manually, load the Vitis settings and run in the folder of the BIF file:
prebuilt/boot_images/<short name>/<app>
bootgen -image boot.bif -arch <arch> -o BOOT.bin -w
Example:
prebuilt/boot_images/2eg_1e_2gb/hello_trenz
bootgen -image boot.bif -arch zynqmp -o BOOT.bin -w
<arch> is zynq, zynqmp or versal.
Create BOOT.bin in the Vitis IDE
Alternatively, BOOT.bin can be created in the Vitis IDE: select the application component in the Flow view and click Create Boot Image, or use the menu Vitis → Create Boot Image → <architecture>.
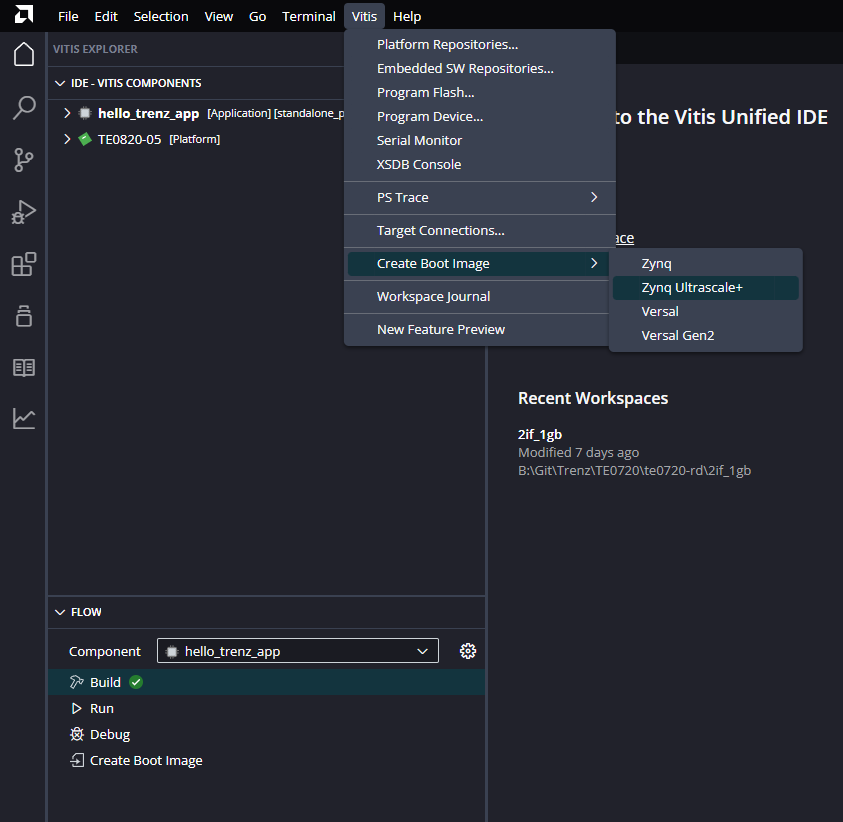
Menu Vitis → Create Boot Image → Zynq Ultrascale+
To use the BIF file generated by the script, select Import existing BIF file and choose prebuilt/boot_images/<short name>/<app>/boot.bif. Enter the output paths and click Create Image.
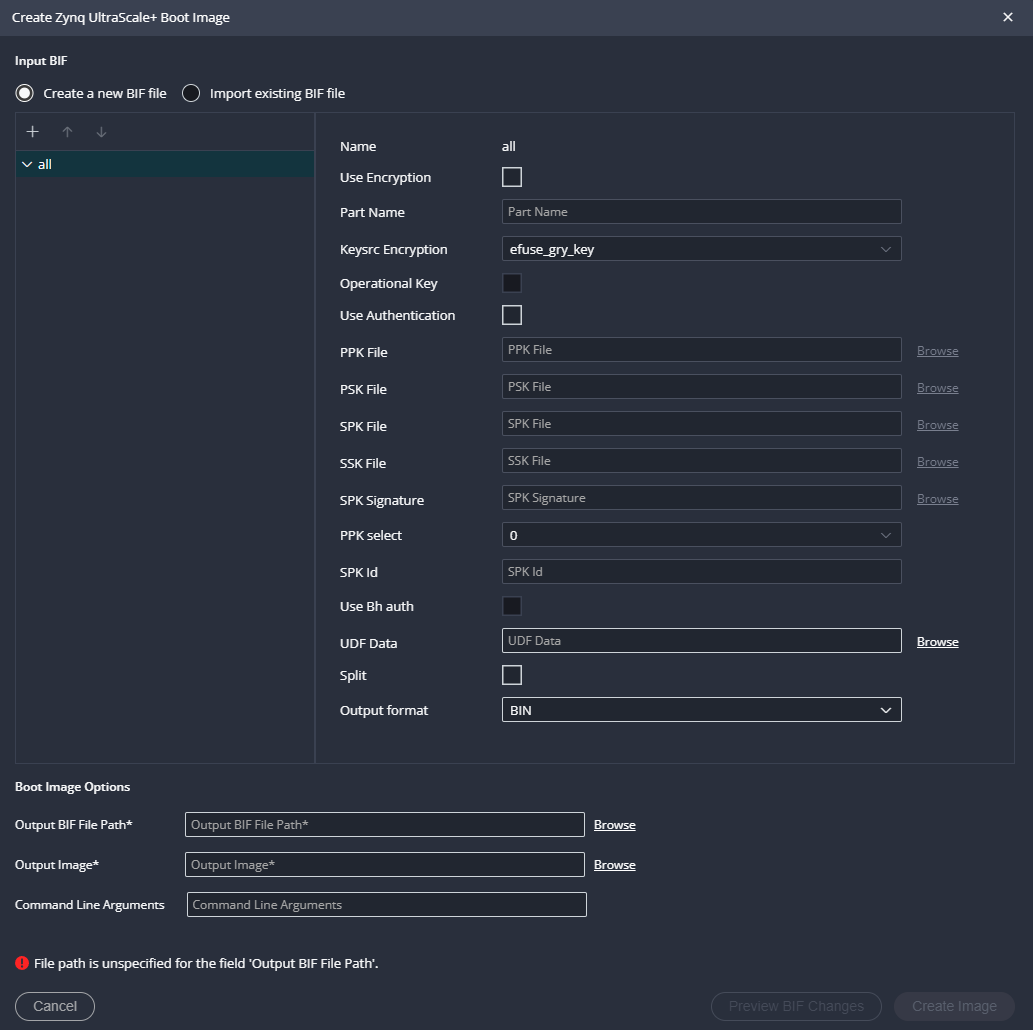
Dialog Create Zynq UltraScale+ Boot Image
Boot from SD Card or QSPI Flash
- SD boot mode: copy
BOOT.binto the FAT partition of the SD card. - QSPI boot mode: program
BOOT.bininto the QSPI flash.
The boot mode settings of the module are described on the page of the reference design.
References
Table of contents
Overview
Content Tools