Documentation for 2023.2 can be changed permanently at the moment.
With the current status documentation, everything can be created and used under WSL but 2023.2 under WSL2 is currently being evaluated.
Instructions
Setup WSL and Install Linux
- Enable CPU virtualisation in BIOS
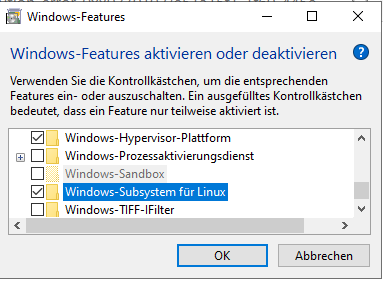
- Open Windows Features
- Enable Windows-Subsystem for Linux
Prepare Linux for AMD Tools
Notes and Hints and other stuff
Other Trenz Documentation around AMD Tool
Table of contents
Preview Screenshots
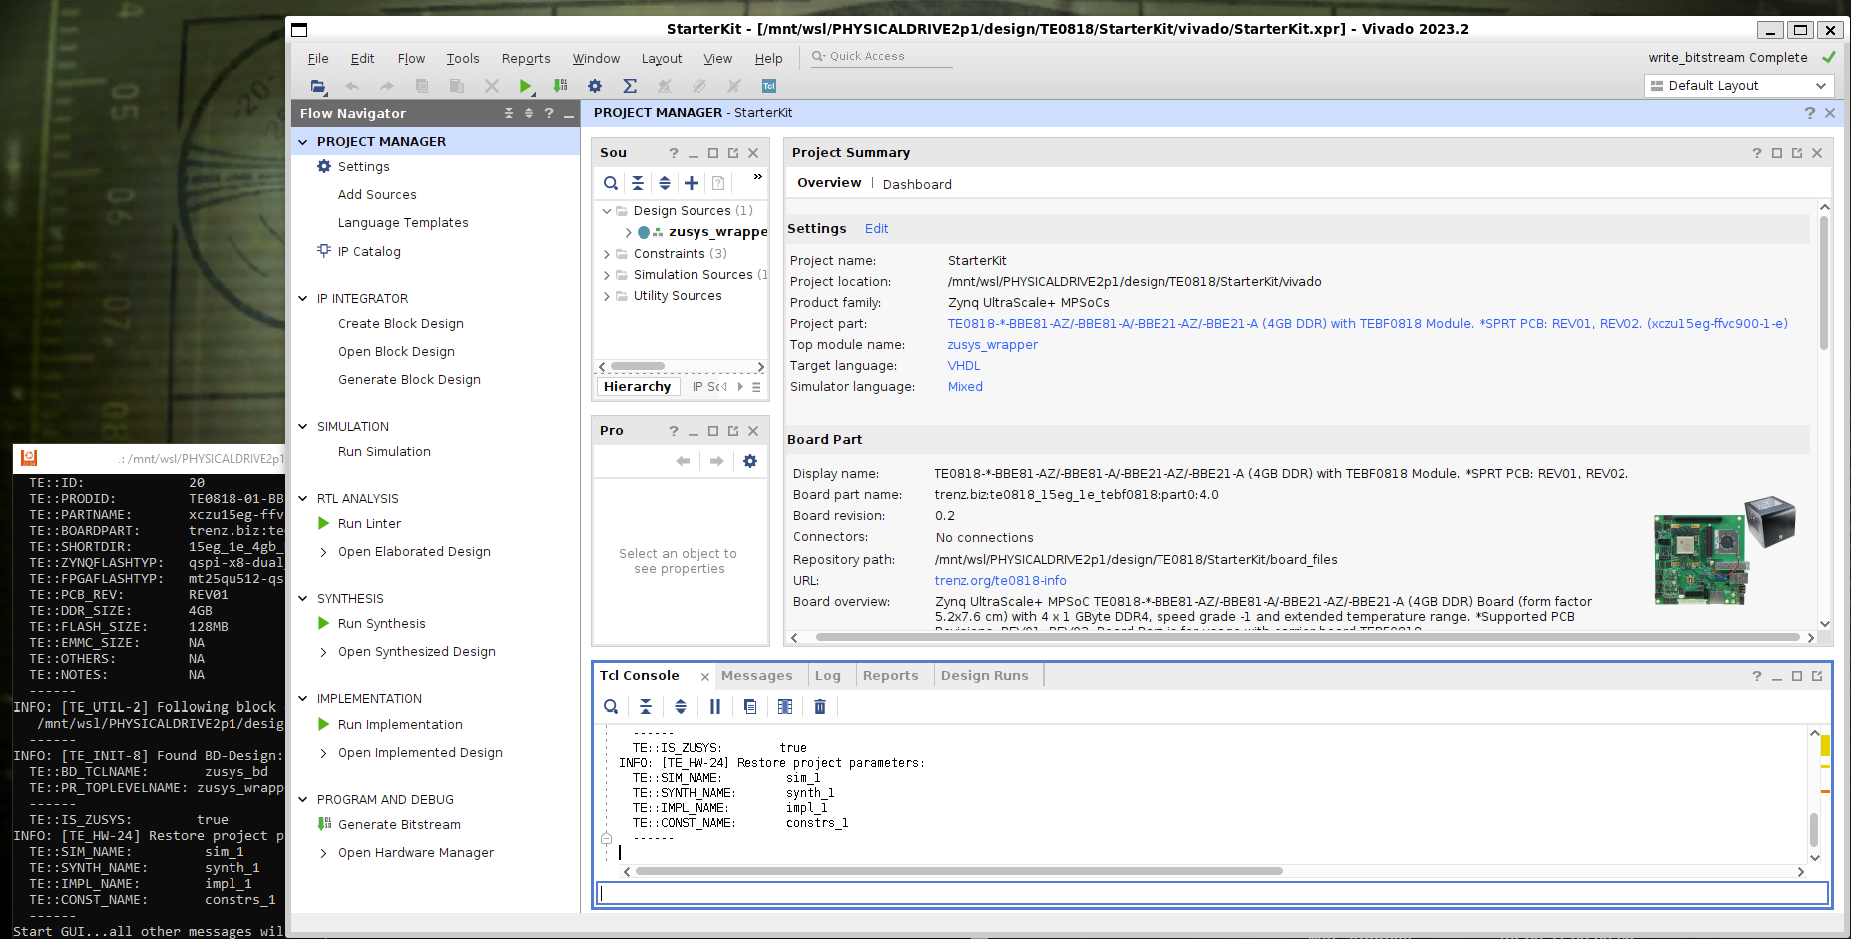
Vivado Linux GUI on Windows Desktop
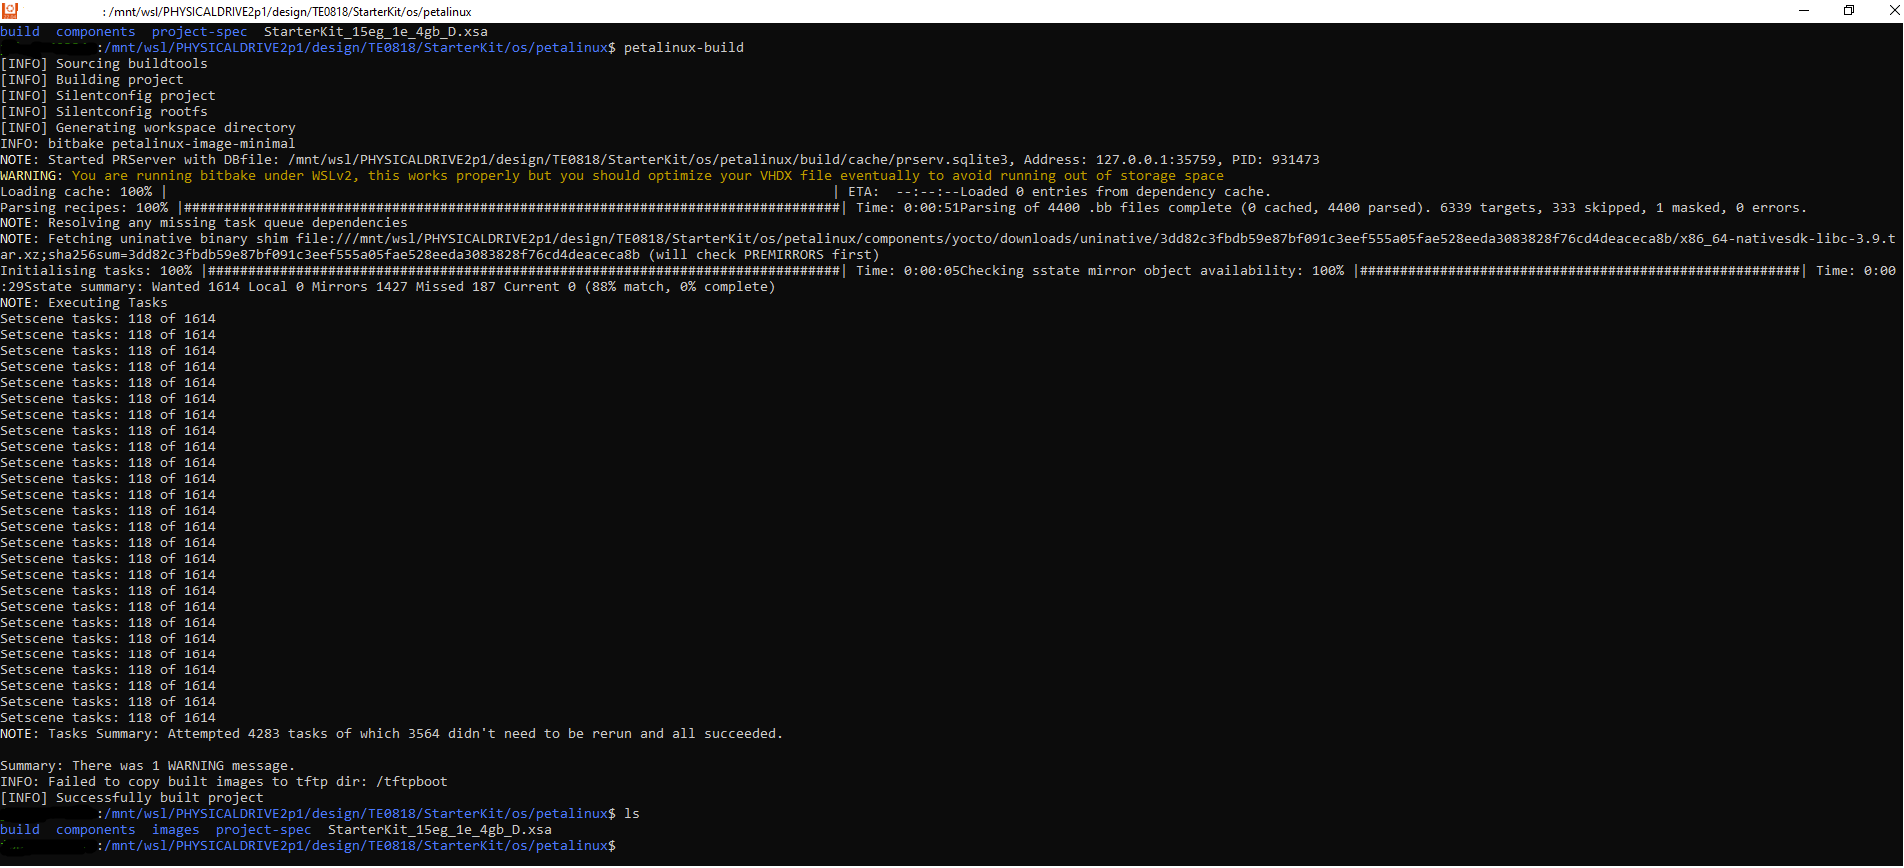
Linux Console on Win OS with Petalinux
Obsolete Notes
VCXsrv is not longer needed with newest WSL und Ubuntu 22.04
- Install VcXsrv
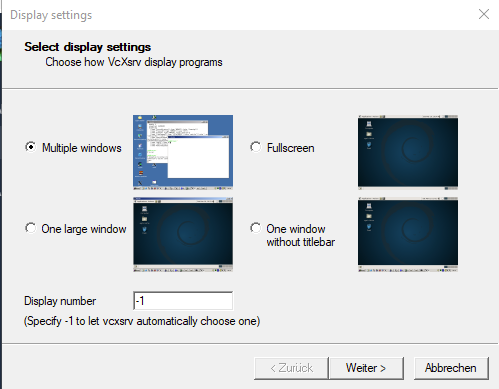
- Start VcXsrv (XLaunch)
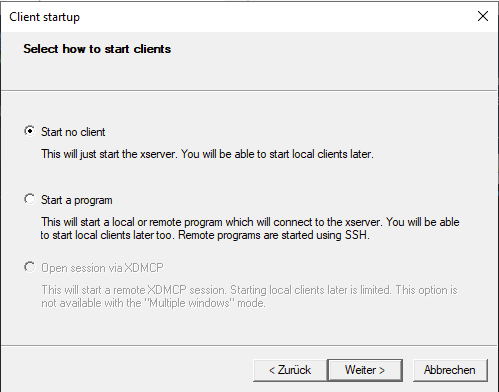
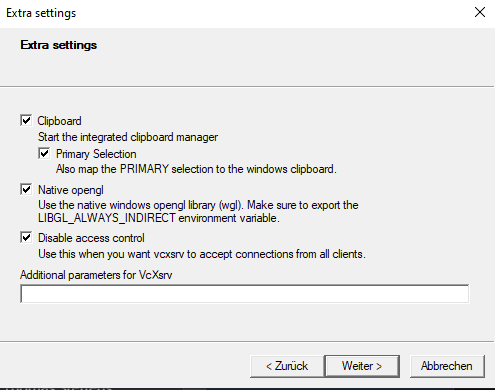
- (optional) Save Configuration and run XLaunch directly with "XLaunch -run <config.xlaunch>"
- Linux console:
- sudo apt update && sudo apt upgrade
- sudo apt install xfce4
sudo apt install build-essential
sudo apt install net-tools
- sudo apt install xrdp -y && sudo systemctl enable xrdp
- Add environment to auto start of new console :
- sudo vim /etc/bash.bashrc
export DISPLAY=<host IP>:0.0
export LIBGL_ALWAYS_INDIRECT=1
- sudo /etc/init.d/dbus start
- sudo /etc/init.d/xrdp start
Currently not tested with newest WSL und Ubuntu 22.04
- Start Ubuntu App (Windows Start Button → Ubuntu)
- Add username and password
- Update packet manager:
- sudo apt update && sudo apt upgrade
- Install:
- sudo apt install xfce4 xrdp
- Modify Remote Port
- sudo sed -i 's/3389/3388/g' /etc/xrdp/xrdp.ini
- Start XRDP Server
- sudo /etc/init.d/xrdp start
- (optional) XRDP autostart :
- sudo vim /etc/bash.bashrc
- sudo /etc/init.d/xrdp start
- sudo vim /etc/bash.bashrc
- Connect via RDP (Win10 Remote Desktop Connection):
- localhost:3388
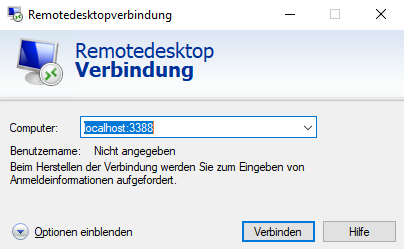
- localhost:3388
Overview
Content Tools