Page History
...
| Date | Vivado | Project Built | Authors | Description |
|---|---|---|---|---|
2017-11- 14 | 2017.2 | TE0808TE0803-test_board-vivado_2017.2-build_05_2017111314095420171114090712.zip TE0808TE0803-test_board_noprebuilt-vivado_2017.2-build_05_2017111314190820171114090725.zip | John Hartfiel | initial release |
...
| Module Model | Board Part Short Name | PCB Revision Support | Notes | ||||
|---|---|---|---|---|---|---|---|
| TE0808TE0803-ES1 | es1 | REV02, REV03REV01 | |||||
| TE0803-01-02EG-1E | 2eg | REV01 | TE0808-ES2 | es2 | REV03, REV04 | ||
| TE0808TE0808-2ES2 | 2es2 | REV03, REV04REV01 | |||||
| TE0808TE0803-0401-09EG02CG-1EA1E | 9eg_1ea2cg | REV04REV01 | |||||
| TE0808TE0803-0401-09EG03EG-1EB|D | 9eg_1eb | 1E | 3eg | REV01REV04 | Different connector height | ||
| TE0808TE0803-0401-09EG03CG-2IB1E | 9eg_2ib3cg | REV04 | TE0808-04-15EG-1EB | 15eg_1eb | REV04 | REV01 |
Note: Design contains also Board Part Files for TE0808TE0803+TEBF0808 configuration, this boart part files are not used for this reference design.
...
Reference Design is available on:
- TE0808 TE0803 Test Board
Design Flow
| HTML |
|---|
<!-- Basic Design Steps Add/ Remove project specific --> |
...
- _create_win_setup.cmd/_create_linux_setup.sh and follow instructions on shell:
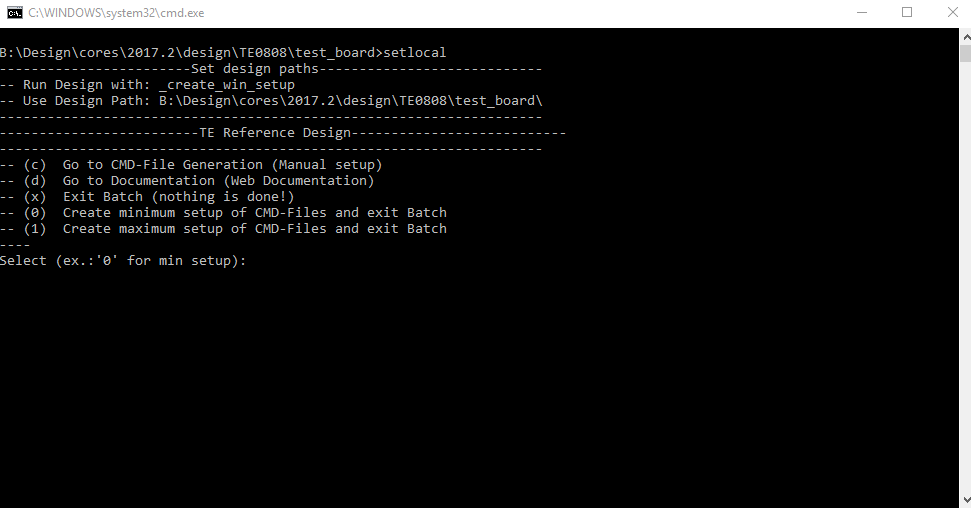
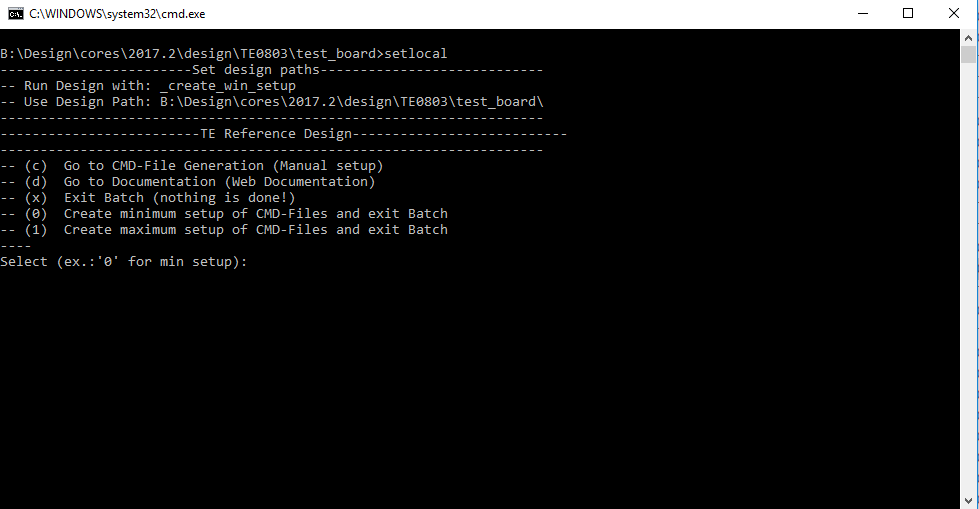
- Press 0 and enter for minimum setup
- (optional Win OS) Generate Virtual Drive or use short directory for the reference design (for example x:\<design name>)
- Create Project
- Select correct device and Xilinx install path on "design_basic_settings.cmd" and create Vivado project with "vivado_create_project_guimode.cmd"
Note: Select correct one, see TE Board Part Files
Use Board Part Files, which did not contains with *_tebf0808
- Select correct device and Xilinx install path on "design_basic_settings.cmd" and create Vivado project with "vivado_create_project_guimode.cmd"
- Create HDF and export to prebuilt folder
- Run on Vivado TCL: TE::hw_build_design -export_prebuilt
Note: Script generate design and export files into \prebuilt\hardware\<short dir>. Use GUI is the same, except file export to prebuilt folder
- Run on Vivado TCL: TE::hw_build_design -export_prebuilt
- Generate Programming Files with HSI/SDK
- Run on Vivado TCL: TE::sw_run_hsi
Note: Scripts generate applications and bootable files, which are defined in "sw_lib\apps_list.csv" - (alternative) Start SDK with Vivado GUI or start with TE Scripts on Vivado TCL: TE::sw_run_sdk
Note: See SDK Projects
- Run on Vivado TCL: TE::sw_run_hsi
...
- Select JTAG as Boot Mode (see Carrier Description and ZynqMP TRM)
- Connect JTAG to Host PC
- Power On
- Open Vivado Hardware Manager with Auto Connect
- Right Click to FPGA Device XCU... and select Add Configuration Memory Device
- Select correct Flash Typ (see schematics or FPGAFLASHTYP on test_board/board_files/TE0808_board_files.csv)
- Open Program Configuration Memory Device
- Configuration file: test_board/prebuilt/boot_image/<short dir>/hello_te0808te0803/Boot.bin
- Zynq FSBL: test_board/prebuilt/software/<short dir>/zynqmp_fsbl.elf
- Program Device Flash
...
- Prepare HW like described on section 46039158 TE803 Test Board
- Connect UART USB (most cases same as JTAG)
- Select QSPI Card as Boot Mode
Note: See TRM of the Carrier, which is used. - Power On PCB
Note: 1. ZynqMP Boot ROM loads PMU Firmware and FSBL from QSPI into OCM, 2. FSBL loads Application into DDR
...
Application
FSBL
Xilinx default FSBL
Hello
...
TE0803
Hello TE0808 TE0803 is a Xilinx Hello World example as endless loop instead of one console output.
Additional Software
| HTML |
|---|
<!-- Add Description for other Software, for example SI CLK Builder ... --> |
...
| Date | Document Revision | Authors | Description | ||||||||||||||||||||||
|---|---|---|---|---|---|---|---|---|---|---|---|---|---|---|---|---|---|---|---|---|---|---|---|---|---|
|
|
| Work in progress
| ||||||||||||||||||||||
| All |
|
...
Overview
Content Tools