Page History
Create user defined AXI4 peripheral IP-Core
- Start Vivado
- Start IP Manager --> New IP Location...

Creating a new IP Core Location - this will be a location for an Vivado Project that "hosts" all your IP Cores you develop. It is recommended to set the default part in this project to some device you use more frequently.
Note It is not recommended to Create New IP Cores, or start IP Core Editor from existing Projects that use Board Part Flow.
- Select FPGA, Language,Location... → Click Finished
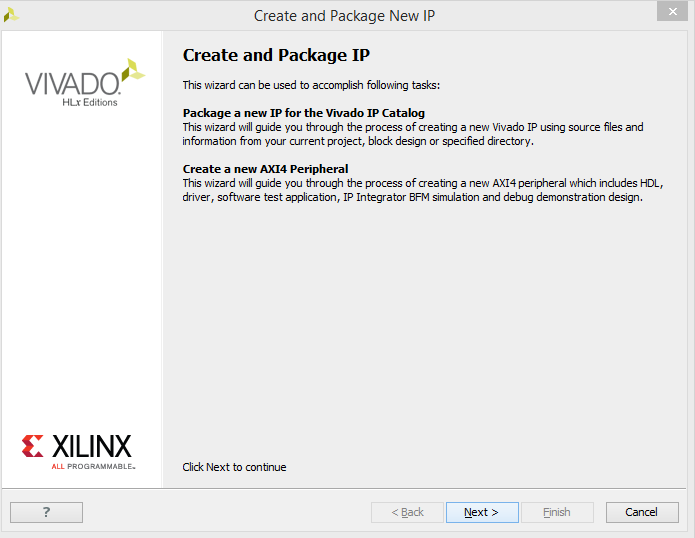
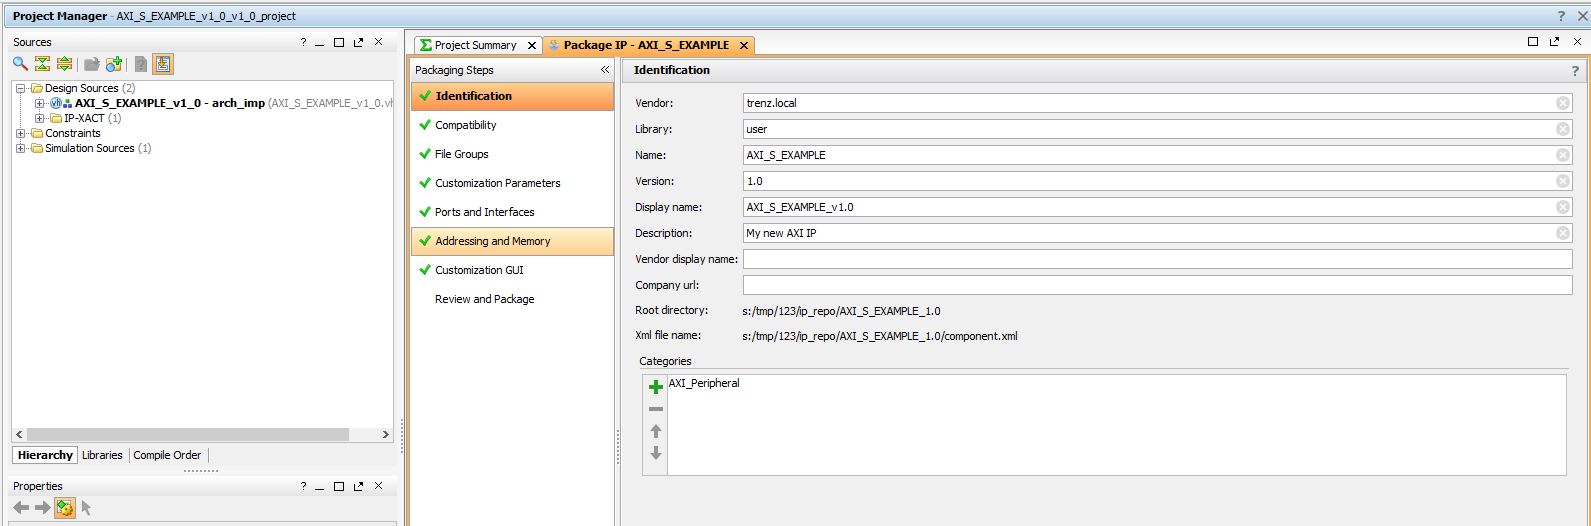
- Click Tools → Create and Package IP
- Click Next
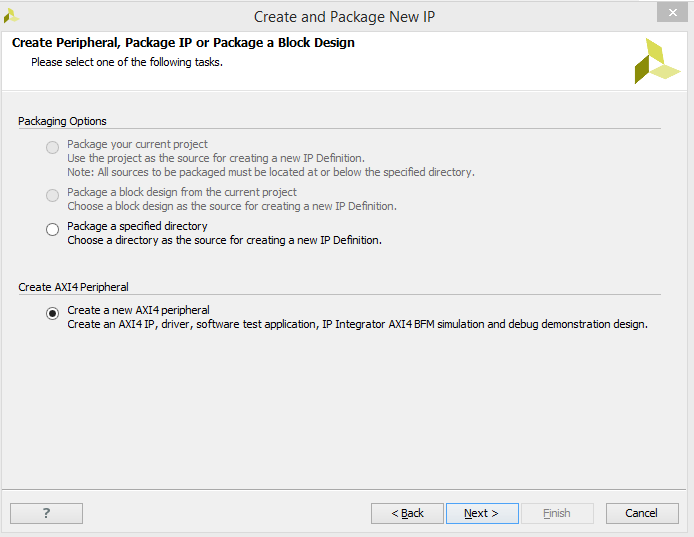
- Select "Create a new AXI peripheral" and click Next
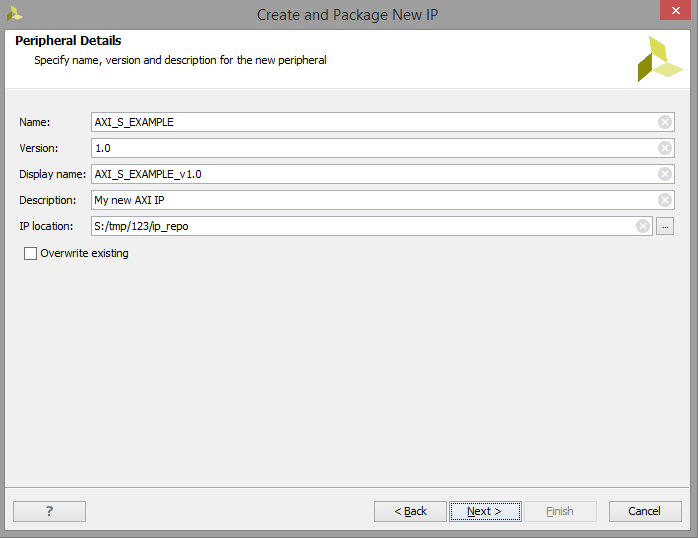
- Insert Peripheral Details (Name, Description...) and click Next
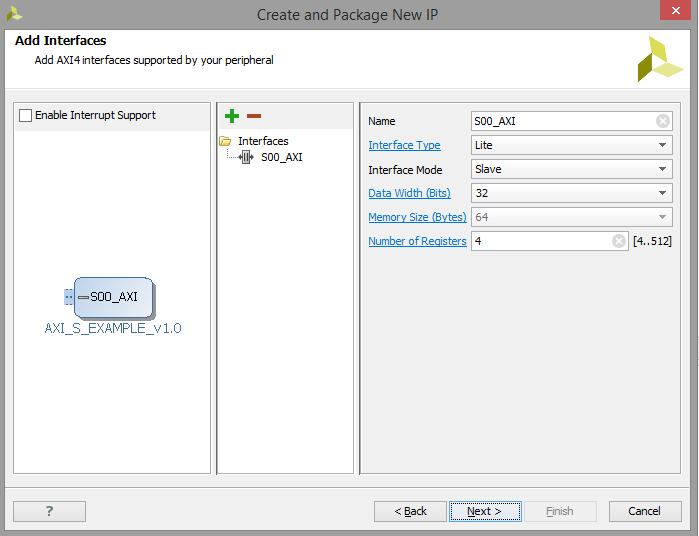
- Configure your AXI Interface and click next
- Select Edit IP and click Finish
- Edit your IP-Core and insert your own HDL-Code into the project
- Your own HDL Files should be located into the sub-folter <IP Management Project Location>/ip_repo/<IP-Name>/hdl/...
- All other relevant IP Files should also located into the IP-Repo folder <IP-Name>
- For detailed description of customizing IPs, see Xilinx documentation
...
Reference
- Vivado Design Suite - Creating, Packaging Custom IP Tutorial (UG1119)
- Vivado Design Suite - Creating, Packaging Custom IP (UG1118)
Overview
Content Tools