| Warning |
|---|
Documentation for 2023.2 can be changed permanently at the moment.
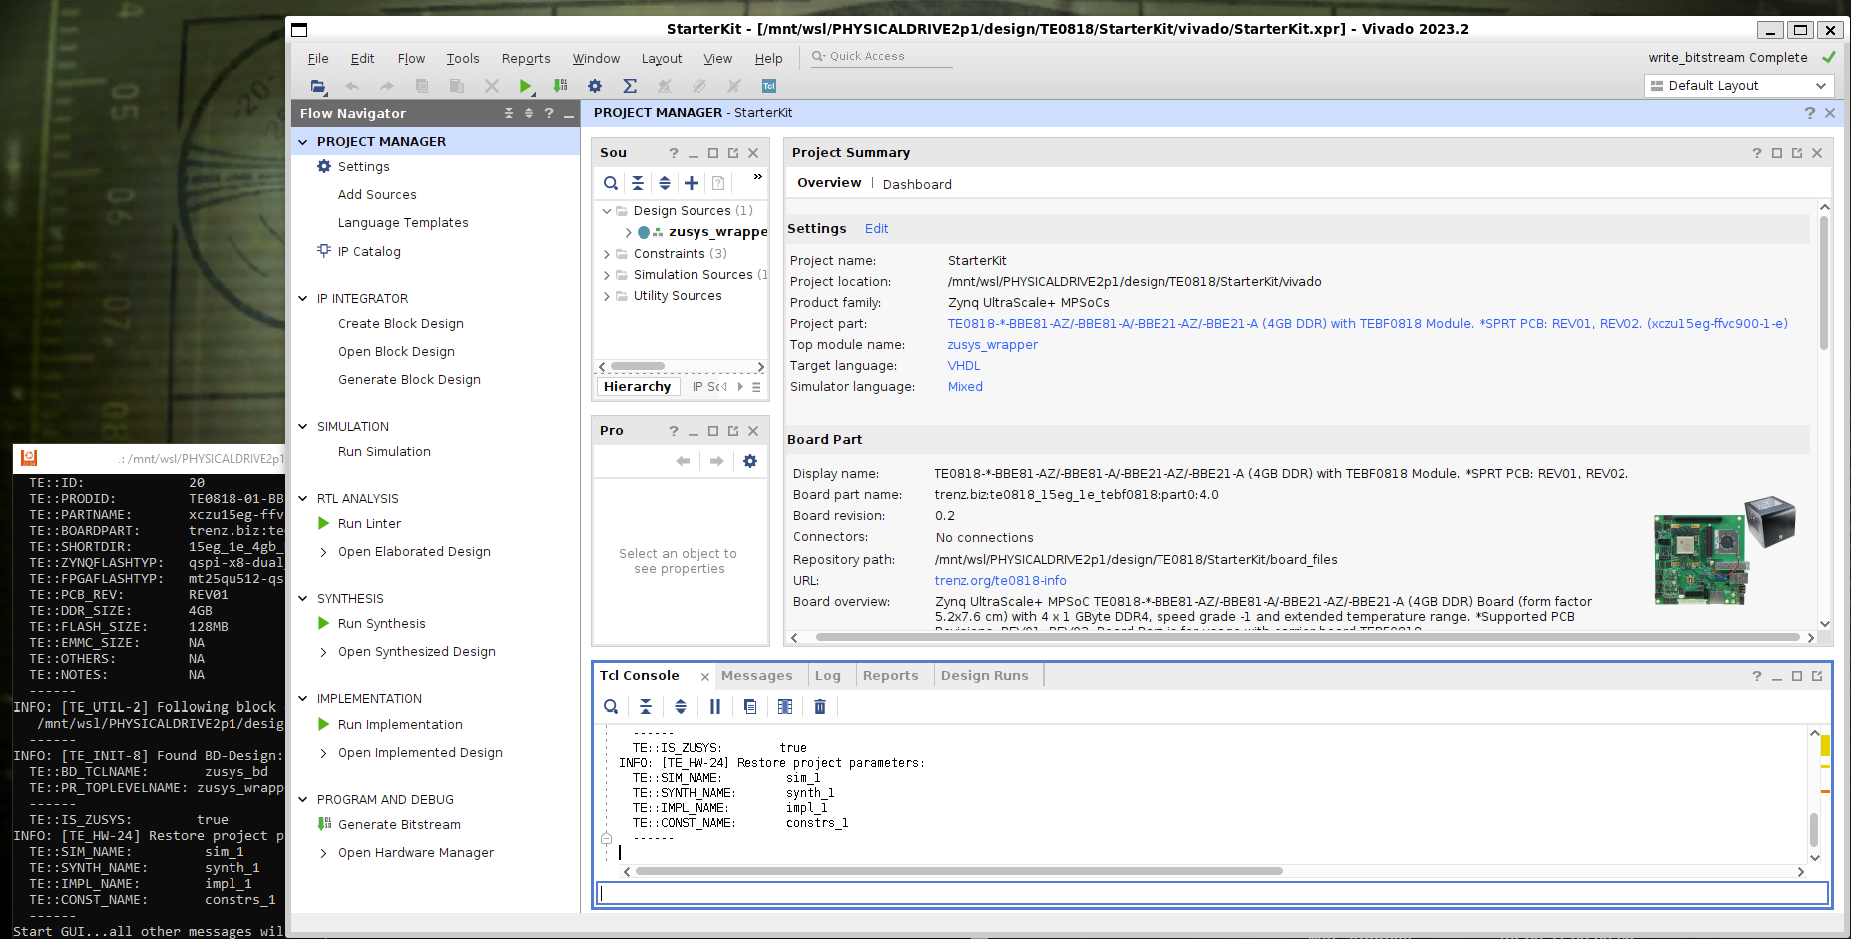
With the current status documentation, everything can be created and used under WSL but 2023.2 under WSL2 is currently being evaluated. |
| Note |
|---|
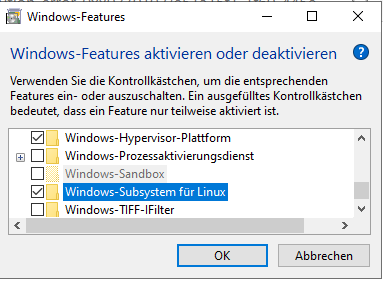
Beta Version description page is under constructionLinux Distribution installieren | Download Linux Distribution:https://docs.microsoft.com/de-de/windows/wsl/install-manualInstall Vivado/Vitis/Petalinux supported Linux OS ( "Ubuntu 18.04 LTS" for 2020.2)Add-AppxPackage <download path>\Ubuntu_1804.2019.522.0_x64.appx sudo <size>GBInstall VcXsrvStart VcXrvc (XLaunch)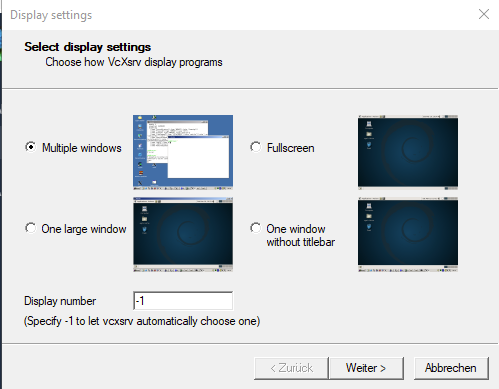 Image Removed
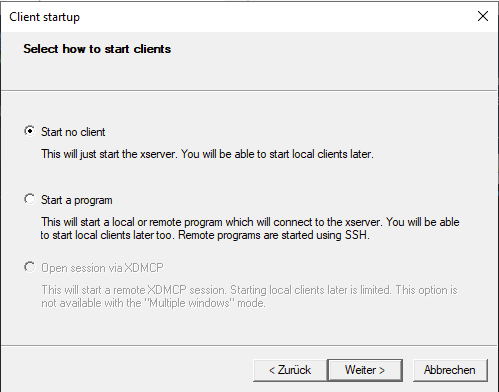 Image Removed
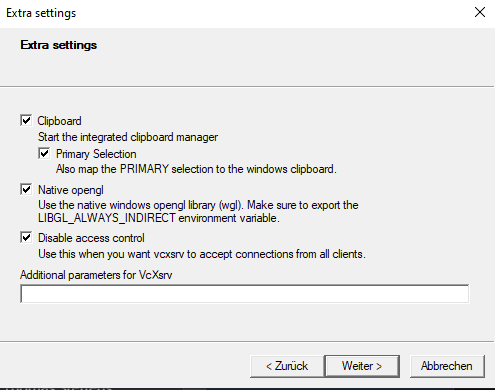 Image RemovedLinux console:
- sudo apt update && sudo apt upgrade
- sudo apt install xfce4
sudo apt install build-essential
sudo apt install net-tools
- sudo apt install xrdp -y && sudo systemctl enable xrdp
Linux console:
export DISPLAY=<host IP>:0.0
export LIBGL_ALWAYS_INDIRECT=1
(optional) Add environment to auto start of new console :- sudo vim /etc/bash.bashrc
export DISPLAY=<host IP>:0.0
export LIBGL_ALWAYS_INDIRECT=1
- sudo /etc/init.d/dbus start
- sudo /etc/init.d/xrdp start
| Expand |
|---|
| title | GUI Option 2: Ubuntu Desktop Modus over RDP |
|---|
|
- Start Ubuntu App (Windows Start Button → Ubuntu)
- Add username and password
- Update packet manager:
- sudo apt update && sudo apt upgrade
- Install:
- sudo apt install xfce4 xrdp
- Modify Remote Port
- sudo sed -i 's/3389/3388/g' /etc/xrdp/xrdp.ini
- Start XRDP Server
- sudo /etc/init.d/xrdp start
- (optional) XRDP autostart :
- sudo vim /etc/bash.bashrc
- sudo /etc/init.d/xrdp start
- Connect via RDP(Win10 Remote Desktop Connection):
- localhost:3388
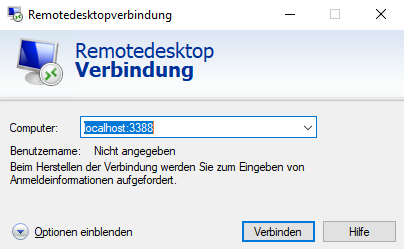 Image Removed Image Removed
|
| Expand |
|---|
| title | GUI Option 1: GUI with X-Server |
|---|
|
: in case script did not install all) python pylint3 Xilinx xvf Xilinx202011181232sudo chown <owner><owner> 20202020.26# finish
function x_run () {
#XServer Display
export DISPLAY=xxx.xxx.xxx.xxx:0.0
# replace xxx.xxx.xxx.xxx with your win 10 host IP
export LIBGL_ALWAYS_INDIRECT=1
sudo /etc/init.d/dbus start
sudo /etc/init.d/xrdp start
x-server Setup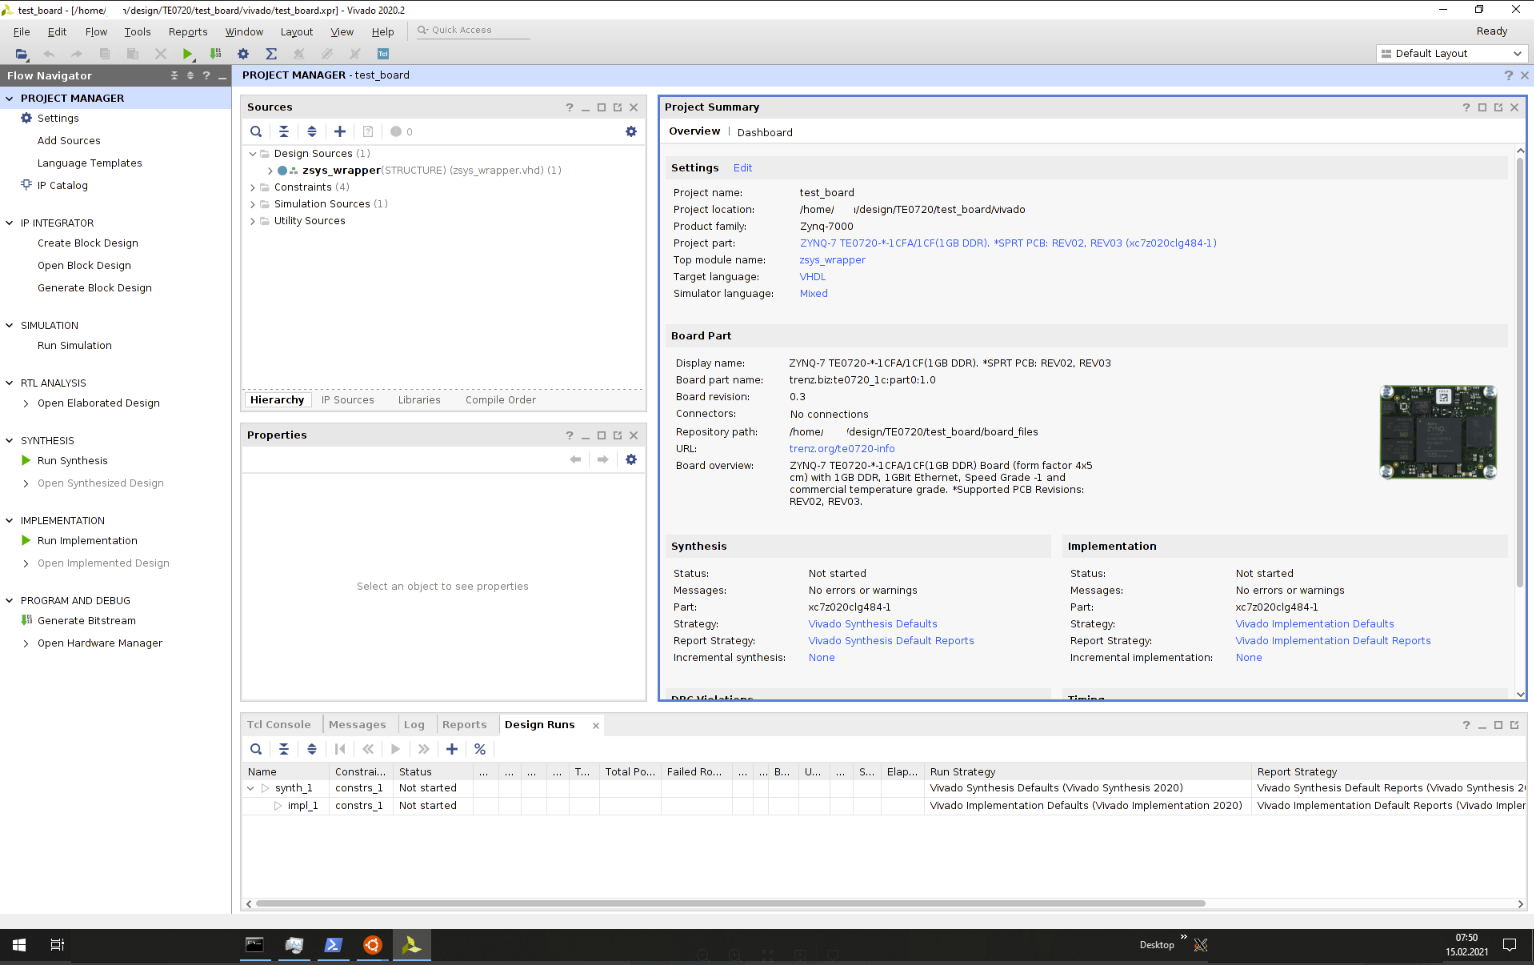 Image Removed
 Image Removed
 Image Removed
 Image Removed