How to test PCIe root complex on Xilinx FPGA? I would not have imaged that it is so simple as it was. So here it goes how I did it.
Step 1, get some board with GT(x) Transceivers.
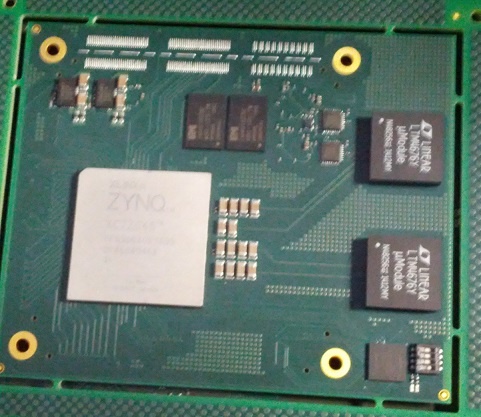
I had this one with Zynq 7045 from our vapor-phase oven.
It is actually a micro-module, and it pictured in working condition, junction temperature about 51C, the PCB has still the assembly tabs intact, I did not break them away as it there was enough clearance on the baseboard.
Step 2: Make Board Part support files for Vivado, beta version in 2 hours?
Step 3: Vivado new project select TE0782 as Board Part, run all wizards no manual stuff needed, run to bitstream, export
Step 4: SDK run wizards, let it create FSBL
Step 5: Create new project in petalinux
Step 6: drag the hdf from Vivado to VM box where petalinux lives
Step 7: petalinux-configure --get-hw-decription, then petalinx-build
Step 8: Create boot file in SDK using the u-boot and linux image petalinux did create
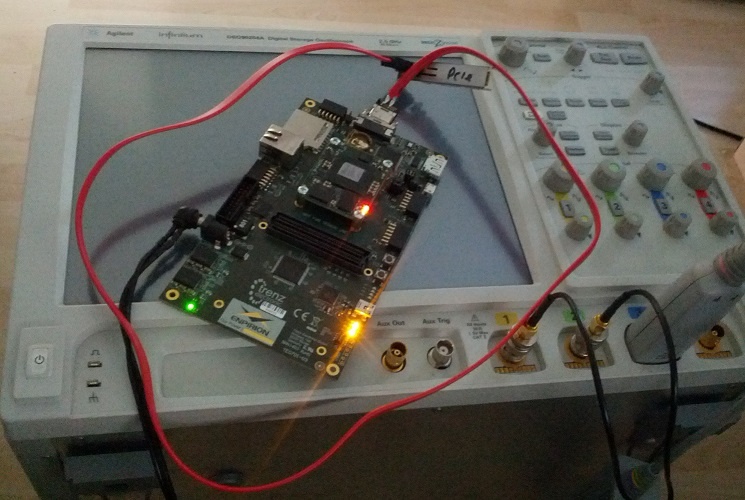
Step 9: Flash the SPI and hit reset, and Linux does run
Step 10: Add AXI PCIe, run wizards, fix one address in Address editor, generate bitstream and export
Step 11: Repeat steps 7 to 9
Step 12: get some more FPGA boards with GT(x), I did take TE0712 Artix module plugged to TE0701 baseboard
Step 13: Figure out how to connect the board described in step 1 to the board selected in step 12
Artix module TE0712 with A200T, from Cameralink connector on TE0701 goes cut SATA cable to SFP2SATA adapter.
Overview
Content Tools