Page History
...
| Scroll Title | ||||||||||||||||||||||||||||||||||||||||||||||||||||||||||||
|---|---|---|---|---|---|---|---|---|---|---|---|---|---|---|---|---|---|---|---|---|---|---|---|---|---|---|---|---|---|---|---|---|---|---|---|---|---|---|---|---|---|---|---|---|---|---|---|---|---|---|---|---|---|---|---|---|---|---|---|---|
| ||||||||||||||||||||||||||||||||||||||||||||||||||||||||||||
|
...
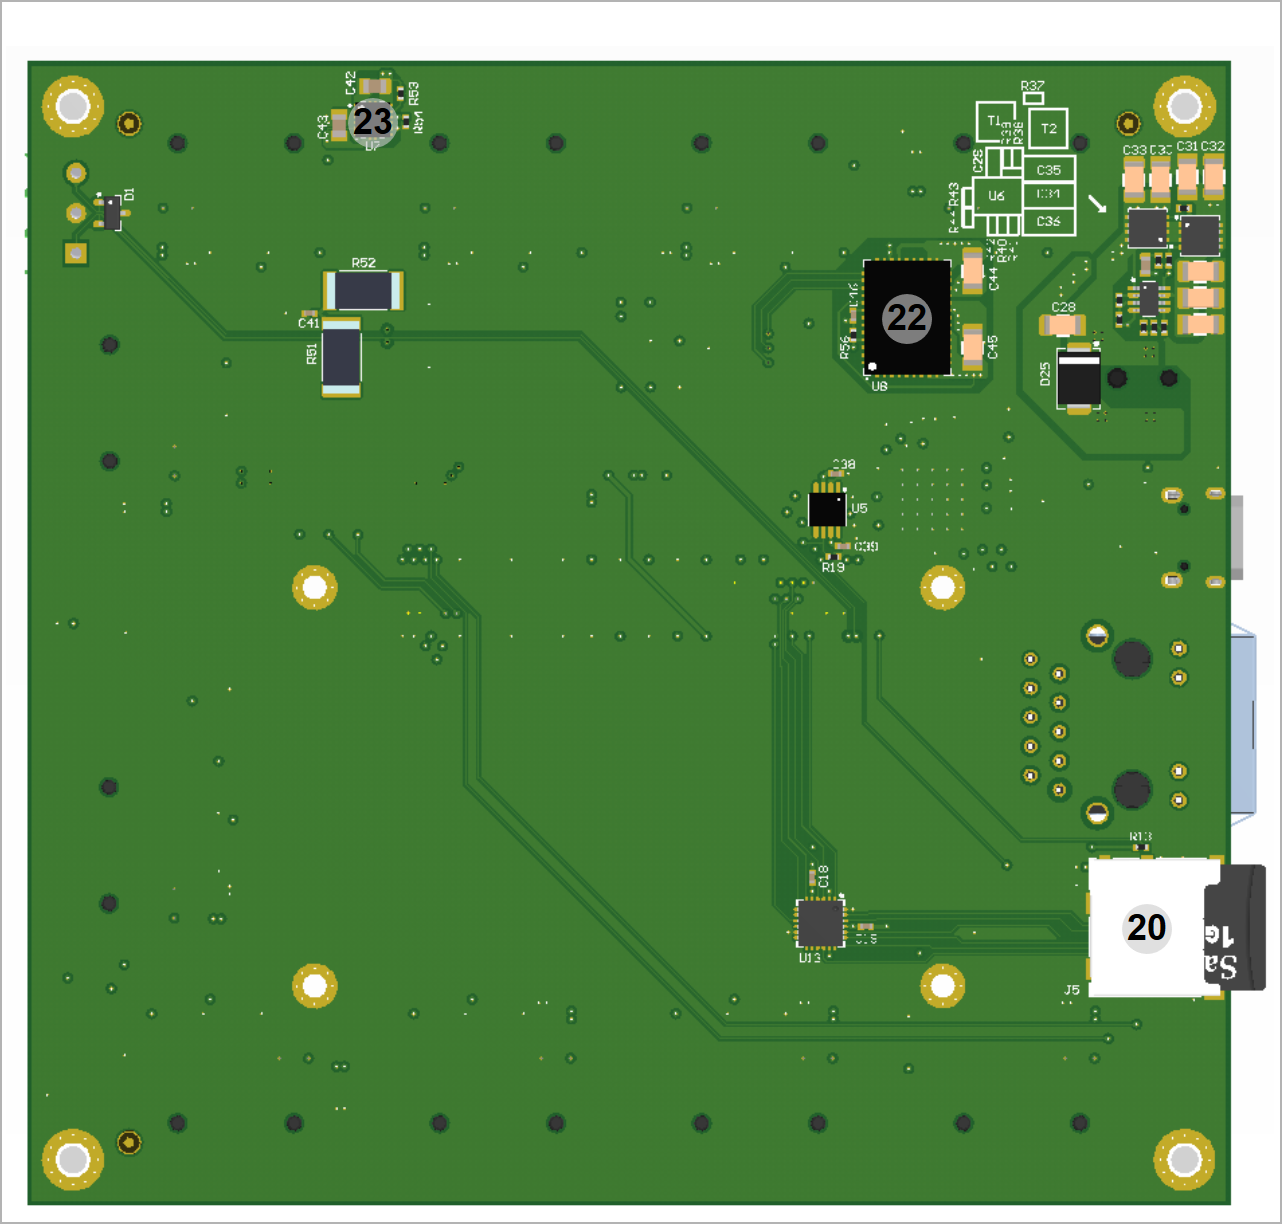
Storage device name | Content | Notes |
|---|---|---|
| FTDI Configuration EEPROM U3 | Empty | Not programmed. |
Table 12: Initial delivery state of programmable devices on the baseboard.
Boot Process
For selection of the bootdevice The boot device is selected by the mode jumpers on the pin header J6 are used. Placing a jumper at pin 13-14 sets Mode0 to low level. Mode1 is set to low level by a jumper on over pin 15-16. Boot modes are further described at the corresponding section of the modules, e.g. Table 2, Boot mode selection of TE0724 TRM. Default with no jumpers is boot from SD-Card.
...
| B2B Connector | Interfaces | Count of IO's | Notes |
|---|---|---|---|
| J1 | User IO | 72 single ended or 36 differential | 9x Pmod |
| 6 LED | red | ||
| 2 Push Button | - | ||
| 7 MIO | J7 (not assembled), TE0724: 3.3V | ||
| 2 MIO | J9 (not assembled), TE0724: 1.8V | ||
| 1 MIO LED | green | ||
| 1 MIO Push Button | - | ||
| I²C | 2 | 1x Pmod | |
| SD IO | 7 | - | |
| UART | 2 | - | |
| CAN | 2 | - | |
| GbE PHY_MDIO + PHY_LEDs | 10 | - | |
| JTAG | 4 | - | |
| Power GPIO | 2 | - | |
| Power/Reset/Fuse programming | 3 | - | |
| Bootmode | 2 | - |
Table 23: General overview of PL I/O signals and SoM's interfaces connected to the B2B connectors.
...
The TEB0724 carrier board supplies the attached module with 5V DC. All power rails on the module and the basboard baseboard are generated from this at the module and are routed back the carrier. For detailed information about the pin out, please refer to the Pin-out Tables.
| HTML |
|---|
<!-- TO-DO (future): If Vivado board part files are available for this module, the standard configuration of the MIO pins by using this board part files should be mentioned here. This standard configuration of those pins are also apparent of the on-board peripherals of base-boards related to the module. --> |
JTAG Interface
There is no device with JTAG port on the baseboard. JTAG access to the module is provided through B2B connector J1. This is routed to the USB to JTAG/UART bridge.
JTAG Signal | B2B Connector Pin |
|---|---|
| TCK | J1-147 |
| TDI | J1-151 |
| TDO | J1-145 |
| TMS | J1-149 |
Table 34: JTAG interface signals.
System Control I/O Pins
| Pin Name | Mode | Function | B2B Connector Pin | Default Configuration |
|---|---|---|---|---|
| .. | .. | .. | .. | .. |
Table 4: System Controller CPLD I/O pins.
Table 5: System Controller CPLD I/O pins.
| HTML |
|---|
<!-- For the detailed function of the pins and signals, the internal signal assignment and implemented logic, look to the Wiki reference page SC CPLD of this module or into the bitstream file of the SC CPLD. Add link to the Wiki reference page of the SC CPLD, if available. --> |
...
| Connected To | Signal Name | Notes |
|---|---|---|
| J1-34 | SD-CD | Card detect switch |
| J1-24 | SD-D0 | |
| J1-22 | SD-CMD | |
| J1-20 | SD-CCLK | |
| J1-26 | SD-D1 | |
| J1-28 | SD-D2 | |
| J1-30 | SD-D3 |
Table 56: SD Card interface signals and connections.
...
Figure : Module power-on diagram.
Voltage Monitor Circuit
If the module has one, describe it here...
Power Rails
NB! Following table with examples is valid for most of the 4 x 5 cm modules but depending on the module model and specific design, number and names of power rails connected to the B2B connectors may vary.
...
| Note |
|---|
Current rating of Samtec Razor Beam™ LSHM B2B connectors is 2.0A per pin (2 adjacent pins powered). |
Bank Voltages
...
Bank
...
Voltage
...
Voltage Range
...
Board to Board Connectors
| HTML |
|---|
<!--
Generate new entry:
Replace with correct on for selected module series
--> |
The TEB0724 base board has two 160-pin double-row REF-189019-02 connectors on the bottom side.
Order | REF Number | Samtec Number | Type | Mated Height | Data sheet | Comment |
|---|---|---|---|---|---|---|
| - | REF-192552-01 | SS5-80-3.50-L-D-K-TR | Baseboard connector | 4 mm | http://suddendocs.samtec.com/catalog_english/ss5.pdf | Standard connector used on board |
| 27220 | REF-192552-02 | ST5-80-1.50-L-D-P-TR | Module connector | 4 mm | http://suddendocs.samtec.com/catalog_english/st5.pdf | Standard connector used on module |
Table 15: Connectors for module and baseboard.
Table : Module PL I/O bank voltages.
Board to Board Connectors
| HTML |
|---|
<!--
Generate new entry:
Replace with correct on for selected module series
--> |
Include Page
Variants Currently In Production
| HTML |
|---|
<!-- Set correct link to the overview table of the product on english and german, if not available, set https://shop.trenz-electronic.de/de/Produkte/Trenz-Electronic/ https://shop.trenz-electronic.de/en/Products/Trenz-Electronic/ --> |
| Trenz shop TE0xxx TEB0724 overview page | |
|---|---|
| English page | |
Technical Specifications
Absolute Maximum Ratings
Parameter | Min | Max | Units | Reference Document |
|---|---|---|---|---|
VIN supply voltage | V | - | ||
Storage temperature | °C | - |
Table : Module Board absolute maximum ratings.
...
| Parameter | Min | Max | Units | Reference Document |
|---|---|---|---|---|
| VIN supply voltage | ||||
| Operating temperature |
Table : Module Board recommended operating conditions.
...
Physical Dimensions
Module size: ... 105 mm × ... 100 mm. Please download the assembly diagram for exact numbers.
Mating height with standard connectors: ... 4 mm.
PCB thickness: 1... 6 mm.
Highest part on PCB: approx. 13... 5 mm. Please download the step model for exact numbers.
All dimensions are given in millimeters.Put mechanical drawings here...
| Scroll Title | ||
|---|---|---|
| ||
Revision History
Hardware Revision History
...
Hardware revision number can be found on the PCB board together with the module model number separated by the dash.
Put picture of actual PCB showing model and hardware revision number here...
...
| Scroll Title | ||
|---|---|---|
| ||
Document Change History
| HTML |
|---|
<!-- Generate new entry: 1.add new row below first 2.Copy "Page Information Macro(date)" Macro-Preview, Metadata Version number, Author Name and description to the empty row. Important Revision number must be the same as the Wiki document revision number 3.Update Metadata = "Page Information Macro (current-version)" Preview+1 and add Author and change description. --> |
...
Date | Revision | Contributors | Description | ||||||||||||||||
|---|---|---|---|---|---|---|---|---|---|---|---|---|---|---|---|---|---|---|---|
|
| ||||||||||||||||||
2018-07-02 | v.1 | Initial document. |
...
Overview
Content Tools