Template Revision 1.0 - on construction
...
| HTML |
|---|
<!-- tables have all same width (web max 1200px and pdf full page(640px), flexible width or fix width on menu for single column can be used as before) -->
<style>
.wrapped{
  width: 100% !important;
  max-width: 1200px !important;
 }
</style> |
...
Important General Note:
...
Export PDF to download, if vivado revision is changed!
Designate all graphics and pictures with a number and a description, Use "Scroll Title" macro
...
Figure template (note: inner scroll ignore/only only with drawIO object):
...
| anchor | Figure_xyz |
|---|
| title | Text |
|---|
| Scroll Ignore |
|---|
Create DrawIO object here: Attention if you copy from other page, use |
| Scroll Only |
|---|
image link to the generate DrawIO PNG file of this page. This is a workaround until scroll pdf export bug is fixed |
...
Table template:
- Layout macro can be use for landscape of large tables
- Set column width manually(can be used for small tables to fit over whole page) or leave empty (automatically)
...
...
Table of contents
Overview
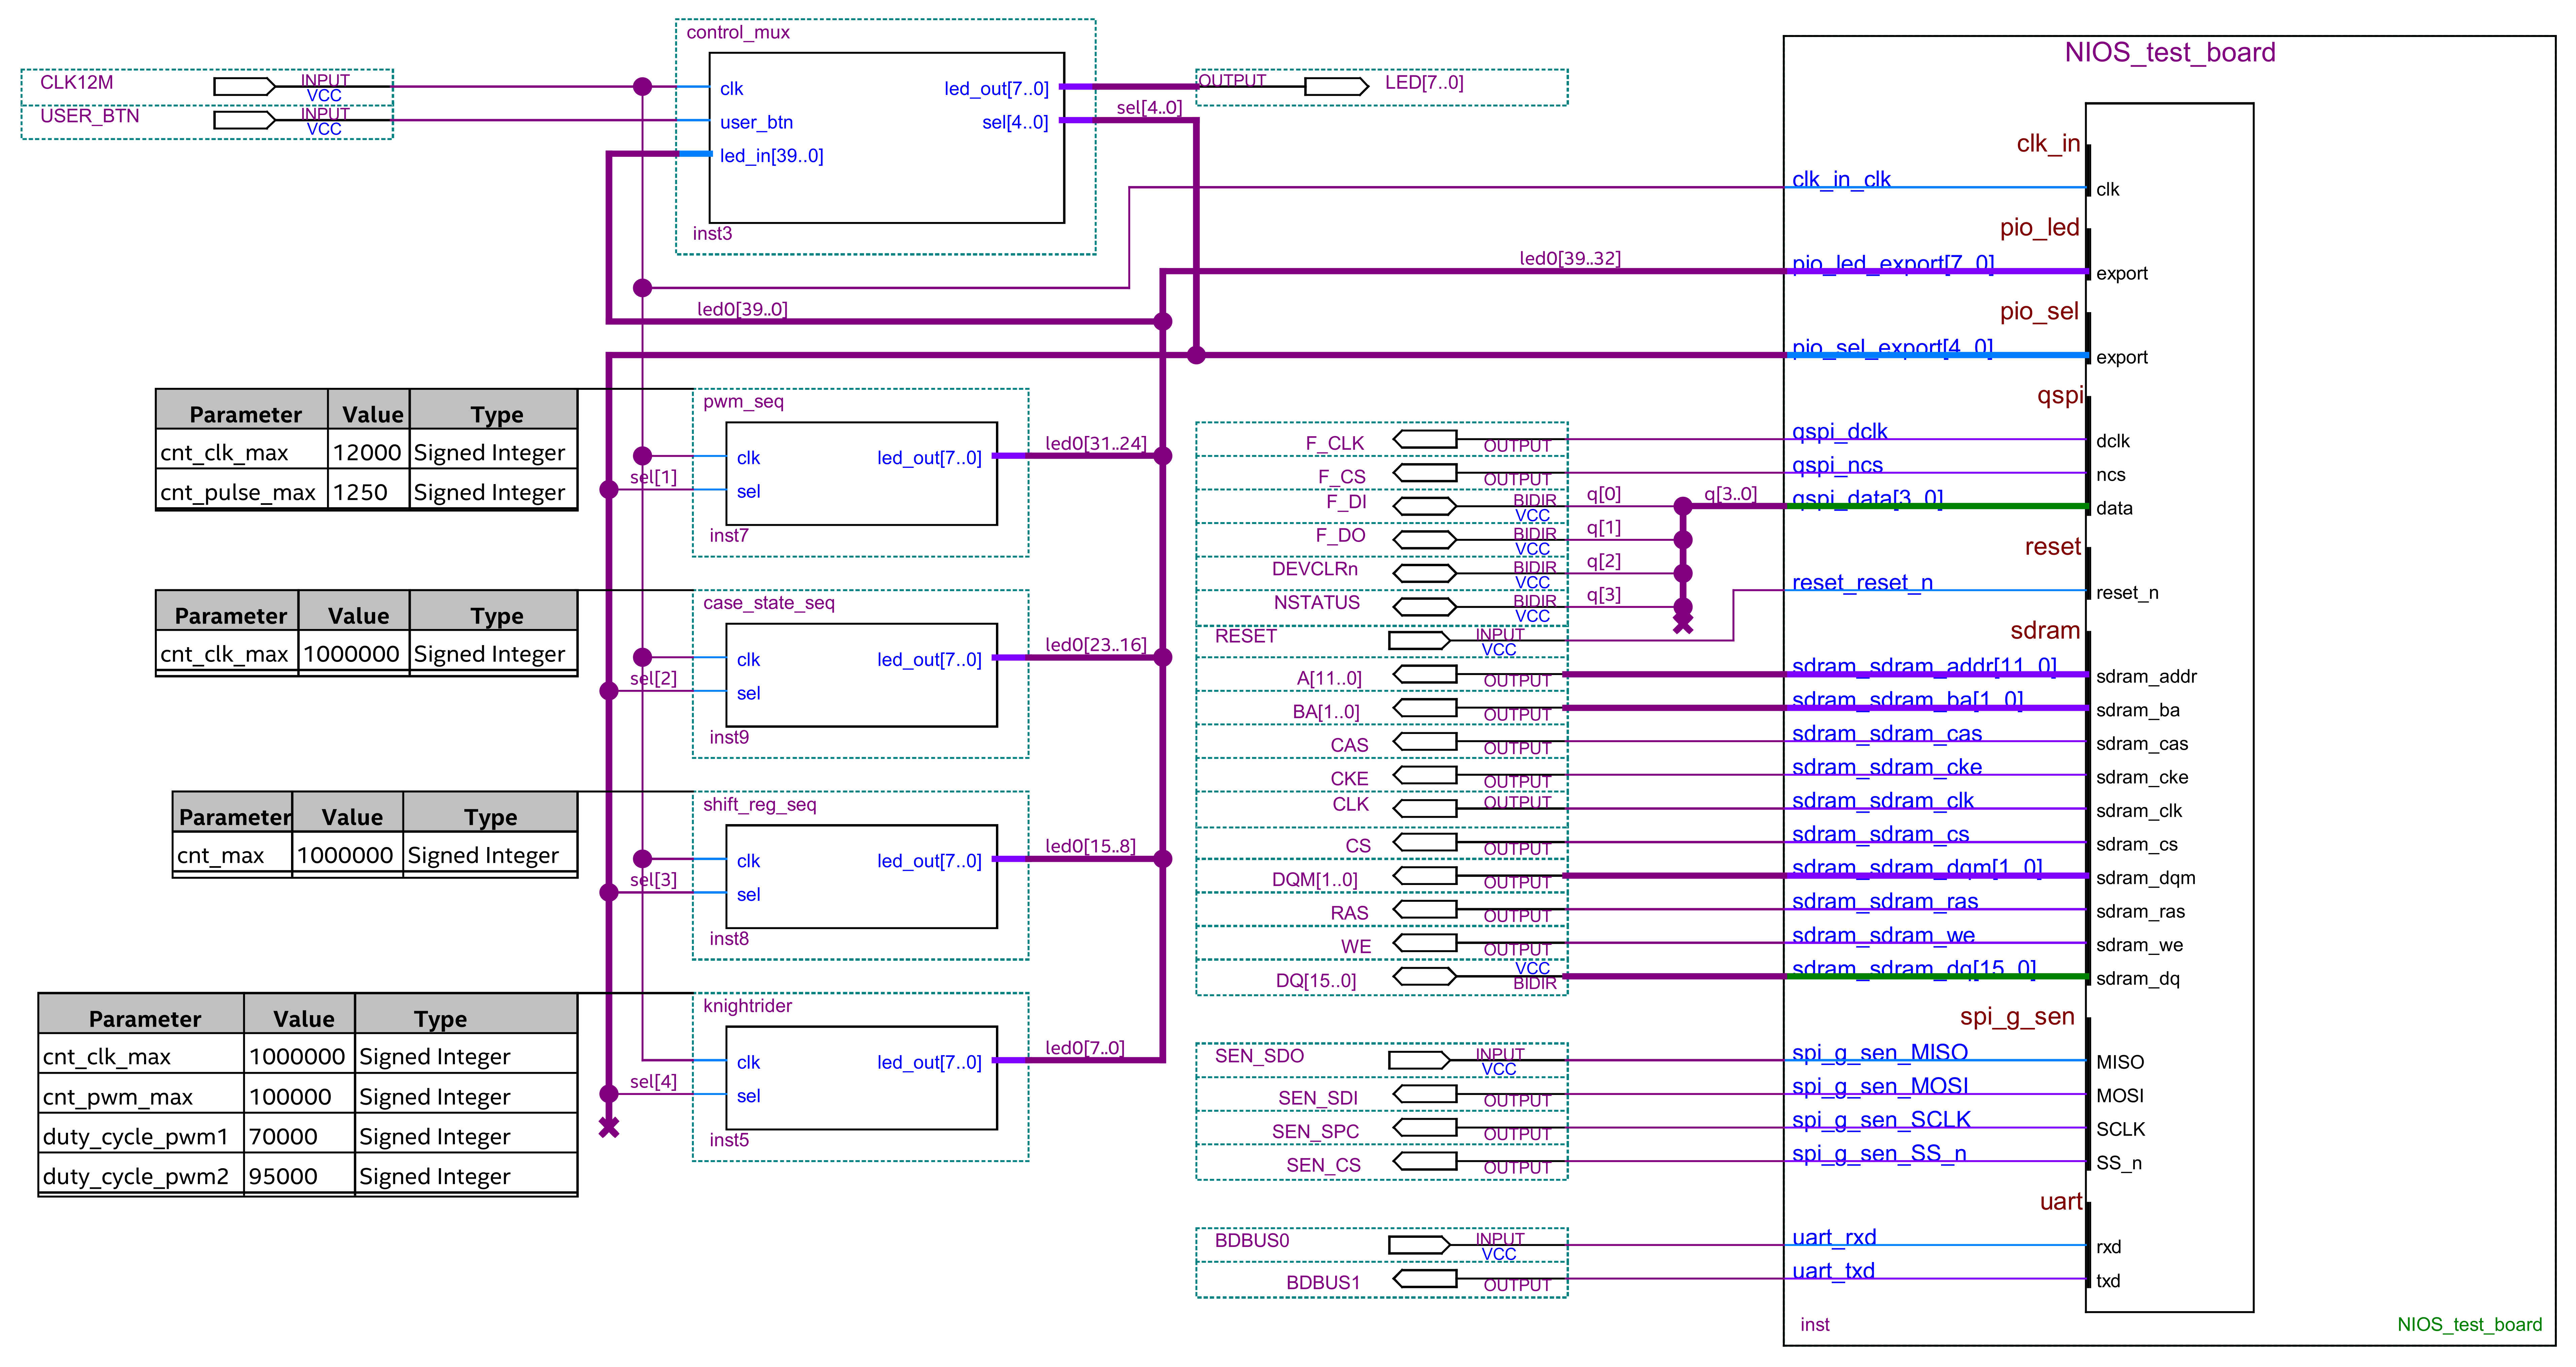
NIOS II Design with SDRAM Controller and 5 different LED sequences, that can be toggled using the user button.
Refer to http://trenz.org/max1000-info for the current online version of this manual and other available documentation.
Key Features
| Page properties |
|---|
|
Notes : - Add basic key futures, which can be tested with the design
|
| Excerpt |
|---|
- Quartus 18.1
- NIOS II
- SPI
- UART
- User Flash memory
- SDRAM memory
- 3-axis Accelerometer
- User LEDs
- User buttons
|
Revision History
| Page properties |
|---|
|
Notes : - add every update file on the download
- add design changes on description
|
...
| anchor | Table_DRH |
|---|
| title | Design Revision History |
|---|
...
Release Notes and Know Issues
...
| anchor | Table_KI |
|---|
| title | Known Issues |
|---|
...
Requirements
Software
| Page properties |
|---|
|
Notes : - list of software which was used to generate the design
|
...
| anchor | Table_SW |
|---|
| title | Software |
|---|
...
...
...
...
...
...
Hardware
| Page properties |
|---|
|
Notes : - list of software which was used to generate the design
|
Design supports following modules:
...
| anchor | Table_HWM |
|---|
| title | Hardware Modules |
|---|
...
Design supports following carriers:
...
| anchor | Table_HWC |
|---|
| title | Hardware Carrier |
|---|
...
Additional HW Requirements:
...
| anchor | Table_AHW |
|---|
| title | Additional Hardware |
|---|
...
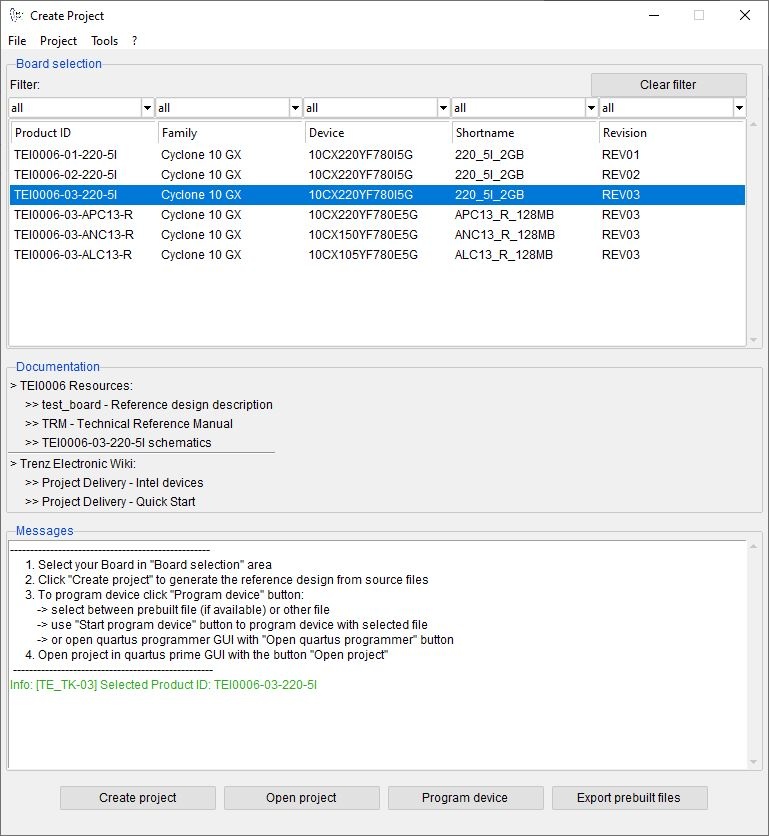
Download
Reference Design is only usable with the specified Quartus version. Do never use different Versions of Quartus Software for the same Project.
Reference Design is available on:
...
...
- Open file "test_board.quar"
- Select Tools → Platform Designer from Quartus menu
- Open file "NIOS_test_board.qsys" in Platform Designer
- Open the component "onchip_ram" (double-click)
- Enable "Initialize memory content" and "Enable non-default initialization file" at Memory initialization, if disabled
- Specify Path for User created initialization file. You can find the file at \software\test_board\mem_init\NIOS_test_board_onchip_ram.hex
- Select Generate → Generate HDL... from the Platform Designer menu
The Generation window will appear
Select "VHDL" as the synthesis language and "None" from the simulation model dropdown menu
Select “Create block symbol file(.bsf)”, if not selected
- Click Generate and close Platform Designer
- Select Processing → Start Compilation from the Quartus menu to compile the Design
Launch
Programming
JTAG
- Connect the Module to USB-Port
- Open the Quartus Prime Programmer from Tools → Programmer
- If the Arrow-USB-Blaster is not visible:
- Click "Hardware Setup..."
- Choose at the drop-down menu "Currently selected hardware" Arrow-USB-Blaster[USB0]
- Close "Hardware Setup"
- If the correct configuration file is not set:
- Delete other files
- Click "Add file..."
- select the correct *.sof file (Path: <project_directory>\output_files\test_board.sof)
- Click start
MAX10 Flash
- Do step 1 to step 3 from section Programming → JTAG, if not done yet
- If the correct configuration file is not set:
- Delete other files
- Click "Add file..."
- Select the correct *.pof file (Path: <project_directory>\output_files\test_board.pof)
- Click start
Usage
- Prepare Hardware like described on section Programming
- Connect UART USB (most cases same as JTAG)
UART
- Open Serial Console "PuTTY"
- Change settings in category "Session"
- Connection Type: Serial
- COM Port: see device manager (Win OS)
- Speed: 115200
- Select "Implicit CR in every LF" in category "Terminal"
- Click Open
- Press reset button at module
- SDRAM test is running
- Flash test is running
- After the tests finished, you can toggle between following LED sequences by pressing user button
- Spirit level
- Case statement sequence
- Shift register sequence
- Knightrider sequence
- Pulse-width modulation sequence
Appx. A: Change History and Legal Notices
Document Change History
To get content of older revision got to "Change History" of this page and select older document revision number.
| Page properties |
|---|
|
- Note this list must be only updated, if the document is online on public doc!
- It's semi automatically, so do following
Add new row below first Copy "Page Information Macro(date)" Macro-Preview, Metadata Version number, Author Name and description to the empty row. Important Revision number must be the same as the Wiki document revision number Update Metadata = "Page Information Macro (current-version)" Preview+1 and add Author and change description. --> this point is will be deleted on newer pdf export template - Metadata is only used of compatibility of older exports
|
...
| anchor | Table_dch |
|---|
| title | Document change history. |
|---|
...
...
Authors
...
| Page info |
|---|
| infoType | Modified date |
|---|
| dateFormat | yyyy-MM-dd |
|---|
| type | Flat |
|---|
|
...
| Page info |
|---|
| infoType | Current version |
|---|
| dateFormat | yyyy-MM-dd |
|---|
| prefix | v. |
|---|
| count | 1 |
|---|
| type | Flat |
|---|
|
...
| Page info |
|---|
| infoType | Modified by |
|---|
| type | Flat |
|---|
|
...
...
| Page info |
|---|
| infoType | Modified users |
|---|
| dateFormat | yyyy-MM-dd |
|---|
| type | Flat |
|---|
|
...
Legal Notices
...