Page History
This Trenz Electronic Starter Kit Kit consists of a TE0808 module on a TEBF0808 base board in Mini-ITX Enclosure. See Shop Link shop link for detailed content.
Wiki Links
Kit specific
- TEBF0808 Getting Started - Summarised documentation of Connectors, DIPs, LEDs
...
- TE081x and TE080x Starterkit montage instruction - Assembly instructions if you want to assemble it yourself
Module and Carrier separately
- TE0808 - UltraSoM+ - Wiki with TRM, reference projects, application notes and more
- TE0808 Resources - Links to all TE0808 Resources
- TEBF0808 - Wiki with TRM, application notes and more
- TEBF0808 Resources - Links to all TEBF0808 Resources
- TE0790 - XMOD
...
- - Wiki with
...
- TRM, application notes and more
- TE0790 Resources - Links to all TE0790 Resources
- AMD Development Tools - Short instructions for Vivado, SDK, SDSoC
- Project Delivery - AMD devices - General descriptions of reference designs and content
Download Links
- TE0808 Download Area - contains various reference designs, schematics, hardware designs, 3D models and more
- TEBF0808 Download Area - contains schematics, hardware designs, 3D models and more
- TE0790-XMOD Download Area - contains firmware with projects, schematics, hardware designs, 3D models and more
- TE Master Pinout - Excel Sheet as Pinout-Viewer and XDC-Generator
Shop Links
...
- contains prices, available stock, disposability, scope of delivery and more
AMD
...
Software and Driver
...
- AMD Design Software with JTAG drivers and documentation
...
...
- - All
...
- AMD Software, Device Models and Libraries
...
Important Notes
| Warning |
|---|
| Do not change XMOD DIP-Switch settings on TEBF0808. Do not swap the XMOD adapters the one marked with green dot must be closer to the SoM |
| Note |
|---|
ES devices are not included in all Vivado versions, for ES1 only: activate beta device see: FAQ - How can I activate beta devices? |
| Note |
|---|
For all Starter Kit's shipped before 2017-06-21: Enclosure Power and HD LED was swapped on connector. See "Starter Kit Cable Connection - Enclosure Power Button , Reset Button, HDD LED and Power LED" section for correct connection. |
Getting Started
Starter Kit is shipped with prebuilt Linux Example on SD. Newest version and sources are available on our download area: TE0808 Reference Designs
Connect main power and set power switch to on. See Main Power Enclosure Location
- Connect mini USB cable from XMOD with green dot to host PC. See XMODs
- Insert SD-Card with pre-loaded content into SD-Card slot.
- Open Serial Console:
- COM Port: for correct number see device manager
- Speed:115200
- Press the Power on button on the enclosure. See Power Button, Reset Button, HDD LED and Power LED Enclosure Location
- Linux login:
- User Name:root
- Password:root
Starter Kit Basic
Main Power Enclosure Location
Power Button , Reset Button, HDD LED and Power LED Enclosure Location
Default DIP Switch Settings
| Warning |
|---|
| Do not change XMOD DIP-Switch settings on TEBF0808. Do not swap the XMOD adapters the one marked with green dot must be closer to the SoM |
...
TE0790-02
(with green dot)
...
| DIP-Schalter | S4 |
|---|---|
| S4.1 | OFF |
| S4.2 | OFF |
| S4.3 | OFF |
| S4.4 | ON |
...
| DIP-Schalter | S5 |
|---|---|
| S5.1 | ON |
| S5.2 | ON |
| S5.3 | OFF |
| S5.4 | OFF |
...
| DIP-Schalter | S1 |
|---|---|
| S1.1 | ON |
| S1.2 | OFF |
| S1.3 | OFF |
| S1.4 | OFF |
...
| DIP-Schalter | S1 |
|---|---|
| S1.1 | ON |
| S1.2 | OFF |
| S1.3 | OFF |
| S1.4 | OFF |
For more information, see:TEBF0808
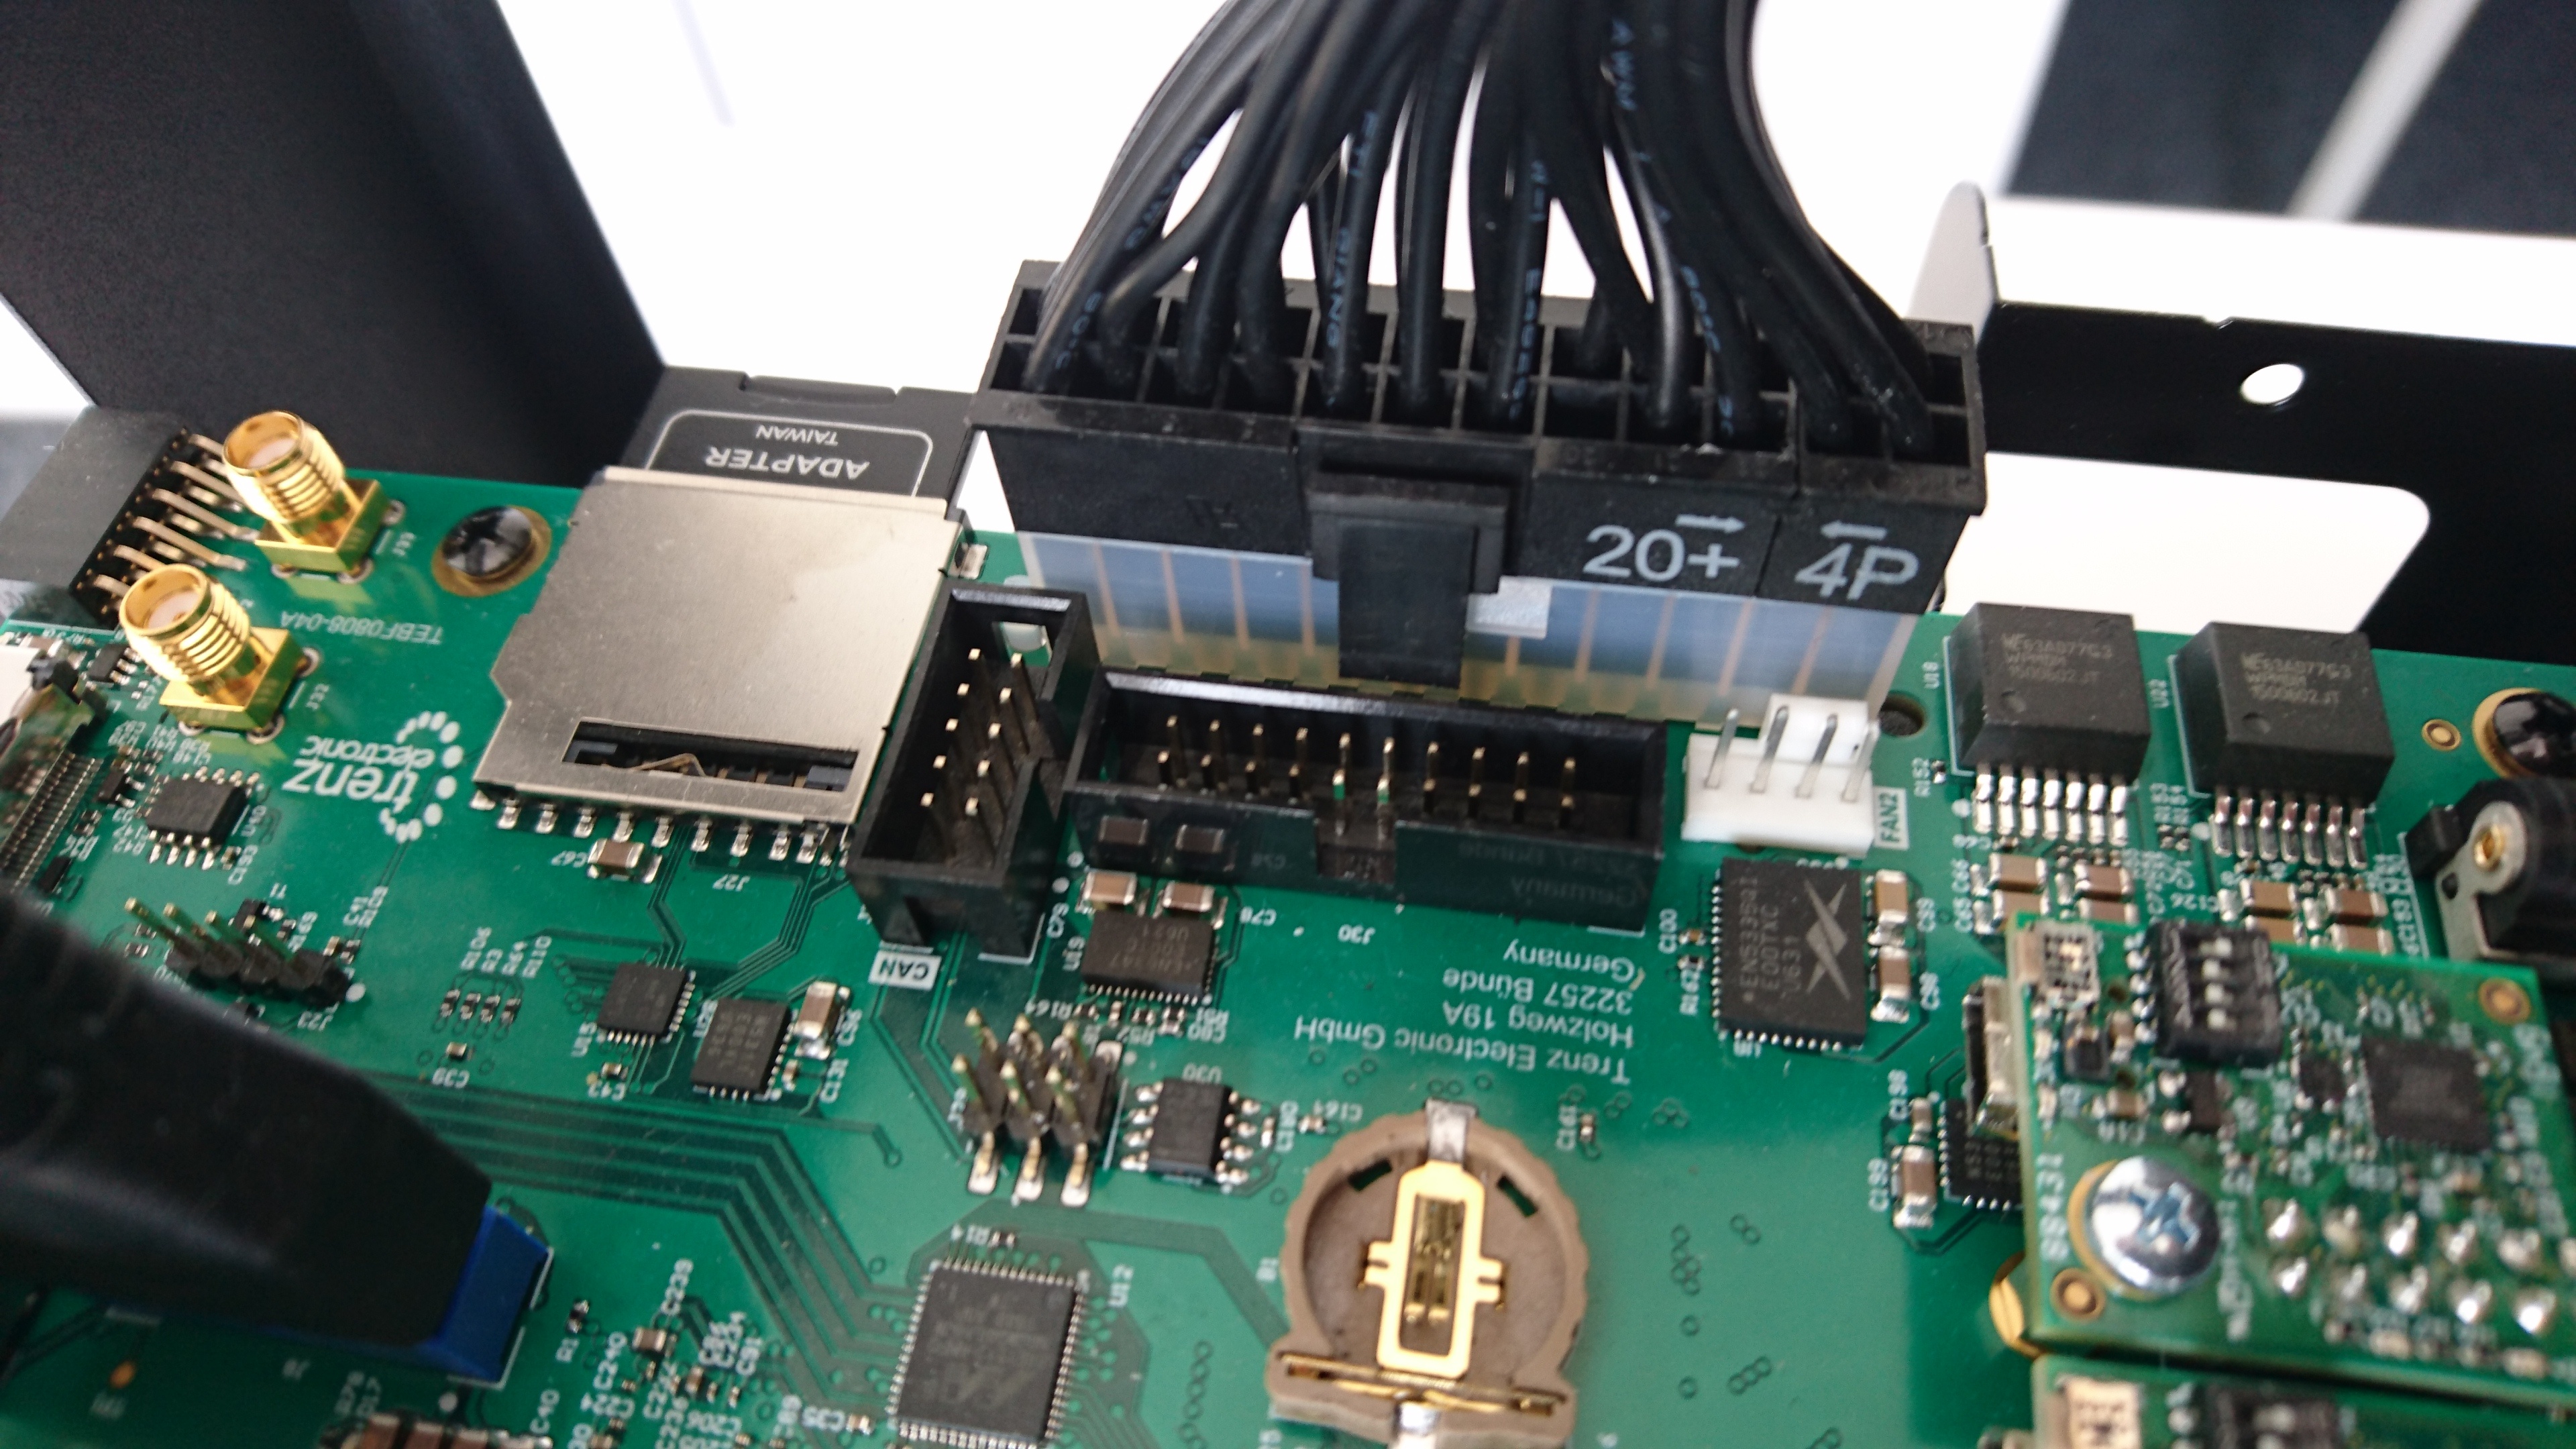
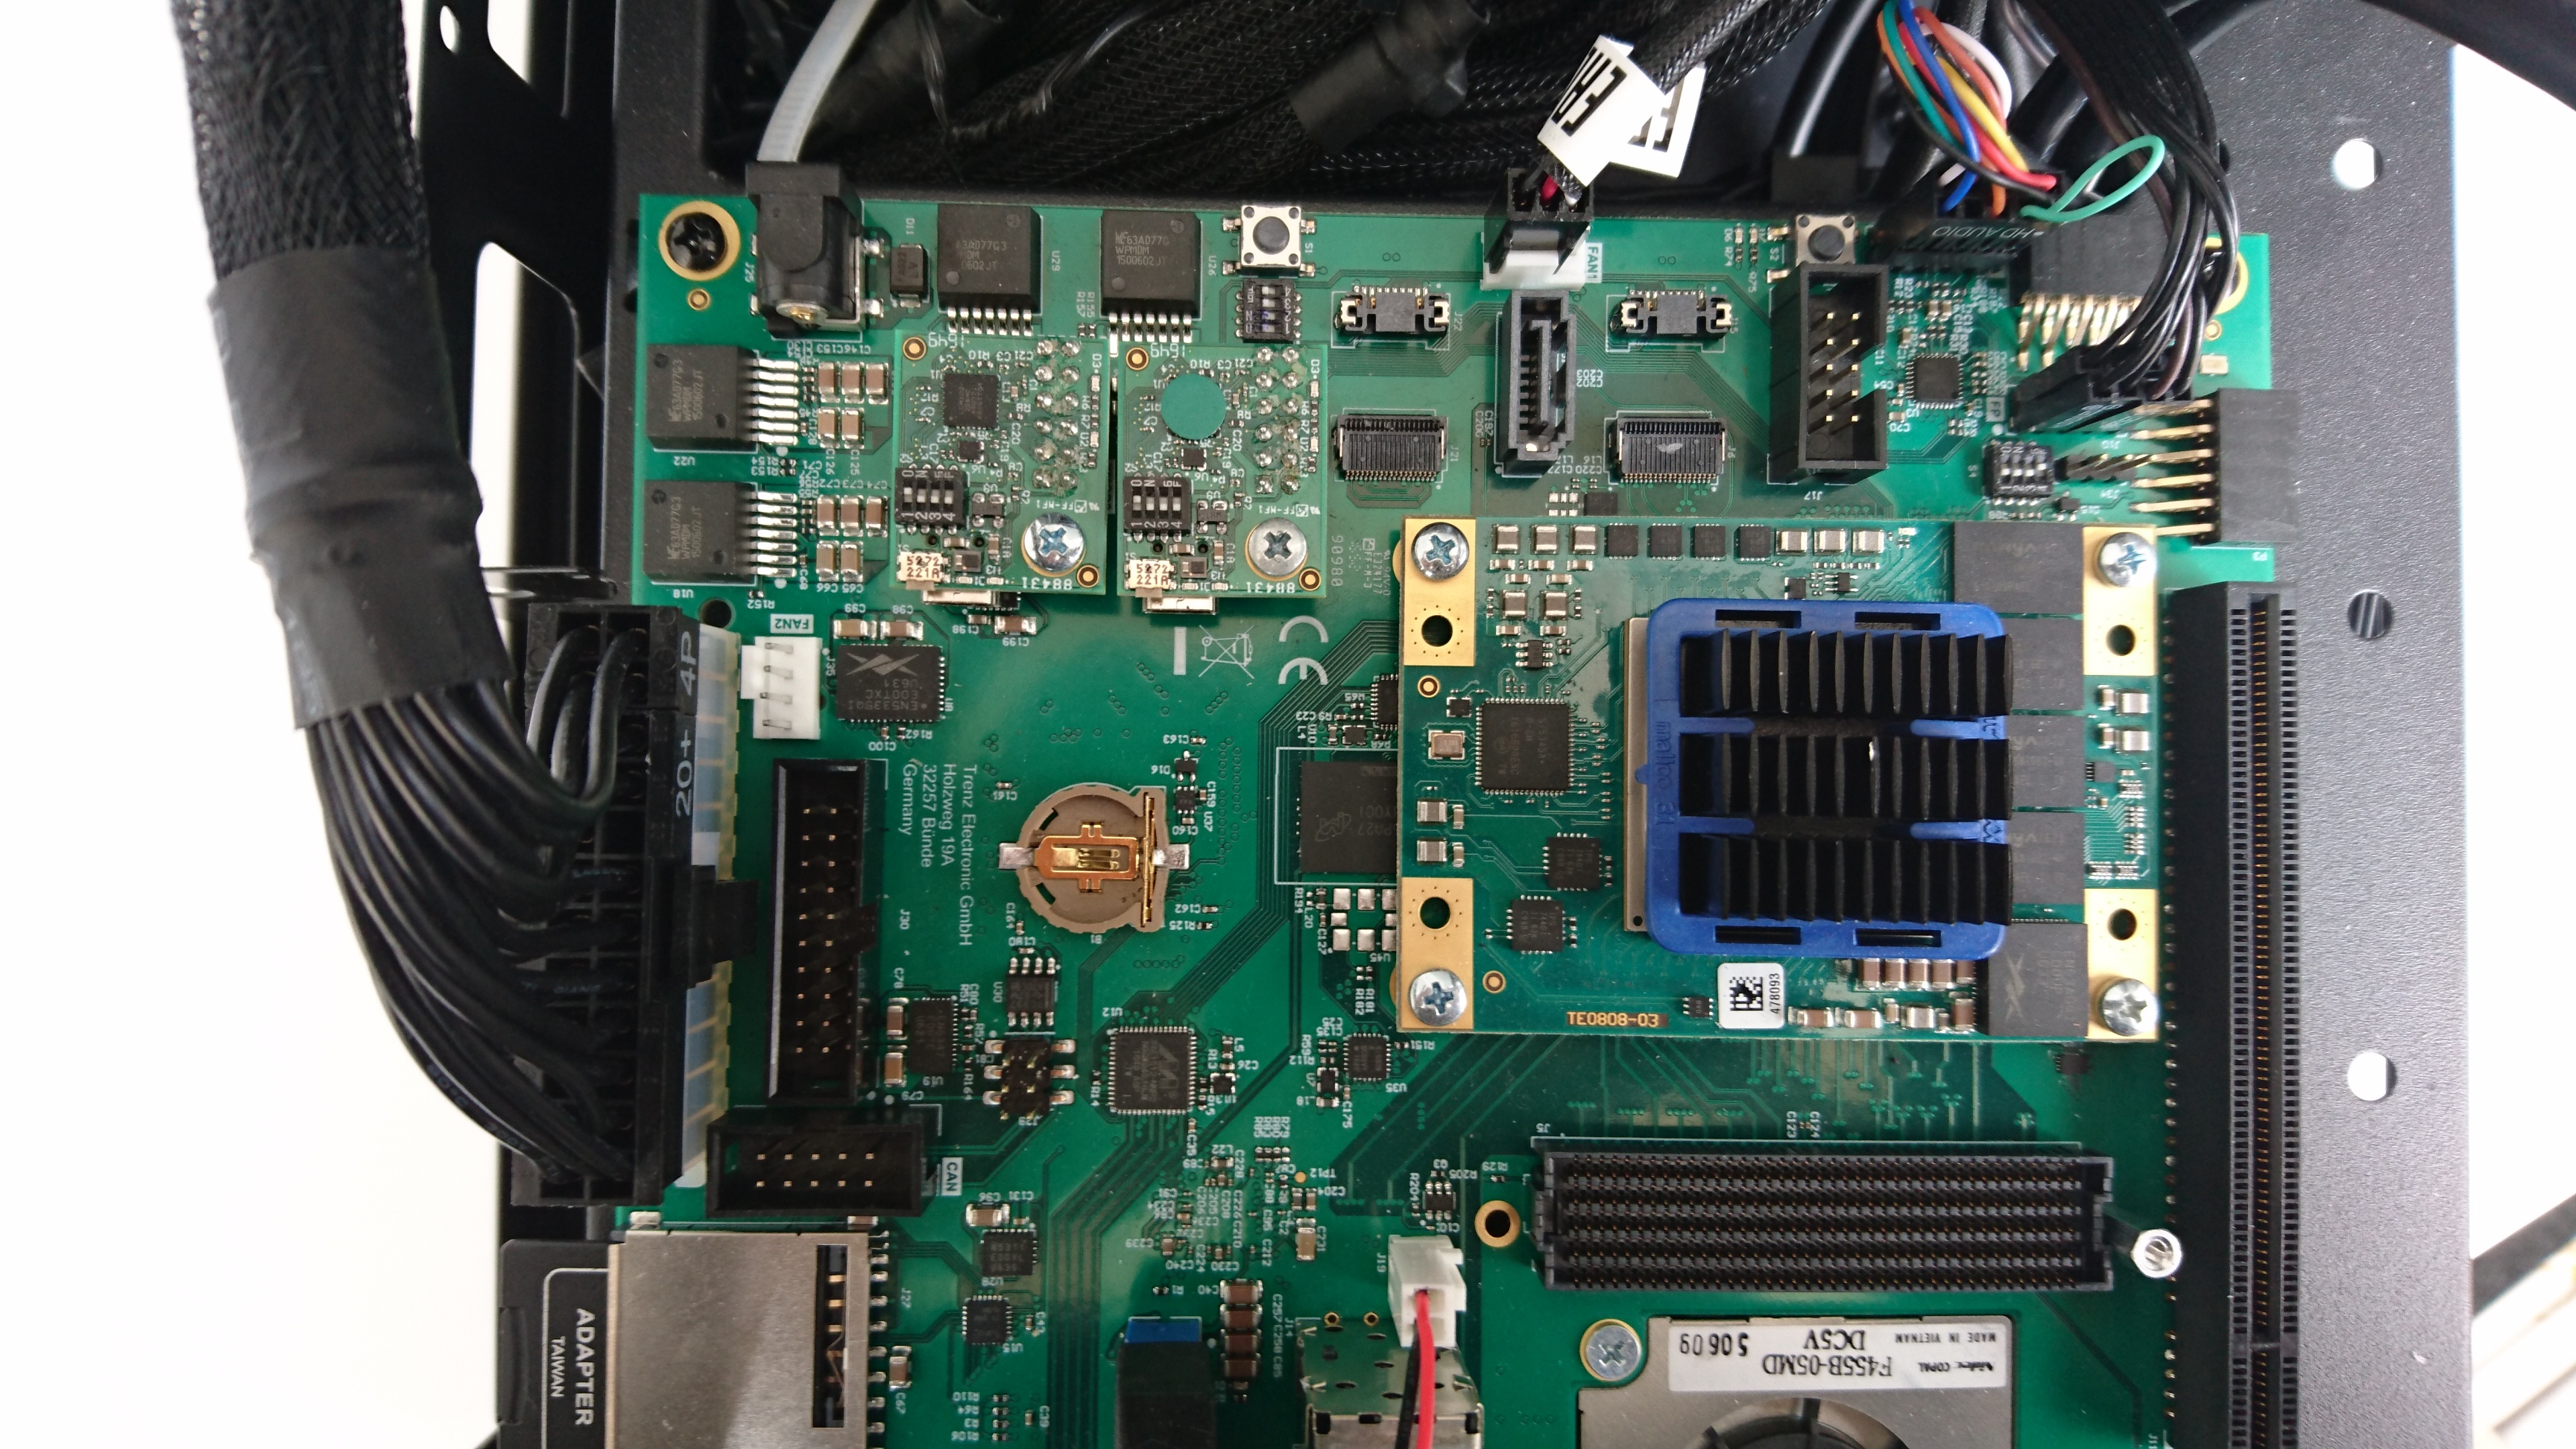
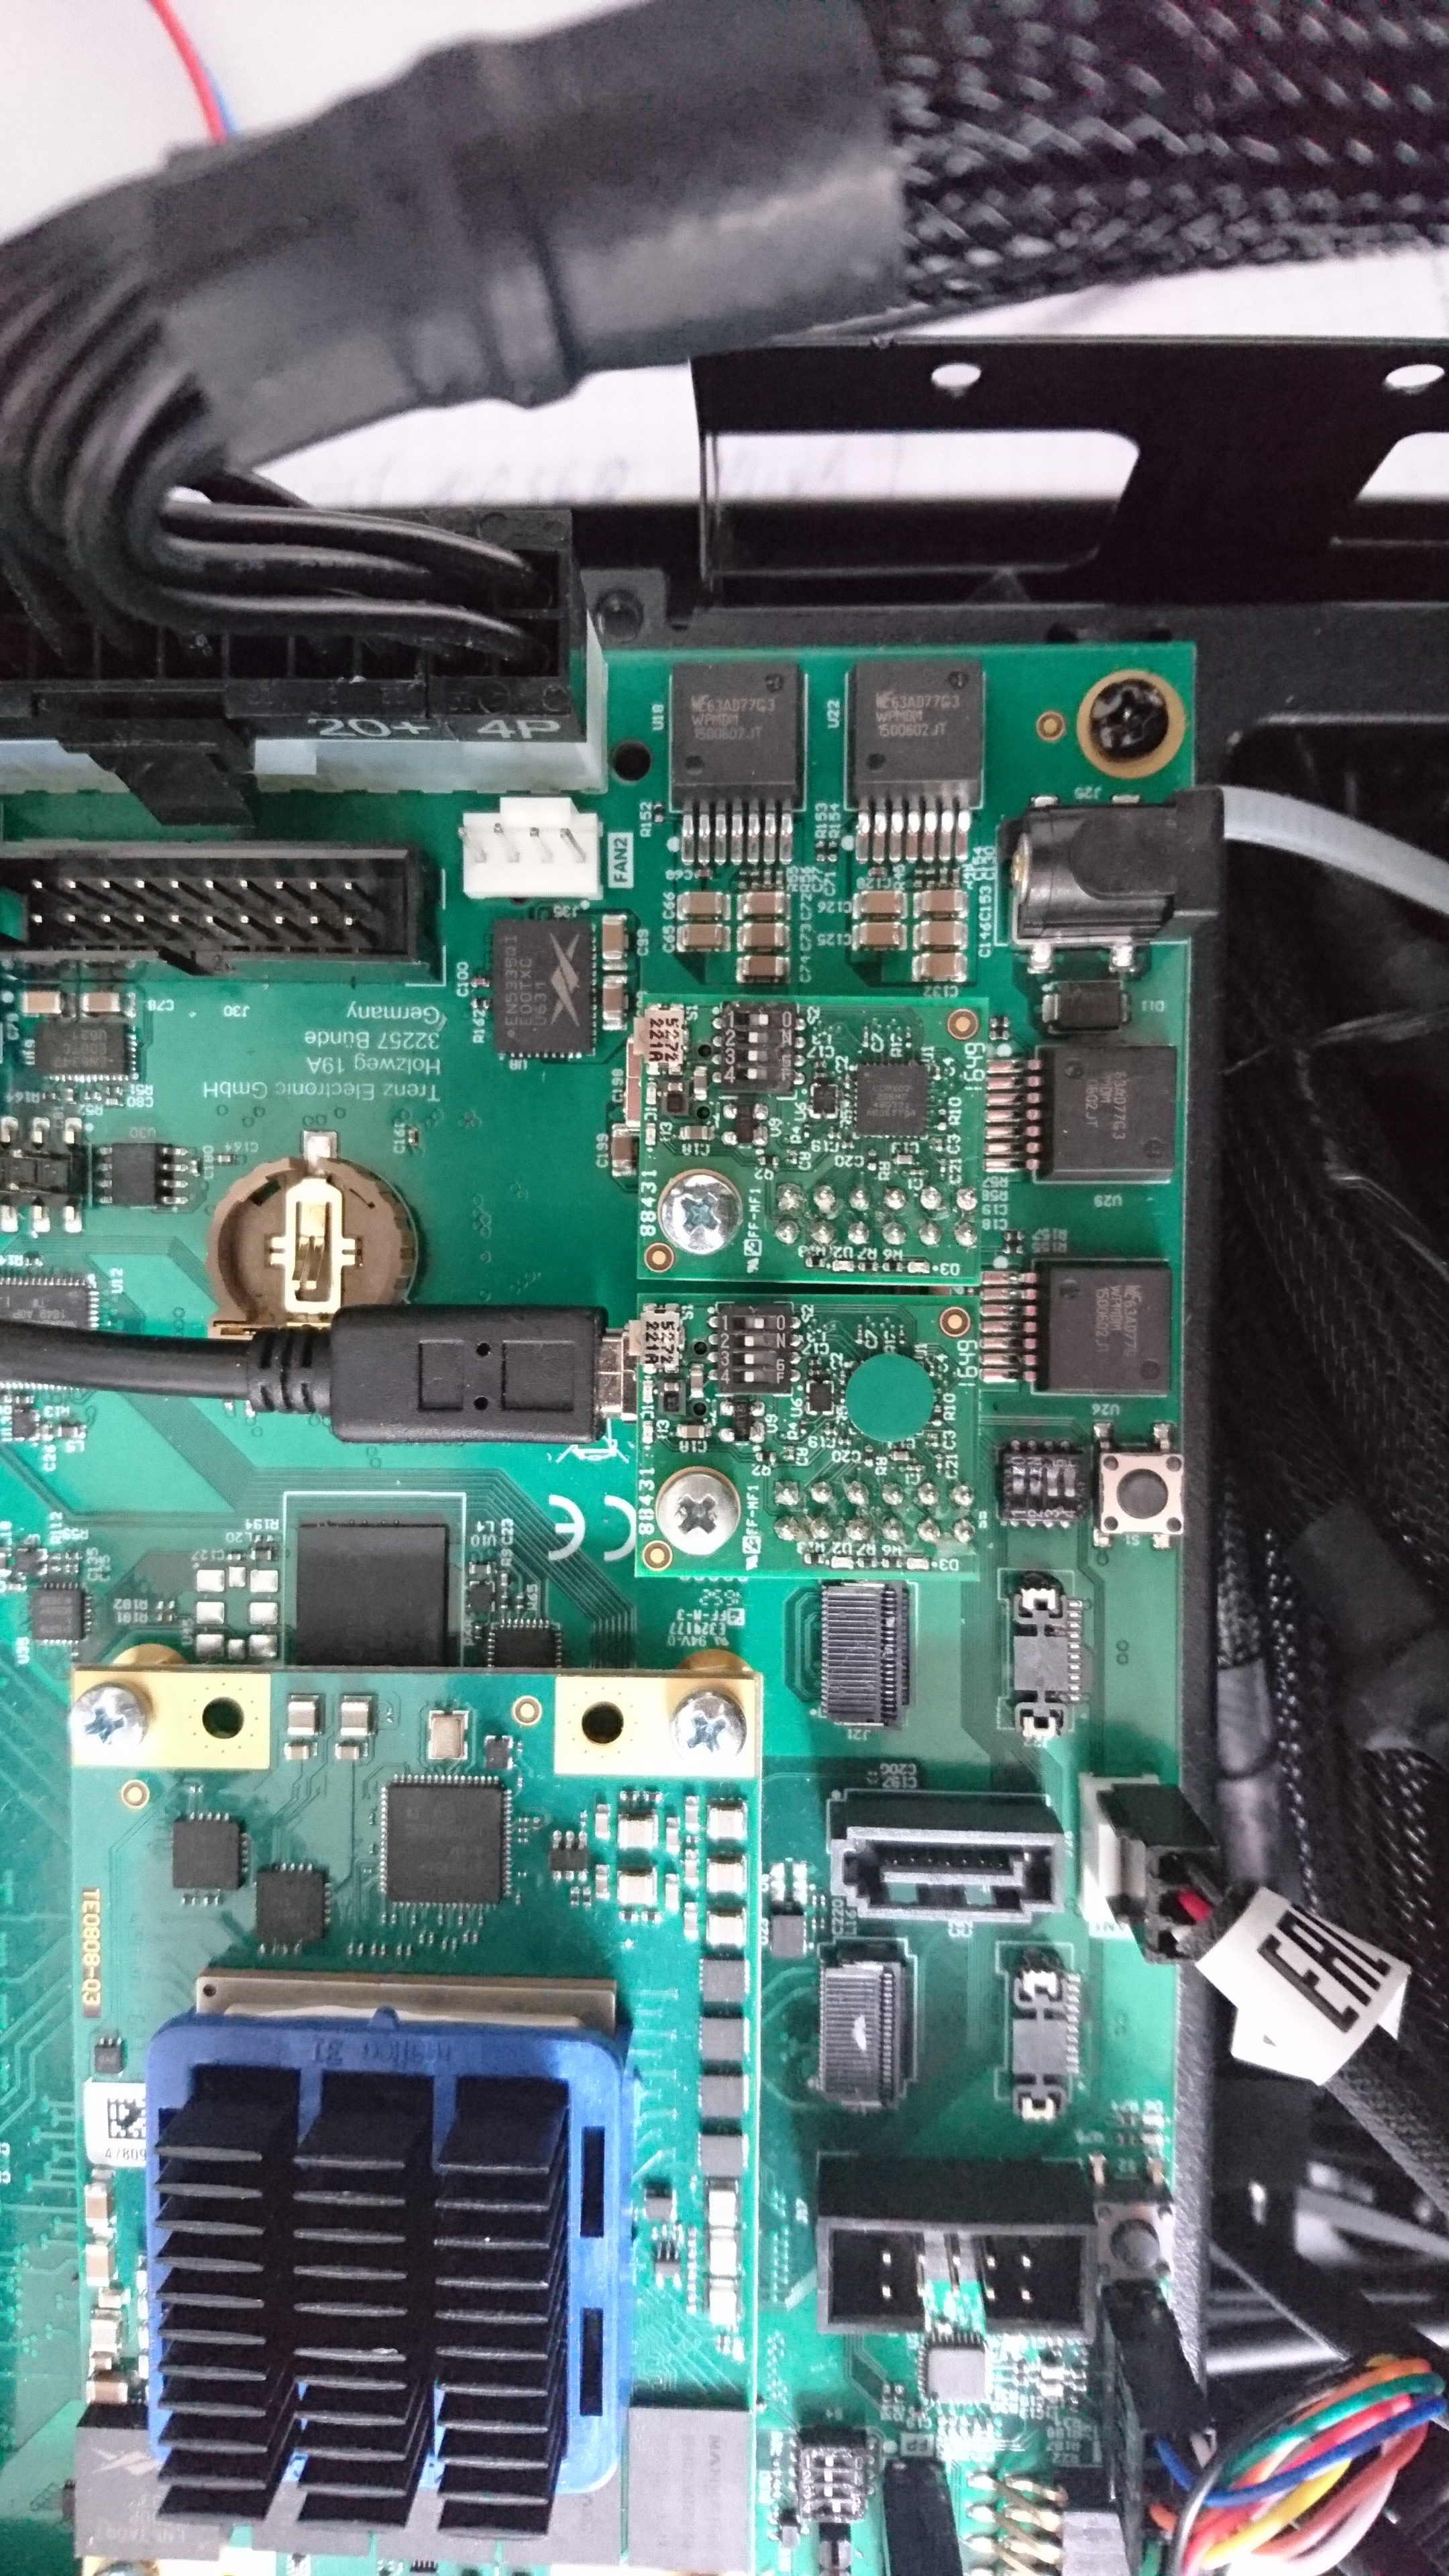
Starter Kit Cable Connection
Starter Kit will be shipped with all cable connected.
ATX Power
Module
FMC FAN

XMODs
Enclosure USB

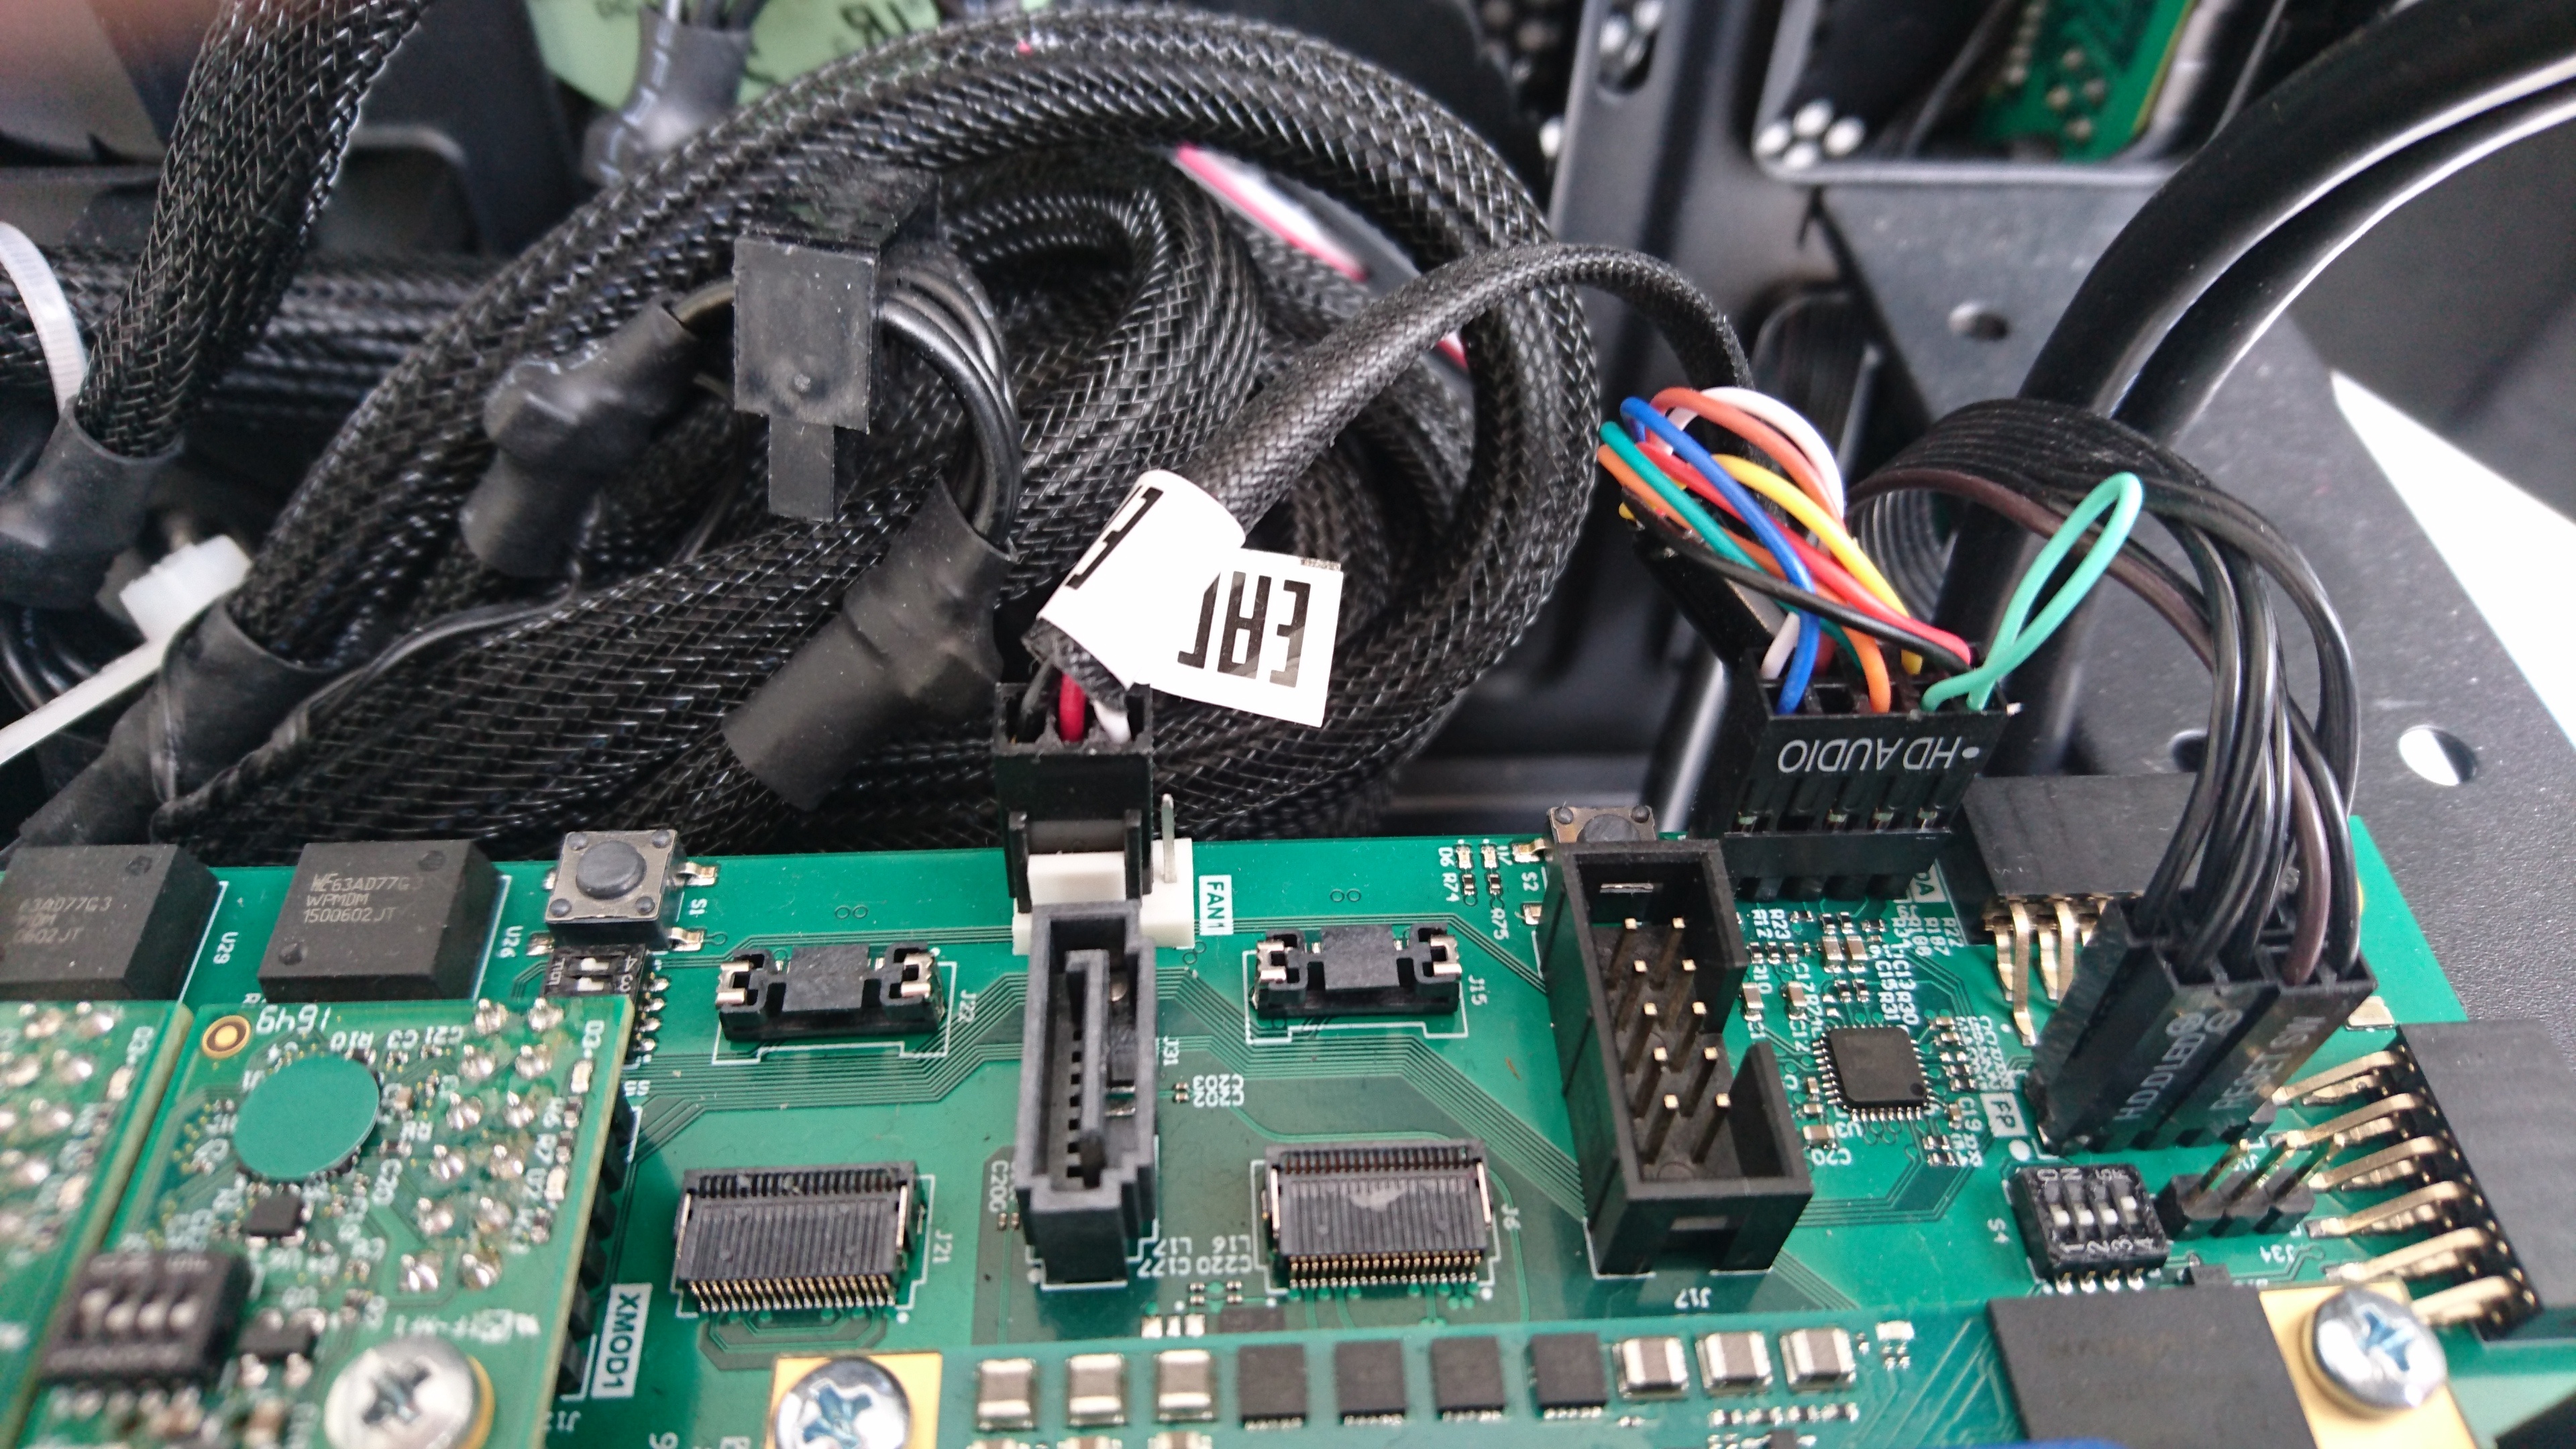
Enclosure FAN1 and HDAUDIO
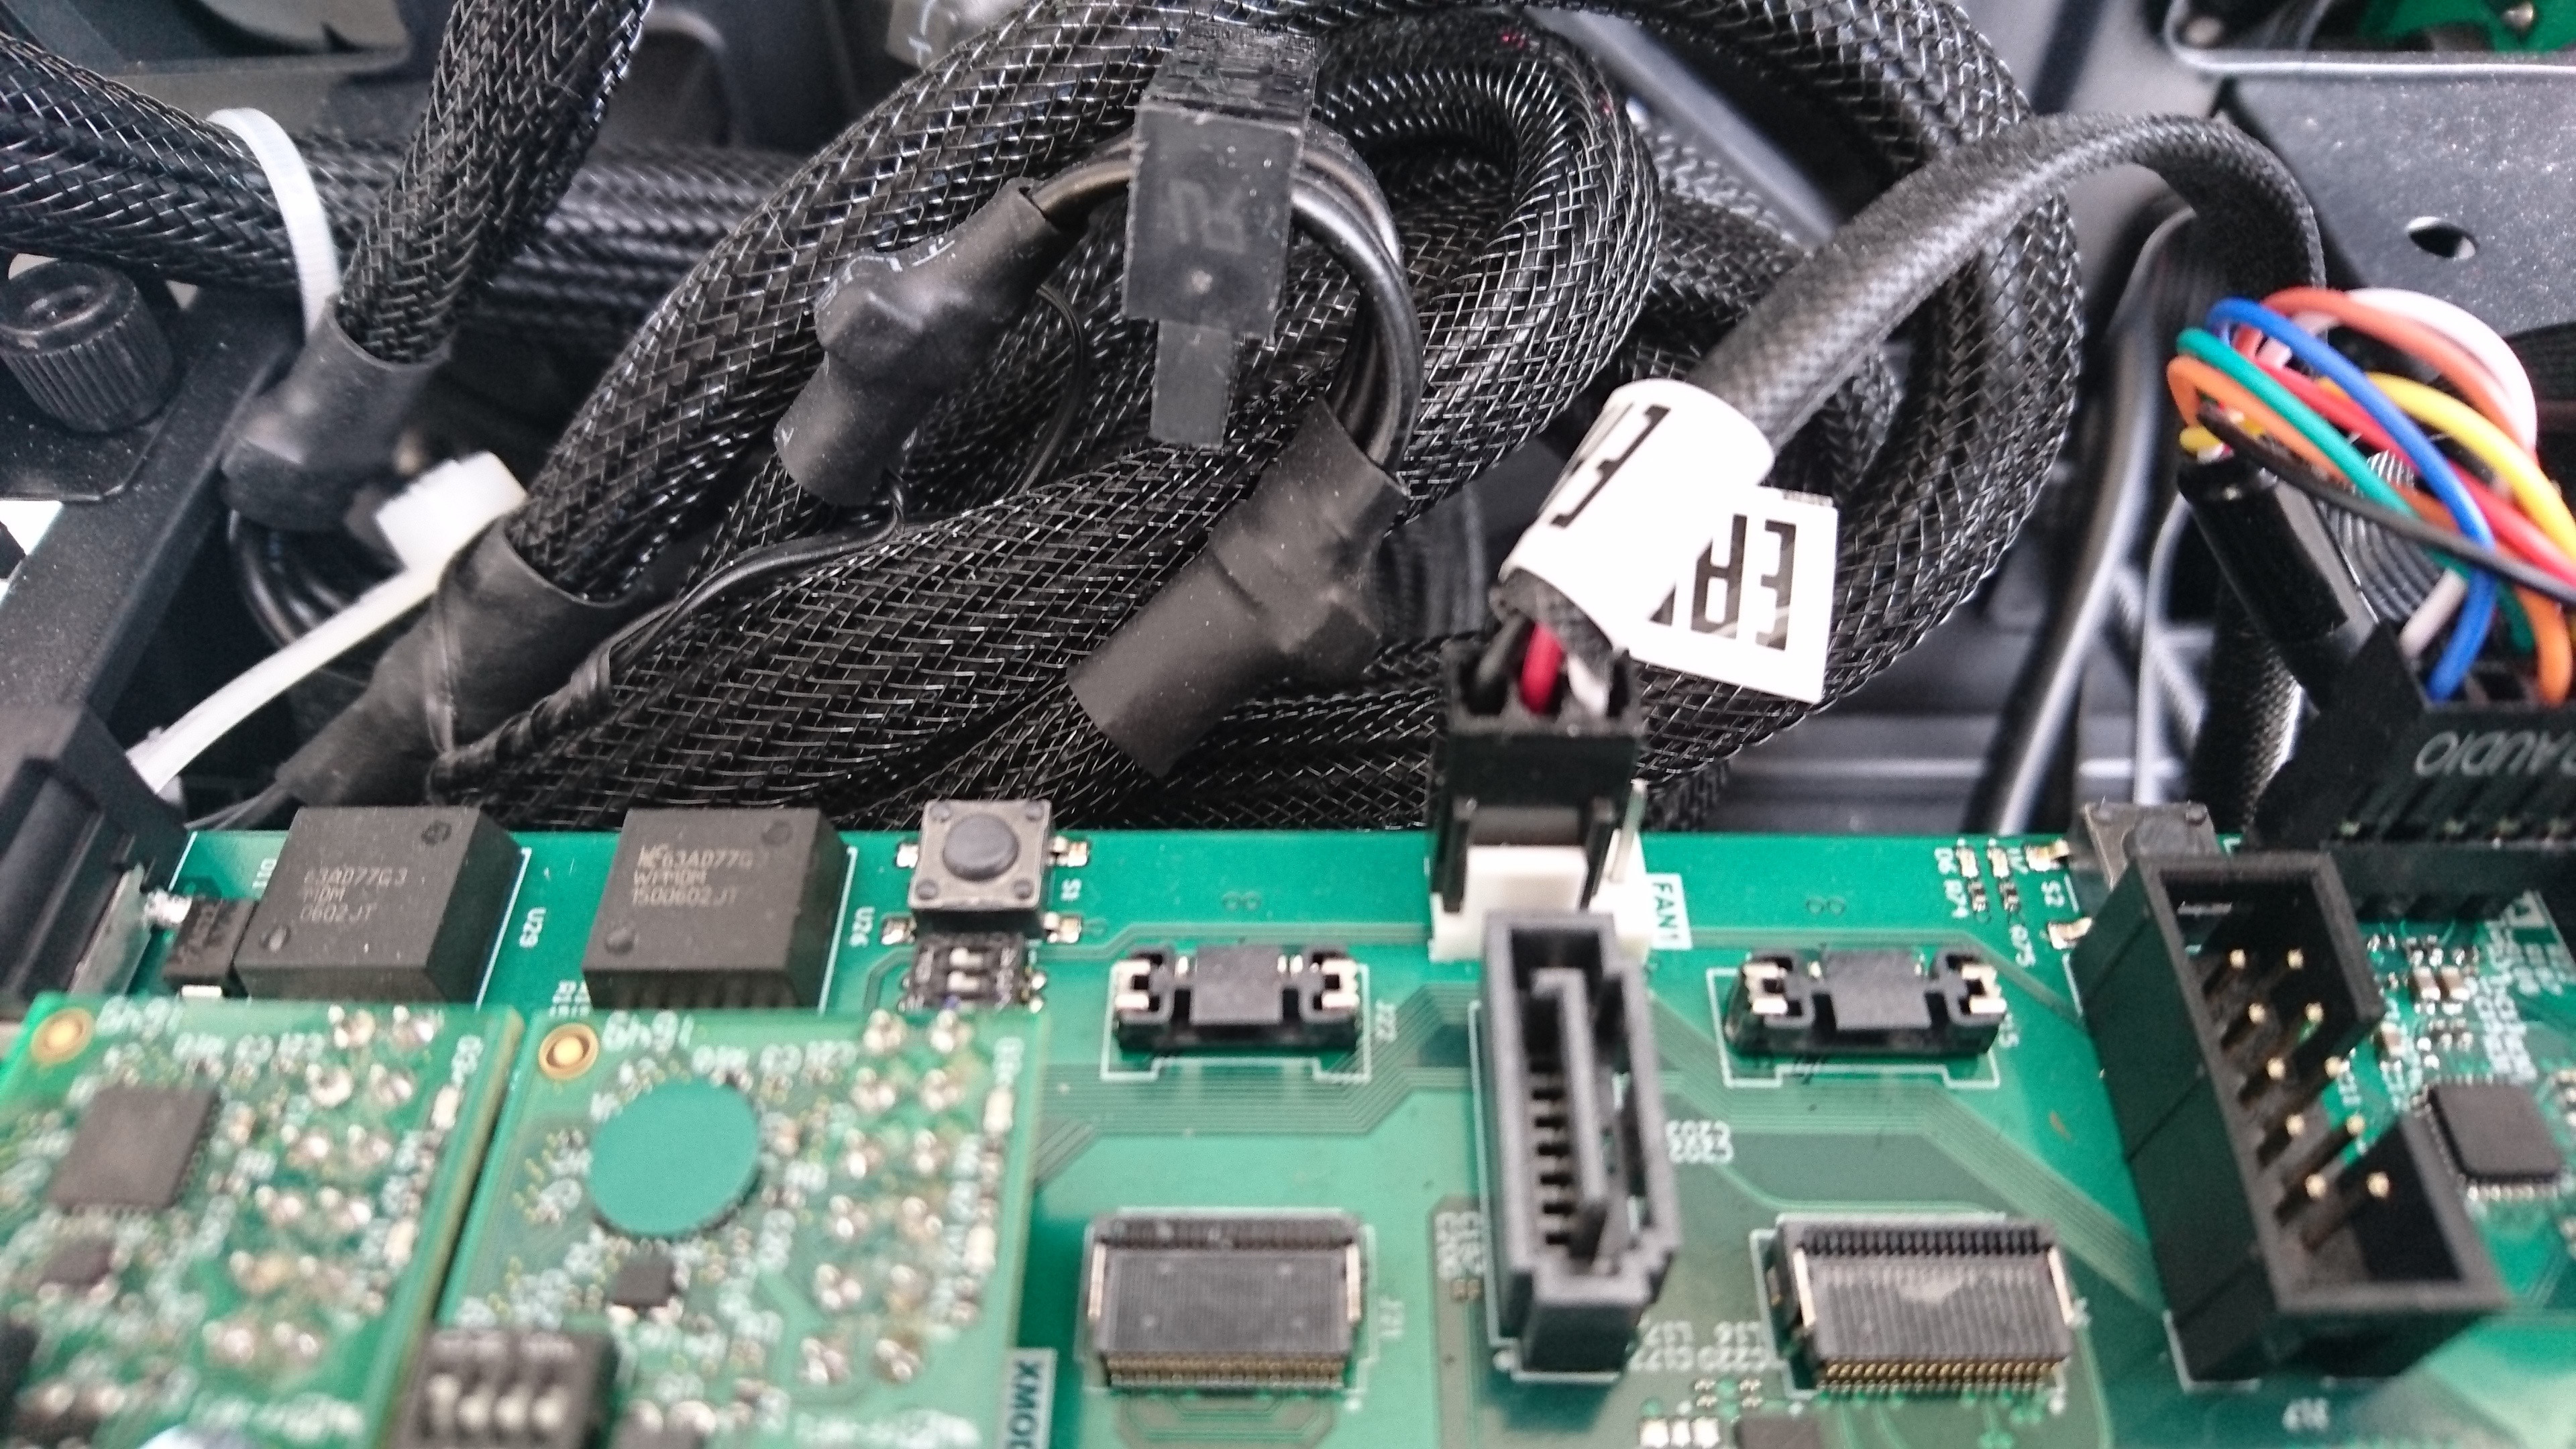
Enclosure Power Button , Reset Button, HDD LED and Power LED
...
Support
- For support, please go to http://forum.trenz-electronic.de/ or contact support@trenz-electronic.de
Overview
Content Tools