Page History
...
| Module Model | Board Part Short Name | PCB Revision Support | DDR | QSPI Flash | Others | Notes | |
|---|---|---|---|---|---|---|---|
| TE0725-03-15-1C | 15_1c | REV01, REV02, REV03 | --- | 32 | 8MB HypeRAM | ||
| TE0725-03-35-2C | 35_2c | REV01, REV02, REV03 | --- | 32 | 8MB HypeRAM | ||
| TE0725-03-100-2C | 100_2c | REV01, REV02, REV03 | --- | 32 | 8MB HypeRAM | ||
| TE0725-03-100-2CF | 100_2c | REV01, REV02, REV03 | --- | 32 | 8MB HypeRAM | POF assembled | |
| TE0725-03-100-2I9 | 100_2i | REV01, REV02, REV03 | --- | 32 | 8MB HypeRAM |
Design supports following carriers:
| Carrier Model | Notes |
|---|---|
| --- |
Additional HW Requirements:
...
TE Scripts are only needed to generate the vivado project, all other additional steps are optional and can also executed by Xilinx Vivado/SDK GUI. For currently Scripts limitations on Win and Linux OS see: Project Delivery Currently limitations of functionality
- _create_win_setup.cmd/_create_linux_setup.sh and follow instructions on shell:
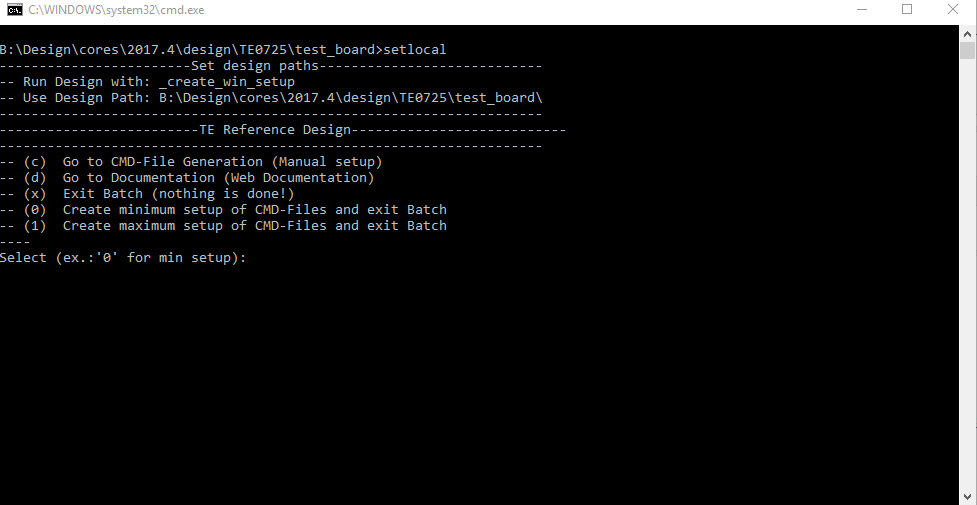
- Press 0 and enter for minimum setup
- (optional Win OS) Generate Virtual Drive or use short directory for the reference design (for example x:\<design name>)
- Create Project
- Select correct device and Xilinx install path on "design_basic_settings.cmd" and create Vivado project with "vivado_create_project_guimode.cmd"
Note: Select correct one, see TE Board Part Files
- Select correct device and Xilinx install path on "design_basic_settings.cmd" and create Vivado project with "vivado_create_project_guimode.cmd"
- Create HDF and export to prebuilt folder
- Run on Vivado TCL: TE::hw_build_design -export_prebuilt
Note: Script generate design and export files into \prebuilt\hardware\<short dir>. Use GUI is the same, except file export to prebuilt folder
- Run on Vivado TCL: TE::hw_build_design -export_prebuilt
- Generate Programming Files with HSI/SDK
- Run on Vivado TCL: TE::sw_run_hsi
Note: Scripts generate applications and bootable files, which are defined in "sw_lib\apps_list.csv" - (alternative) Start SDK with Vivado GUI or start with TE Scripts on Vivado TCL: TE::sw_run_sdk
Note: See SDK Projects
- Run on Vivado TCL: TE::sw_run_hsi
- Copy Application (hello_te0711.elf) into \firmware\microblaze_0\
- Regenerate Design:
- Run on Vivado TCL: TE::hw_build_design -export_prebuilt
Note: App from Firmware folder will be add into BlockRAM. If you add other app, you must select *.elf manually on Vivado - (alternative) Use SDK or Vivado to update generate Bitfile with new Application and regenerate mcs manually.
- Run on Vivado TCL: TE::hw_build_design -export_prebuilt
...
Not used on this Example.
JTAG
- Connect JTAG
...
- and power on PCB
- (if not done) Select correct device and Xilinx install path on "design_basic_settings.cmd" and create Vivado project with "vivado_create_project_guimode.cmd" or open with "vivado_open_project_guimode.cmd", if generated.
- Open Vivado HW Manager
- Program Bitfile
Usage
- Prepare HW like described on section Programming
- Connect UART USB (most cases same as JTAG)
- Power On PCB
Note: FPGA Loads Bitfile from Flash
...
- Open Serial Console (e.g. putty)
- Speed: 1152009600
- COM Port: Win OS, see device manager, Linux OS see dmesg |grep tty (UART is *USB1)
- Uart Console:
Hello TE0725 will run on endless loop.
...
| Date | Document Revision | Authors | Description | ||||||||||||||||||||||
|---|---|---|---|---|---|---|---|---|---|---|---|---|---|---|---|---|---|---|---|---|---|---|---|---|---|
|
|
|
| ||||||||||||||||||||||
| 2018-03-16 | v.5 | John Hartfiel |
| ||||||||||||||||||||||
| 2018-03-12 | v.1 |
|
| ||||||||||||||||||||||
| All |
|
Legal Notices
| Include Page | ||||
|---|---|---|---|---|
|
Overview
Content Tools